
Loading the Crossbow
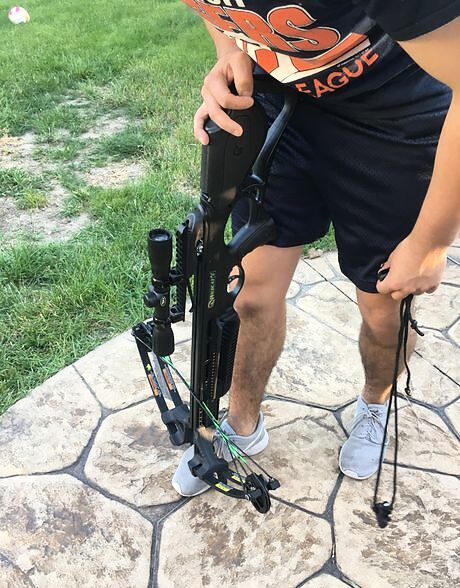
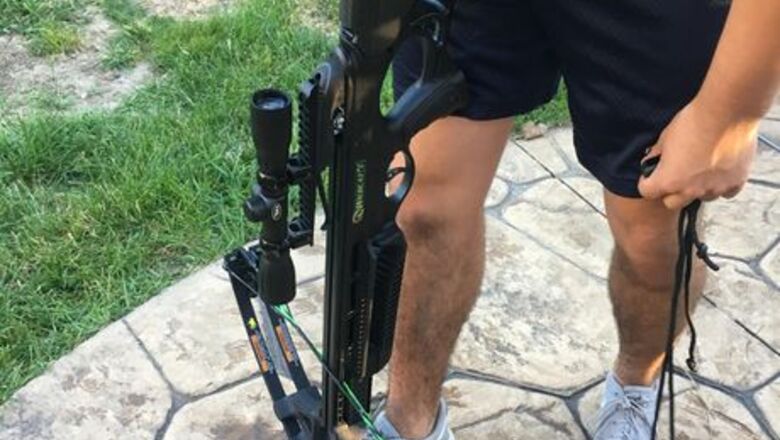
Place your foot in the cocking stirrup. This will ensure that the crossbow is planted in the ground while you pull the string back with cocking ropes. It is important to note that there are a few ways to cock a crossbow. This instructional shows the cocking process with a set of cocking ropes, which is the most common method.
Orient your cocking ropes. This is crucial to correctly pulling back the bowstring. Put the middle of the cocking rope in the groove. This will tighten the cocking rope as you pull on the ropes.

Place the middle of the bowstring on the bow's top groove by the stock. It is very important that one does this step, as this is what creates the tight tension that helps actually pull the bowstring back. All modern crossbows that employ the cocking rope method of cocking have this groove, as depicted here.
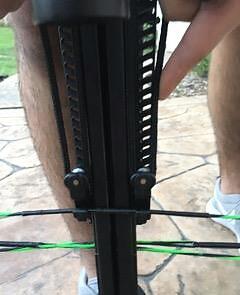
Place the rolling cocking hooks on the bowstring, on either side of the barrel. Be sure the cocking ropes are on the bowstrings, one on either side of the barrel, with the hooks facing away from you. For consistency in accuracy, mark the location on the bowstring where you place the cocking hooks with a marker. This will ensure that you put the hooks at the same spot every time, increasing consistency in accuracy. Be sure that the hooks are oriented correctly, with the open side of the hook facing outward.
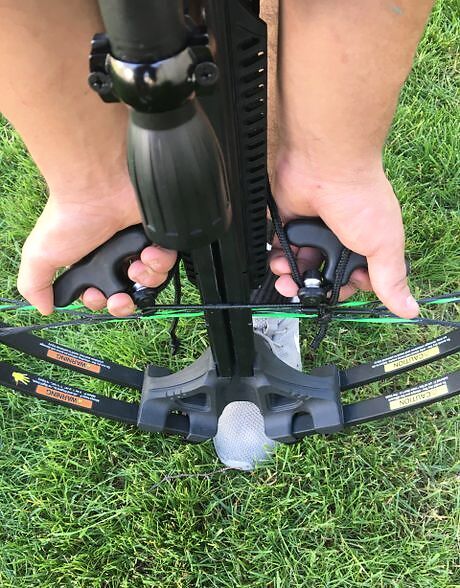
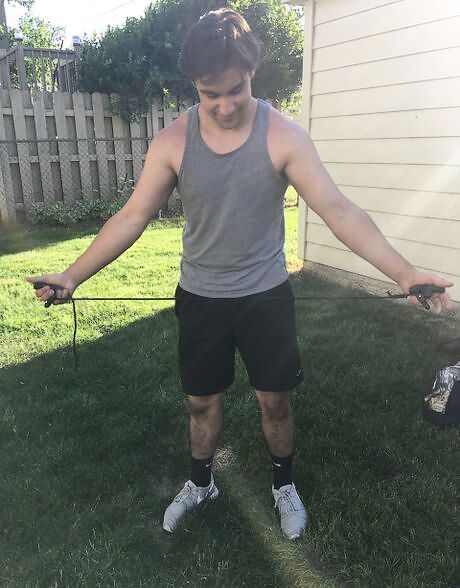
Pull the ropes slightly so that the handles are even with each other. This will ensure that you are pulling both ends of the rope at the same time Make sure you pull both cocking ropes at the same time. Failure to do so will cause inconsistency in accuracy, as well as it will be difficult to pull the bowstring back.

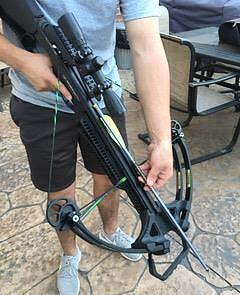
Pull back in one forceful, fluid motion. Keep pulling until you hear 2-3 clicks. These sharp clicks indicate that your bowstring is cocked and in the ready position. At this point, it is important that you keep your finger off of the trigger, and the safety feature of your crossbow in the "on" position. This helps to ensure you do not accidentally pull the trigger of your bow.
Place one bolt into the barrel groove. Place the odd colored fletching, in this case white, down in the barrel groove first. Failure to do so will cause damage to the bow, as the bolt would not be placed, or nocked, against the bowstring correctly.
Shooting the Crossbow
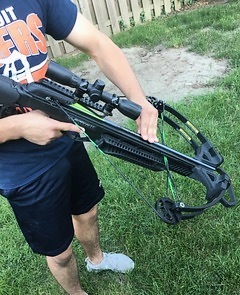
Slide the bolt back into the barrel until it is firmly seated against the bowstring. Most crossbows have a clip that helps to keep the bolt from sliding around.
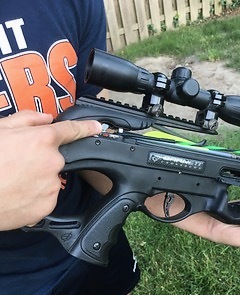
Flick the crossbow off of "safe." Make sure that when the crossbow is off of safe, your finger is off of the trigger. This will prevent misfires and accidental discharge of the crossbow.
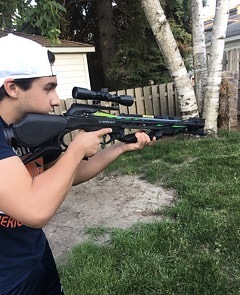
Aim down the scope or sights of your crossbow at your intended target. Place your finger on the trigger, and squeeze the trigger as you exhale. Be sure to not jerk the crossbow as you squeeze the trigger. This will decrease accuracy. Keep the crossbow aimed at your intended target.

Examine your shot placement in your target. Make adjustments to your sites if necessary. If your crossbow has a scope on it, you may have to adjust the settings on the scope itself. For help with that, make sure you consult your scope's manufacturer.

Maintain your bow with wax. Place a bit of bowstring wax on the crossbow strings every few shots. This will ensure the strings do not dry out, as well as decrease the risk of bowstring breakage. Additionally, regular waxing will add to the life of your crossbow.


Comments
0 comment