views
Casting On
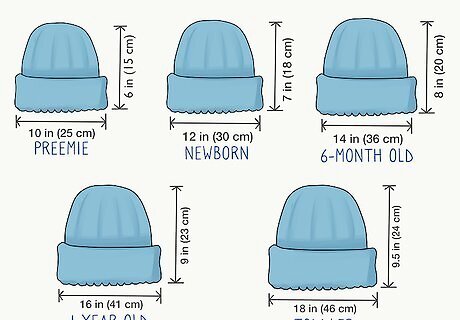
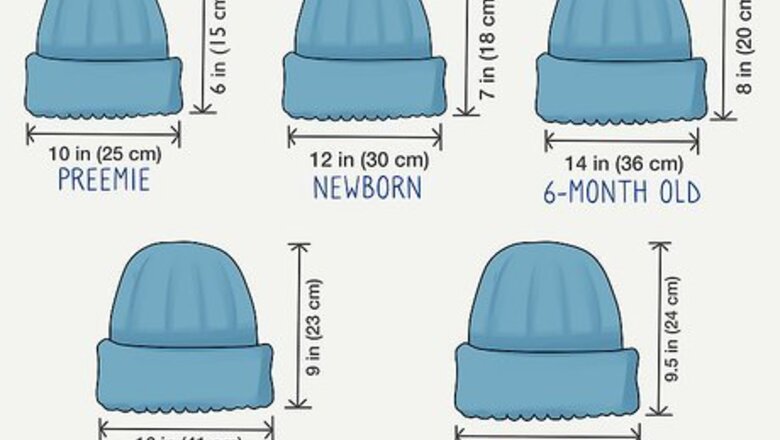
Select the right size hat for your child. Wrap a measuring tape around the widest point of your child's head to find their head circumference. This will give you a good idea of which size hat to knit. You can also choose a hat size based on how high you want the hat to be. Follow these size recommendations to make a hat that fits your child well: Preemie: 10 in (25 cm) circumference and 6 inches (15 cm) high Newborn: 12 in (30 cm) circumference and 7 inches (18 cm) high 6-month old: 14 in (36 cm) circumference and 8 inches (20 cm) high 1-year old: 16 in (41 cm) circumference and 9 inches (23 cm) high Toddler: 18 in (46 cm) circumference and 9 ⁄2 inches (24 cm) high
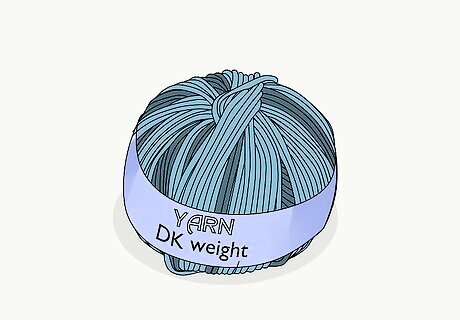
Choose DK weight yarn. Get out a skein of DK weight yarn in any color and pull about 10 inches (25 cm) of yarn from 1 end. Keep in mind that you'll only need about 1/2 to 2 ounces (40 to 160 yards) of the yarn so this is a great project for using up yarn from your stash. DK weight yarn is also referred to as light worsted (#3) yarn.
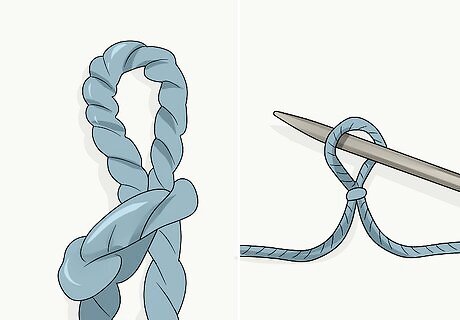
Form a slip knot. Twist the end of the yarn into a loop so it crosses over itself with the tail end of the yarn on top. Hold the yarn tail end with 1 hand. Then, slide the index and thumb of your other hand under and through the loop. Use these fingers to pinch the working yarn and pull it through the loop. If you continue to pull, you'll make the knot with a small loop at the end. If you kept pulling this, the knot would unravel or slip away.
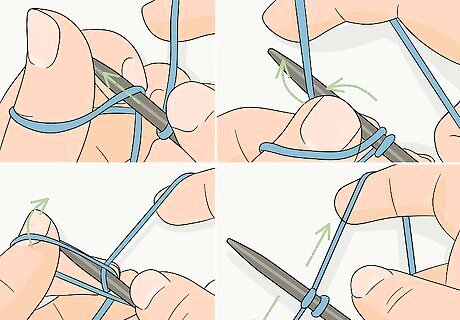
Slide the slip knot onto size 6 US (4 mm) needles and cast on 60 to 108 stitches. Once you've made the slip knot, put it onto 1 of your circular needles and pull the yarn tail until the stitch is secure. If you don't want to use circular needles, put the slip knot on double-pointed needles of the same size. Then, cast on:Tip: Use circular needles that are 16 inches (41 cm) in length so you have room to work the hat. When you begin to decrease the crown of the hat, you'll need to switch to size 6 US (4 mm) double-pointed needles. 60 stitches for a preemie size 72 stitches for a newborn size 84 stitches for a 6-month old size 96 stitches for a 1-year old size 108 stitches for a toddler size
Knitting the Body
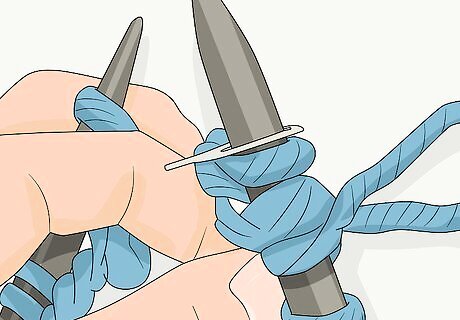
Place a stitch marker on your working needle and knit a stitch to join the round. Put a small, circular stitch marker on your right (working) needle once you finish casting the stitches on. This will help you keep track of when you finish working a row. To join the round, knit a stitch to connect the first and last stitches that you cast on. If you prefer to knit the entire hat on double-pointed needles instead of starting with circular needles, divide the stitches between the double-pointed needles using multiples of 12 on each.
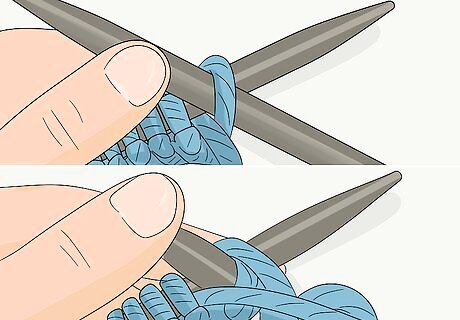
Purl 2 stitches. Since you'll be working a ribbed pattern for the body of the hat, make 2 purl stitches after joining the round. You'll continue to alternate 2 knit stitches with 2 purl stitches for the rest of the hat's body.Variation: To make the ribbing narrower, just purl 1 stitch. Then, make the body by working knit 1, purl 1 instead of knit 2, purl 2. If you like, you can switch to a different color of yarn at any time.
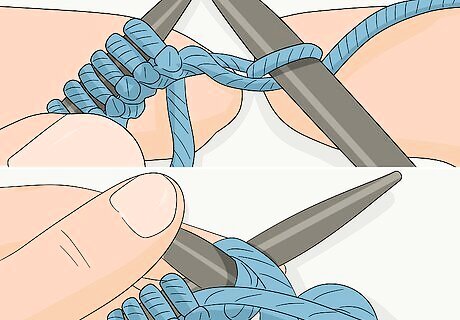
Knit 2 purl 2 (k2, p2) across each round to make the body. Repeat this ribbed pattern across the entire first row. When you reach your stitch marker, continue to knit 2, purl 2. Keep working the ribbed body until it measures: 4 ⁄4 inches (12 cm) high for a preemie size 5 ⁄4 inches (15 cm) high for a newborn size 6 ⁄4 inches (17 cm) high for a 6-month old size 7 ⁄4 inches (20 cm) high for a 1-year old size 8 ⁄4 inches (21 cm) high for a toddler size
Decreasing the Crown
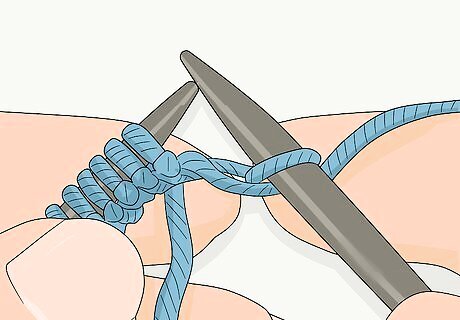
Knit the first decreasing round for the crown of the hat. To do the first decreasing round, slip 2 stitches onto the working needle without actually working them. Then, insert your left needle into the front of both of the slipped stitches and knit them as 1. To finish this round: P1, k2, p2, k2, p1, and finish by knitting the last 2 stitches together (k2tog)
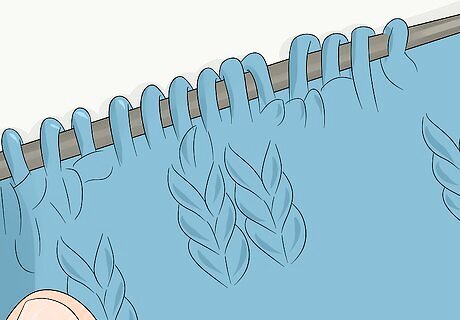
Work a modified rib round and make another decreasing row. For round 2, k1, p1, k2, p2, k2, p1, k1 across the entire round. Then, for round 3, slip the first 2 stitches onto the right needle and knit them together. Knit 2, p2, k2 until you reach the last 2 stitches. Finish round 3 by knitting the last 2 stitches together. Alternating rib rows and decreases rows helps the hat gradually taper towards the crown.
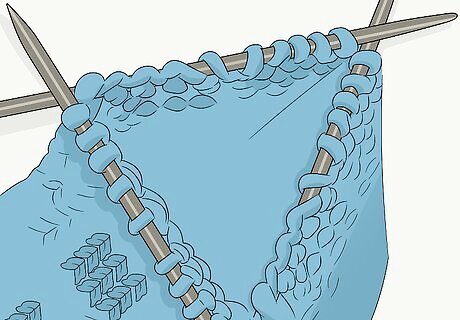
Knit another modified round of rib stitches and make a decreasing row. To make round 4, k3, p2, and k3 across the whole round. Then, to decrease round 5, ssk, k1, p2, k1 across the round. When you reach the last 2 stitches, knit them together.Tip: Once you've begun to decrease the hat, you might find it hard to keep knitting on the circular needles. When this happens, slide the stitches onto double-pointed needles. Divide the stitches evenly between 2 or 3 needles and work them with another double-pointed needle.
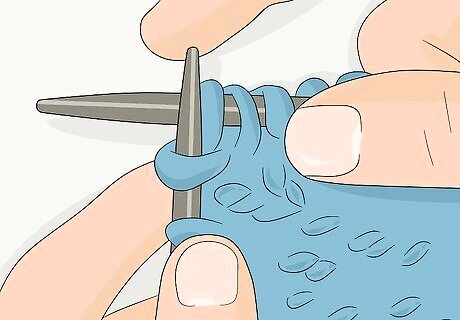
Rib stitch the next round and work a decreasing row. For round 6, k2, p2 across the entire round. This gives your hat the classic rib stitch. Then, ssk, p2, and k2tog across the rest of round 7.
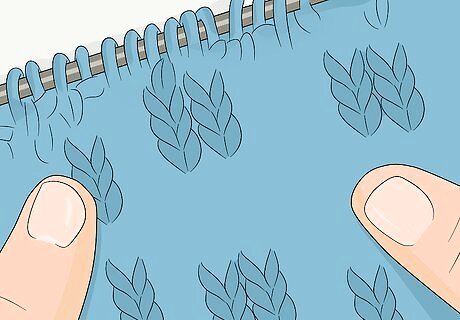
Knit the rib stitch across the next round and make 1 final decreasing round. To make round 8, k1 and p2. Then, continue to k2, p2 until you reach your stitch marker. For the final decreasing row, ssk and k2tog across the entire round. You can probably switch to working with just 2 double-pointed needles at this point.
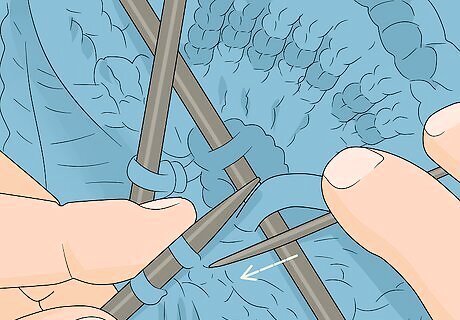
Thread a needle with the yarn and pull it through the remaining stitches. Cut the yarn to make a tail that's at least 10 inches (25 cm) long and thread it onto a tapestry needle. Then, bring the needle through each of the loops on your needles. Pull the circular needles out to remove them. Don't pull tightly as you draw the needle through the loops since you'll want to thread the yarn through an extra time.
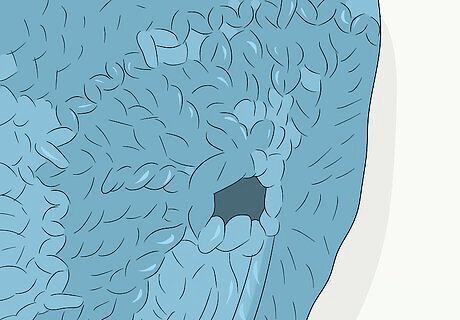
Tie off the thread and weave in the ends. Insert the needle through the same loops around the very top of the hat to secure them and pull tightly to draw the top of the hat closed. Make a knot in the yarn and weave in the yarn tail. Then, weave in the bottom yarn tail. If you like, you can use the top yarn tail to attach a pom pom to the top of the hat.






Comments
0 comment