
views
Planning for the Project
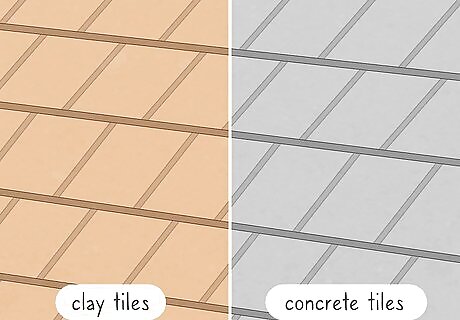
Determine the type of tile you want. There are a number of different grades of tile to choose from, and you must identify the grade that fits the climate in which the building is situated. Just as vitally, you must determine whether you would prefer clay or concrete tiles (various grades based on climatic conditions are available for both). They differ in a number of ways, and so the choice is a significant one. Clay tiles are considered to be one of the longest-lasting roofing materials available, even substantially longer than concrete ones. While concrete roofing tiles are typically expected to survive 30-50 years, in the right conditions a well made clay roof might be expected to last 100 years. Though durable, clay tiles can be more expensive (and neither option is particularly cheap). One estimate illustrates the importance of the price difference: to place a concrete tile roof on a fairly common home with a roof area of 1,500 square feet could cost between $6,000 and $15,000; it could cost between $10,500 and $45,000 to give a clay tile roof to the same house. Finally, the color of concrete tiles are more prone to fade over time than that of clay tiles. For any roof that you will likely have for multiple decades, this is certainly an issue to think about.
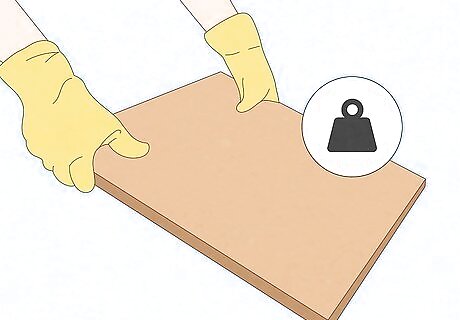
Consider the impact of weight. To put it in simplest terms, a basic asphalt shingle (perhaps the most common roofing material in America) will typically place a weight of less than 3 pounds per square foot on a roof. Concrete tiles, which are usually lighter than clay tiles, can easily place over 10 pounds of weight per square foot on a roof. If you are adding tiles to a roof that did not previously have them, or to a design which did not originally incorporate them, the roof may not be capable of carrying the excess weight. In his case, you will need to have your roof inspected and possibly reinforced to bear the load.
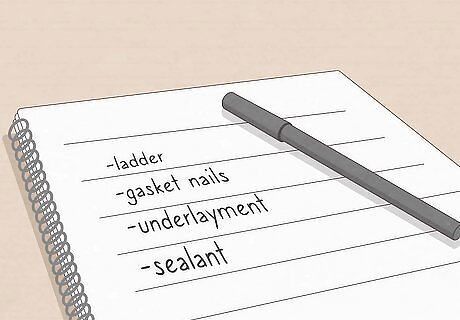
Make a list of necessary materials and tools. While some of these are common--for example, it is recommended that you have a ladder--others are rather specific to this task and are items that are likely not yet in your inventory. For example: Gasket nails are a type of nail with an interior plastic cap that will help seal nail holes and prevent leaks. Underlay or underlayment. This is the water-resistant layer between the tiles and the roof frame and sheathing. A number of varieties are available, but because this is a roof intended to last from 30 to 100 year, it is probably a good idea to invest in one of the heavy-duty options. Outdoor caulking or sealant. There are a number of caulks or sealants available for outdoor use, but once again it is recommended that you use especially durable and high quality products. This roof could last a lifetime, but it won't if the materials don't suit the requirements of the job.

Develop an estimate of the materials. The most important staring point comes from your roof dimensions. You can use this calculator to help you determine the size of your roof (do not use the function titled "Tile Calculator," which is clearly intended for interior floor tile). Without specific information about the type of tile selected, it is impossible to estimate the number of tiles necessary to complete a job. A 100 square foot section of roof could require anywhere from 75 to 400 tiles.

Plan for a specific time. If you are going to replace the roof of an existing home, you must factor in the weather and the time you have available in which to complete this job. While it is obvious that you aren't going to want to rip your roof on during the winter, you must also look for dry days. Check the long-term weather reports (with an understanding that forecasts do change). Also, make sure you have enough manpower available to complete this project in a timely manner. This is not a one person job, and you will have to plan accordingly.

Purchase the necessary materials and tools. While you are obtaining the materials, do consult with hardware store employees who may have special knowledge about the products. If customers have been complaining about a faulty product, they may have some knowledge about it.
Getting Started

Remove old roofing (if applicable). This is, on its own, a major job that can take days and require special tools. Be prepared to take the time to do this right.

Repair and reinforce the roof (if applicable). You should have reinforced the frame of the roof earlier before stripping any existing roof off. That said, the sheathing--the layer of wood or other material that covers the area between the relatively open frame and the outer layers of roofing--may be damaged or weak. Strengthen it. Again, think about the weight involved. The fairly cheap and common shingle roofs that many people have are quite light; if you are transitioning from a light roof to a tile roof, the weight difference will be substantial. For a relatively average house with a 1,500 square foot roof, the total of underlayment and tiles will equal something approaching 8 tons in weight. That's more than the equivalent of having two large SUVs parked on top of your house.
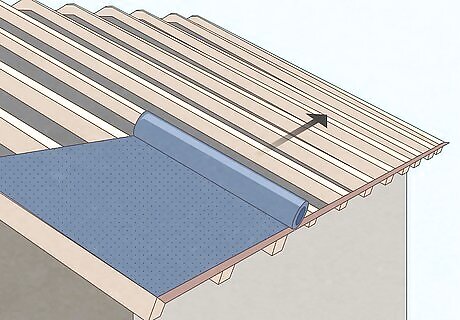
Install the underlayment. Position the first roll of underlayment at one side of the roof, perpendicular to the lower edge (the eave) of the roof. As you roll out the underlay, keep the bottom edge of the material aligned with the edge of the eave but above any metal or synthetic edging that may cover the borders of the eave. Secure the underlayment. Roll out 10 foot (3 m)-long sections at a time, and then secure it with nails separated by intervals of 24 inches (61 cm). Keep all nails at least 2 inches (5.1 cm) from the edge of the roof. When you reach the end of the roof, cut the underlayment roll to match the edge. Secure the end with nails. Restart at the end of the roof at which you first began. Overlap the underlayment, with the new layer partially covering that which was already applied. There may be a series of lines along the roll of underlayment, and this is intended to show the installer precisely how much the layers should overlap. Treat the top line on the installed layer as you previously had the bottom edge of the eave.
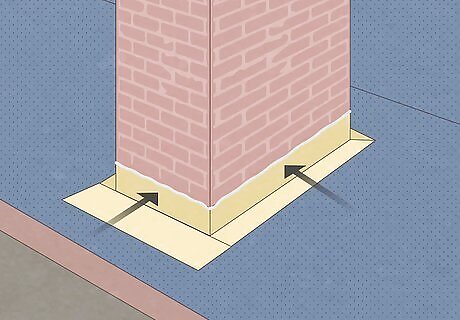
Work around obstacles. Objects such as chimneys that project out from the roof will have to be sealed up as well. Metal flashing should be used around the chimney, and these should be sealed using caulk or other sealants specifically designed for outdoor use. Underlayment should be cut to fit around these obstacles, and then an additional layer of material (spare slices of the underlayment material, for example) should be placed over the areas where the flashing and underlayment meet and secured in place.
Installing the Tiles
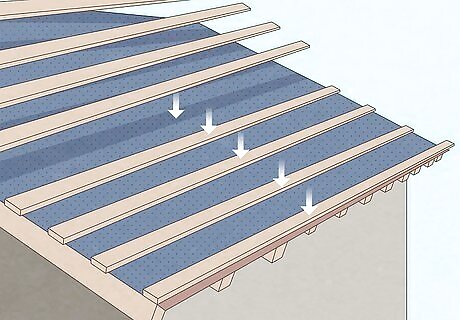
Install battens (if applicable). If the roof has a steep slope, battens may be required to hold the tiles in place. Battens are thin strips of material (usually wood, but sometimes metal or plastic, and commonly 1 inch thick and 2 inches wide) that run horizontally along the length of the roof. Many tile varieties possess a lip or hook that will hang on available battens. (Obviously this is one more thing to consider when identifying the tile that fits your needs) In addition, clips are available to attach the tiles onto the batten. Use two tiles to determine the spacing required for the battens. A minimum of a 3 inch (7.6 cm) overlap is required for the tiles that do not interlock (interlocking tiles will take care of the measurement for you), and a smaller amount of overhang should be left over the eaves. Factor this in as you determine the locations of the battens. After you have determined the distance between the first two battens, measure the distance and set battens using that spacing all the way up, making sure to double check measurements as you go along.
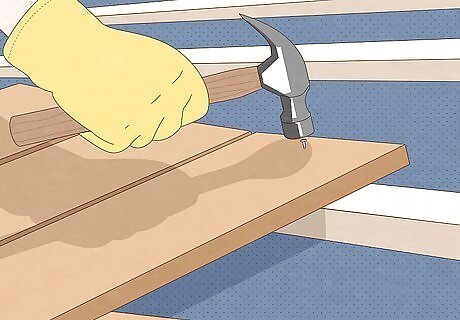
Install the tiles. Start with one side first, and then move along the length of the roof. If you have not installed battens, you can nail the tiles directly into the sheathing. If you have installed battens first, you will nail the tiles into the battens. You can also use clips to anchor the tiles to the battens. If your are using tiles that tightly interlock, it may not be necessary to nail all the tiles to the sheathing or battens; read the instructions that come with the tiles closely for details.
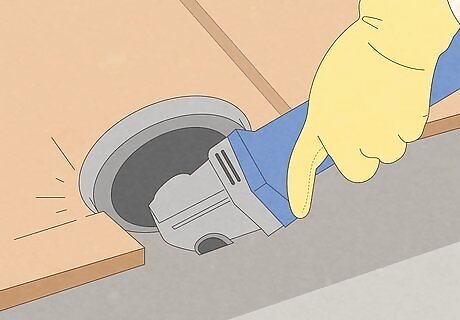
Cut tiles to fit tight spots. Obstacles like the chimney will get in the way, and tiles will have to be cut to fit tightly around these areas. Additionally, tiles at the end of each row will almost certainly have to be cut.
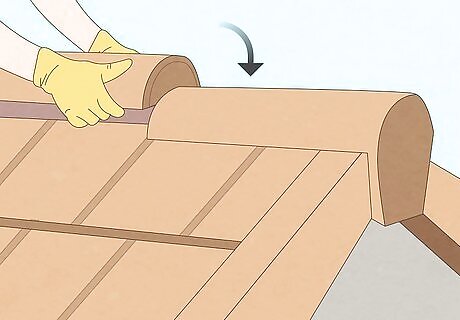
Install the ridge tiles. After you have completed the "fields"--that is, the broad surfaces of the roof--you will need to cap the tops with special ridge tiles. These are rounded, and depending upon design can either be laid out end-to-end or in an overlapping style. This should be the final step in the process of installation. Congratulations are due for your successful assembly of a new tile roof!


Comments
0 comment