
views
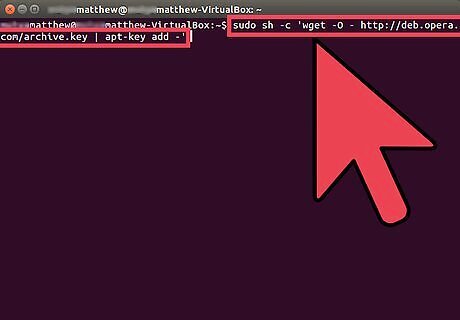
To add Opera’s public key, first press Ctrl+Alt+T on your keyboard to open Terminal. When it opens, type or use copy/paste method to add following command: sudo sh -c 'wget -O - http://deb.opera.com/archive.key | apt-key add -' and hit Enter.
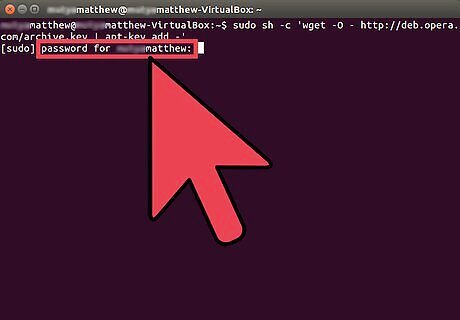
When it asks password, type password and hit Enter again.
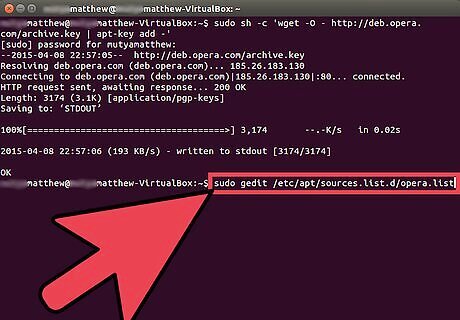
Now to add Opera repository type or use copy/paste method to add following command: sudo gedit /etc/apt/sources.list.d/opera.list and hit Enter.
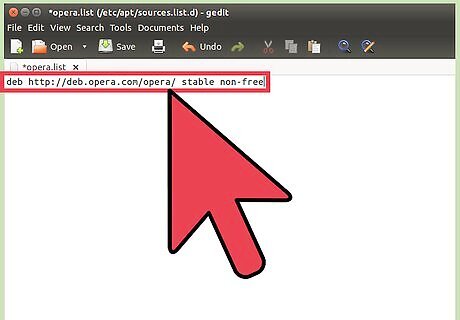
When Gedit show's up, copy this line to Opera list: deb http://deb.opera.com/opera/ stable non-free then save it and close Gedit.
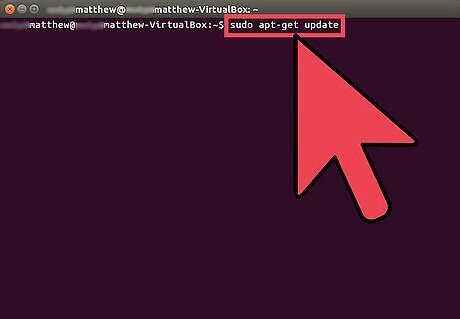
After you close Gedit, type or copy/paste following command to the Terminal, to update your system: sudo apt-get update and hit Enter.
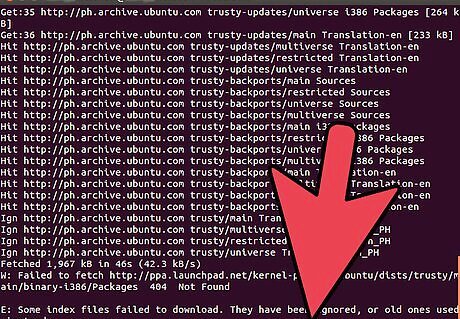
To install Opera, type or use copy/paste method to add following command: sudo apt-get install opera-stable and hit Enter.
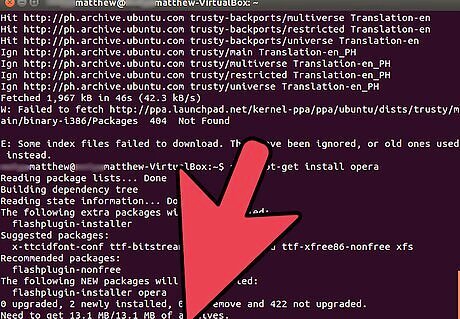
When it asks you that do you want to continue, type 'Y' to the Terminal and hit Enter.
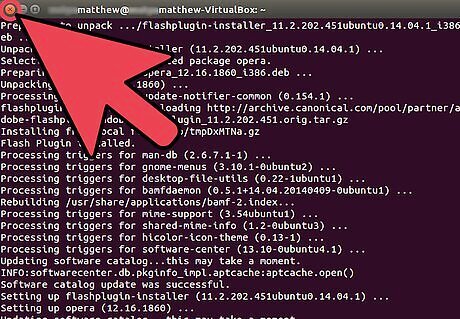
After Opera browser are installed, now close your Terminal.
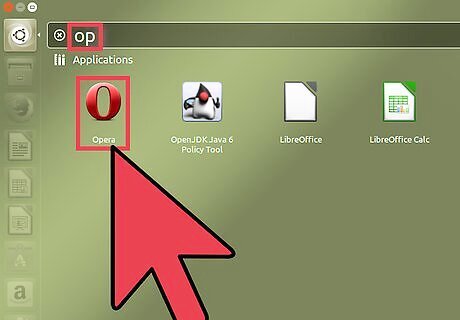
To run Opera browser, press window key (key beside Alt key) to open Dash and type 'op' to search function, then click with your mouse on icon.
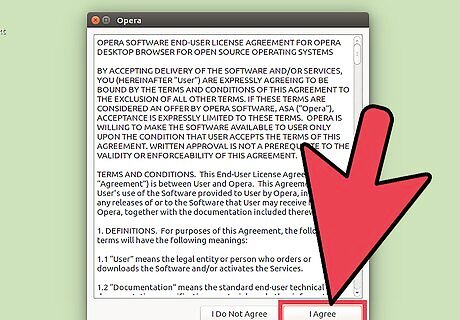
If you want, read Opera Software End-User License, then click on 'I Agree' button with your mouse.
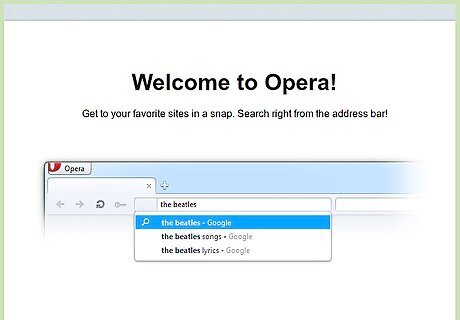
Now, you're ready to use Opera 56 browser.


Comments
0 comment