views
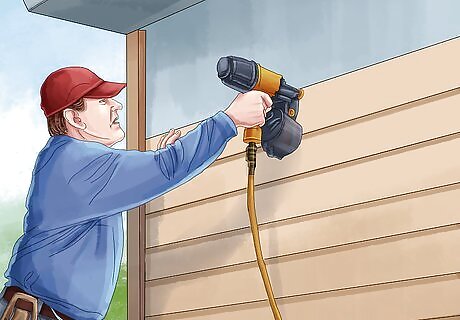
Install horizontal siding, such as aluminum or vinyl by hanging the underlayment and installing the trim. Save some time and energy by using a pneumatic siding gun. This way, you don't have to hammer every nail by hand.
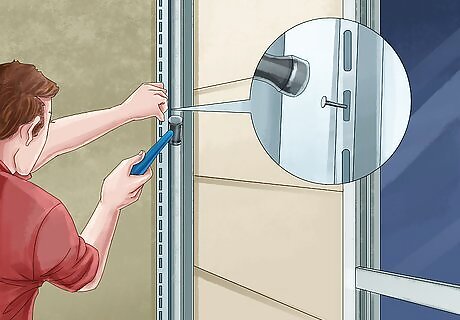
Add the corner posts, using two nails in the upper slots to suspend them. If you use more than one piece to complete a corner, be sure that there is an overlap of 1 inch (2.54cm).
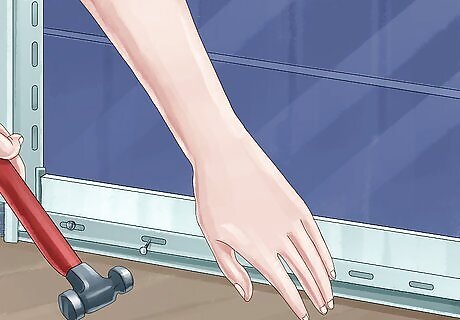
Place the footer, which is the piece of trim that is at the bottom of each exterior wall, as starter strip of siding will slide into this.
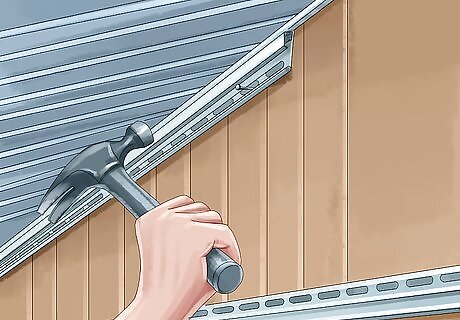
Apply a strip of F-channel trim at the top of the exterior walls, under the eaves. The top sheets of siding will slide under this piece.
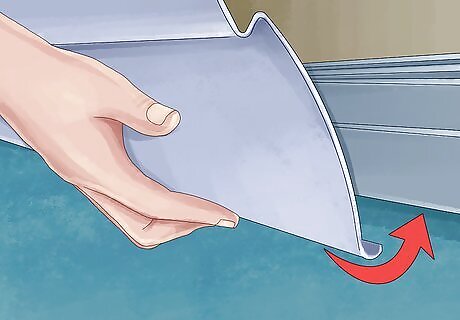
Install your starter sheet. Slide the bottom of the siding into the footer, being sure to allow for expansion. You should be able to wiggle the siding slightly. Slide the ends under the corner posts in the same manner. Affix the siding to the wall by centering a nail in each section of the nail strip. Don't pound the nails in all the way.
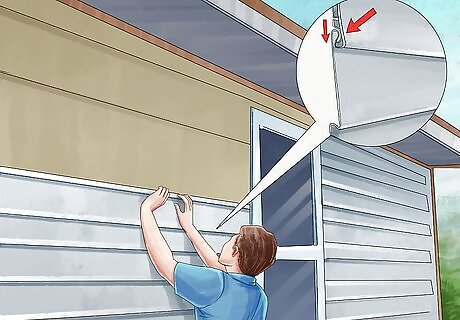
Proceed up the wall, interlocking the bottom of each sheet with the top of the previous sheets. Be sure to overlap successive panels by 1 inch (2.54cm).
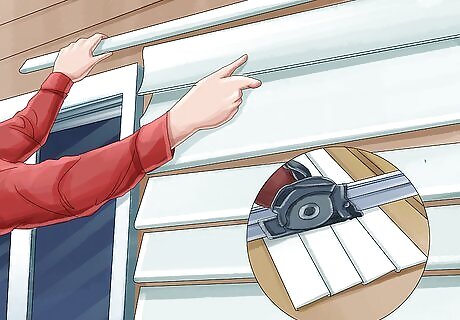
Trim the siding panels using a circular saw to meet windows, doors, and corners. Use gutter-seal adhesive to finish the installation at window sills and eaves.
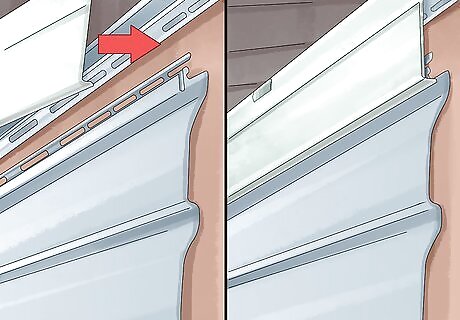
Install the top panel by trimming the unneeded portion from the top of the sheet. Lock it into place at the top of the preceding panel, and slide it under the F-channel.
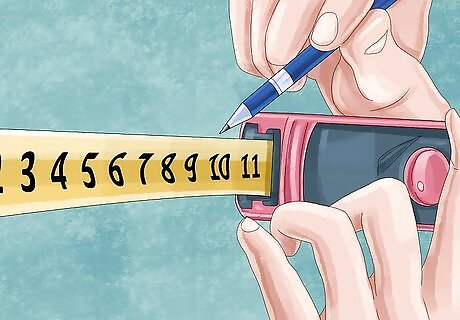
Install vertical siding by first locating the mid-point of the wall.
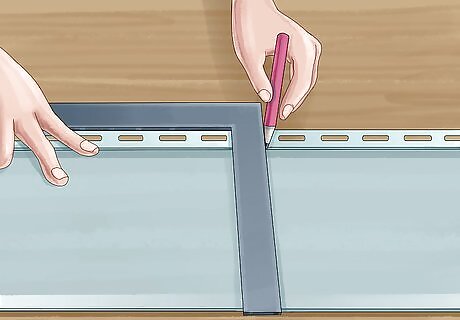
Draw a vertically level line at this position using a straightedge.
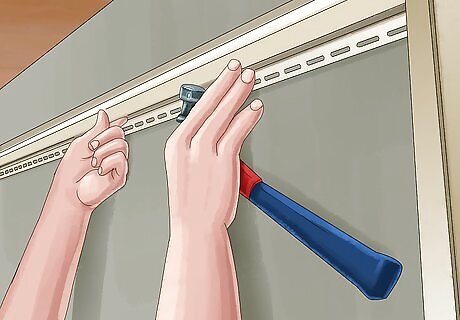
Center the starter panel on that line and cut the strip 1/8 inch (0.3175cm) short, to allow for expansion. Hang this panel by placing a nail at the top of each nail strip, at about 8 inch (20.32cm) increments. Don't attach the nails too tightly! If you do this, the vinyl might crack when it goes to expand and contract. Then, you'll start to see vinyl siding falling off or buckling in certain spots. You can also install nails at 16 in (41 cm) intervals.
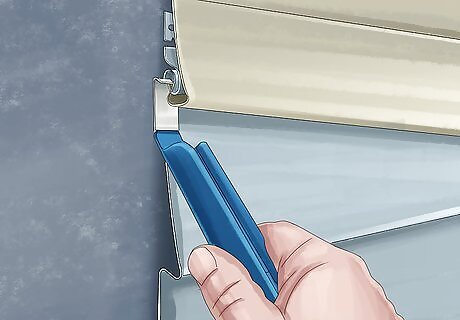
Cut the successive strips to rest on the footer, always allowing a 1/8 inch (0.3175cm) gap at the top. Moving from the center out, interlock each strip with the previous one, continuing to place the nails at 8 inch (20.32cm) increments.
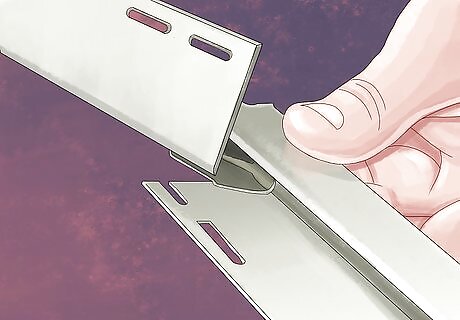
Install a J-channel on the post when you reach a corner. Shim the J-channel at about 5/16 inch (0.794cm) to keep the post on the same plane as the other strips. The edges will insert between the J-channel and the outer flange of the post.
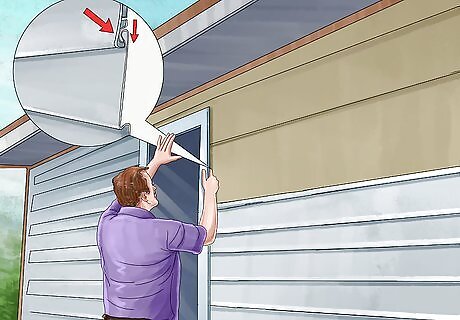
Add panels around the doors and windows in the same manner as in Step 6.
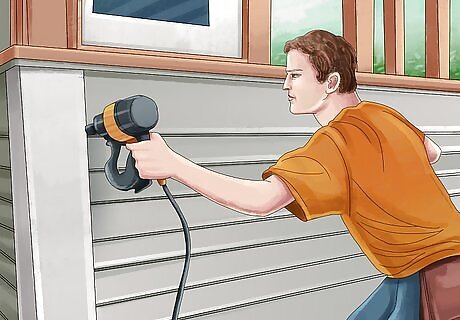
Proceed with the following steps for installing wood siding. The primary difference between this application and the others, is that the vertical corner boards will be installed last.
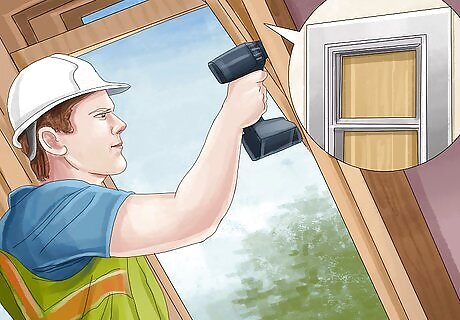
Install trim boards to surround windows and doors. Add metal flashing to control water flow.
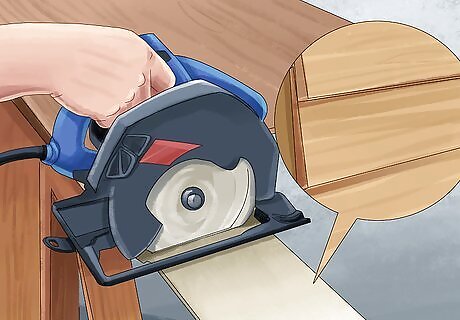
Cut the boards to length, making sure that the joints meet over a stud. Make sure that each plank is cut square to avoid any gaps. Be sure to prime the sheets of siding on both sides and at the edges. Also, be sure to prime any exposed ends when panels are trimmed.
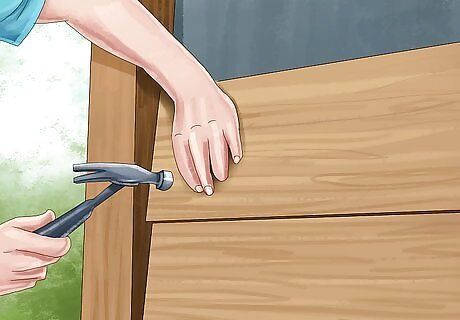
Hang the first piece of siding so that it overlaps the foundation by 1 inch (2.54cm). Install the successive pieces so that they are nailed through the bottom of the upper board, and into the beveled edge of the lower board. The uppermost board will be installed so that it abuts the eaves. Split the board so that the width is shortened, and then cover the exposed edge with frieze board.
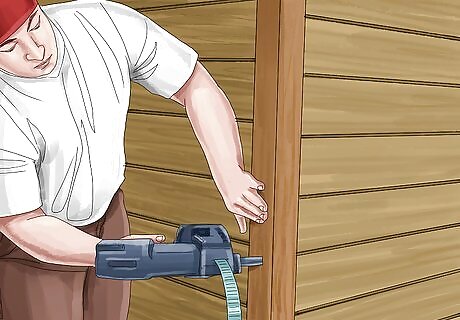
Complete installation adding the vertical boards at the corners, so that they are flush with the horizontal boards, but always allow at least 1/8 inch (0.3175cm) for expansion.




Comments
0 comment