views
Creating a Contact Sheet in Excel
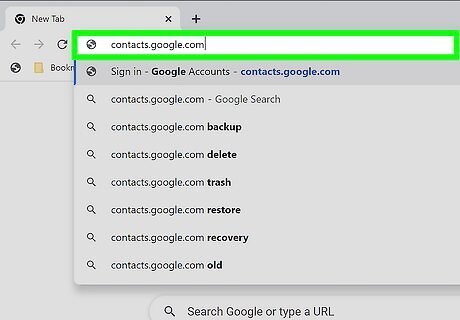
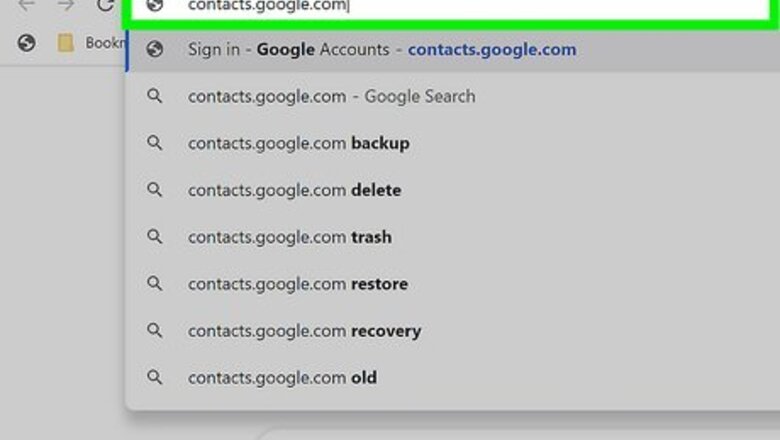
Navigate to https://contacts.google.com in a web browser. This is the website where you can manage your contacts over the internet. Here you can import and export contact sheets that can be used in Excel.
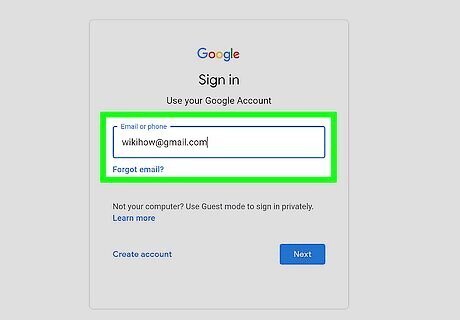
Make sure you are logged in to the correct account. If you are not signed in to Google, click Sign In in the upper-right corner and sign in using the email address and password associated with the Google account you use on your Android phone. If you are signed in to a different account, click your profile icon in the upper-right corner and click Add another account. Then sign in to the Google account you use with your Android smartphone. Click the profile icon in the upper-right corner and click whichever account you want to sign in to.
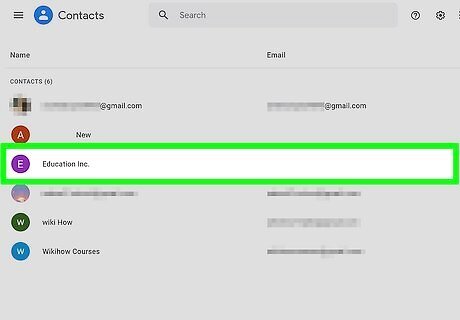
Click a contact. It doesn't matter which contact you click, as you can use any one of them to create a CSV file for Excel.
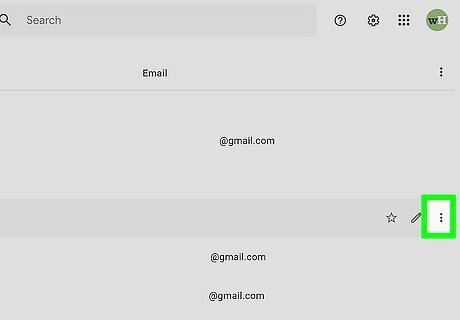
Click ⋮. It's the button with three vertical dots. It's below the contact's name at the top and to the left of the blue "Edit" button. This displays a pop-up menu.
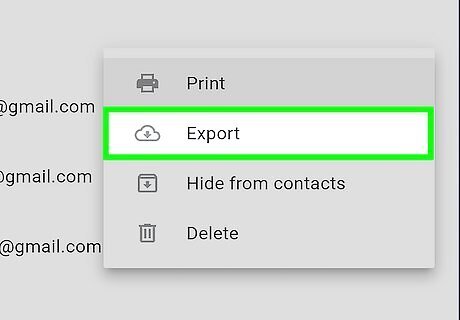
Click Export. It's the second option in the pop-up menu. It's next to an icon that resembles a cloud with an arrow pointing down.
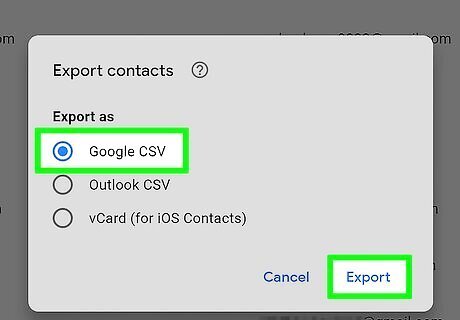
Select "Google CSV" and click Export. Click the radio option next to "Google CSV". It's the first option in the menu. Then click Export in the lower-right corner of the pop-up. This exports the contact as a CSV file in Google's format.
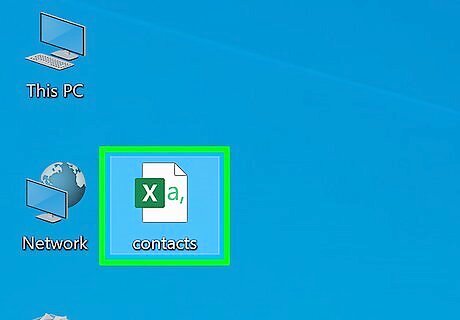
Open the CSV file in Excel. By default, downloaded files can be found in your Downloads folder. If Excel is your default spreadsheet application, you can simply double-click the file to open it in Excel. If this does not open the file in Excel, right-click the file, hover over Open with, and then click Excel.
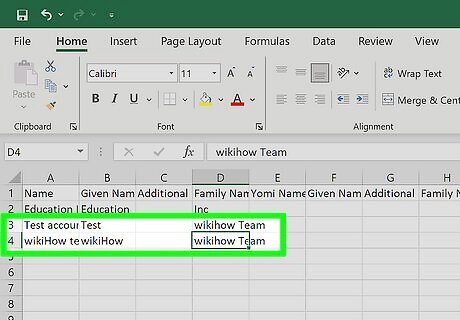
Enter all your contact information into the CSV sheet. The first row at the top contains all the labels. Enter all the correct information in the column below the label at the top. Contact names go in the "A" column. Contact phone numbers go in the "AE" column. You can enter any other information you have below the correct label at the top, or leave them blank. If you don't want to keep the original contact info that you exported from Google Contacts, you can delete it. If you have a list of contacts from another Excel spreadsheet, you can copy and paste them into the correct column in the Google CSV document.
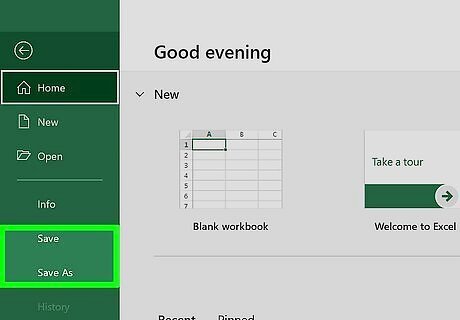
Save the CSV file. Once you have entered all the contact information you want to import to your Android device, click the icon that resembles a floppy disk in the upper-left corner. This saves the CSV file that can be imported into Google and used by your Android. Alternatively, you can click File in the upper-left corner, followed by Save as. Then enter a name for the CSV file and click Save.
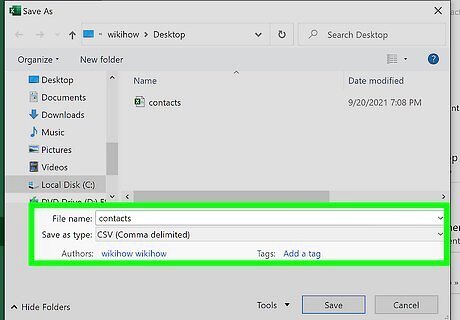
Click Yes to keep the file in CSV format. Excel asks if you want to keep the file in CSV format and warns that you may lose some information in this format. Click Yes to continue.
Importing a CSV File into Google
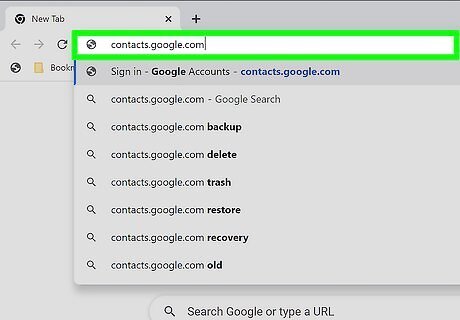
Navigate to https://contacts.google.com/ in a web browser. This is the website where you can manage your contacts over the internet. Here you can import and export contact sheets.
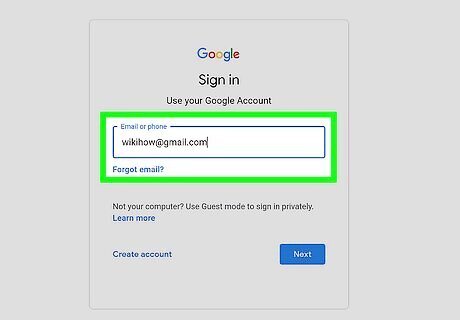
Make sure you are logged in to the correct account. If you are not signed in to Google, click Sign In in the upper-right corner and sign in using the email address and password associated with the Google account you use on your Android phone. If you are signed in to a different account, click your profile icon in the upper-right corner and click Add another account. Then sign in to the Google account you use with your Android smartphone.
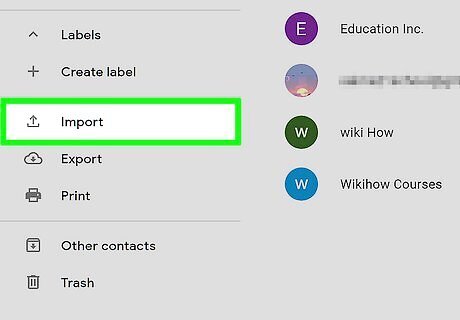
Click Import. It's in the menu to the left side. It's next to an icon that resembles a tray with an arrow pointing up.
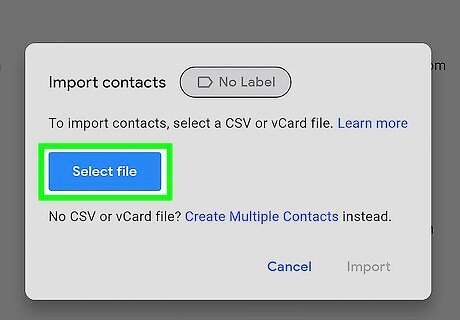
Click Select File. It's the blue button in the pop-up that appears when you click "Import."
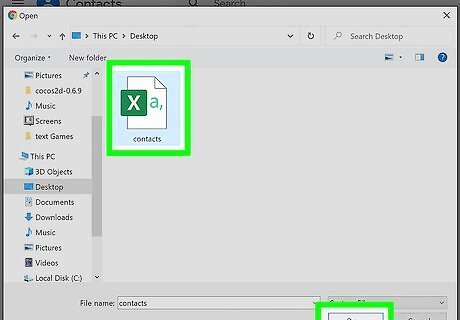
Select your CSV file and click Open. Navigate to the Google CSV file that you made in Excel. Double-click the file to select it and then click Open in the lower-right corner.
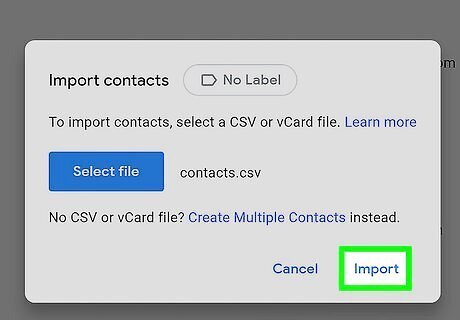
Click Import. This imports all the contacts from the CSV file into your Google account. You should see your contacts start to populate momentarily.
Syncing Your Contacts with Your Android
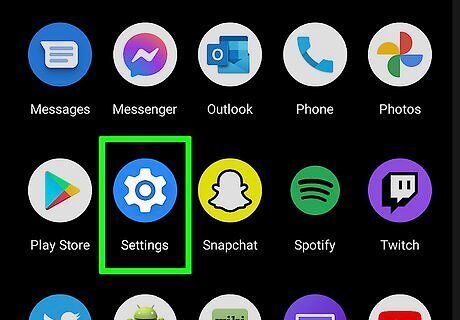
Open the Settings app Android 7 Settings on your Android phone. To do so, swipe down from the top of the screen to display the Quick Access menu. Then tap the icon that resembles a gear in the upper-right corner. Alternatively, you can tap the icon that resembles a gear in the Apps menu.
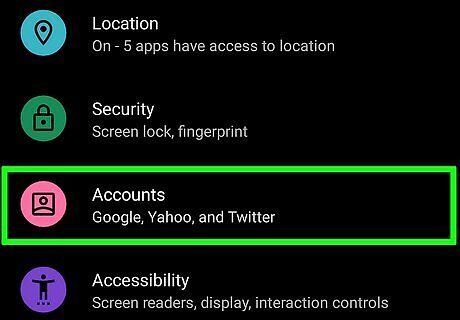
Tap Accounts. This displays all accounts you are signed into on your Android device. It's on the main menu of most stock Android devices. Depending on your phone's make and model, this may be found under "Accounts and backup" or "Users and Accounts" or something similar.
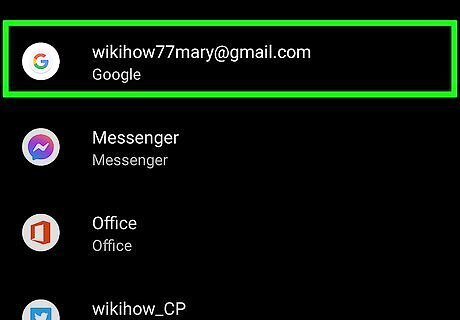
Tap the Google account you imported the CSV file to. It'll be listed by email address. It has an icon that resembles a green, red, yellow, and blue "G" next to it.
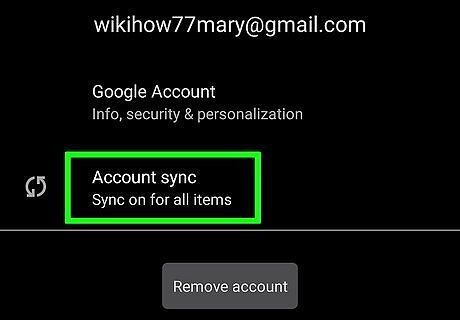
Tap Sync Account. It's the second option in the account menu.
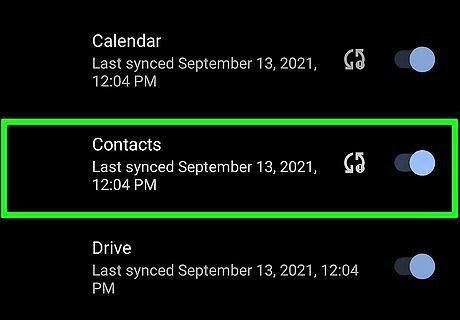
Ensure "Contacts" is turned on Android 7 Switch On. Scroll through the list of items in the Sync Account menu. Make sure the toggle switch next to "Contacts" is turned on.
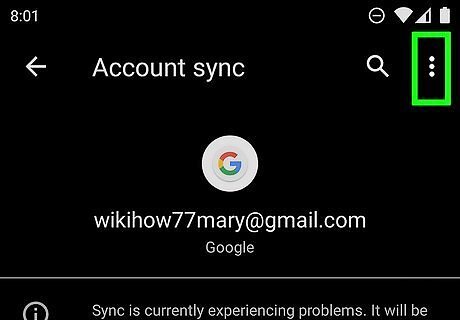
Tap ⋮. It's the icon with three vertical dots in the upper-right corner. This displays the More menu.
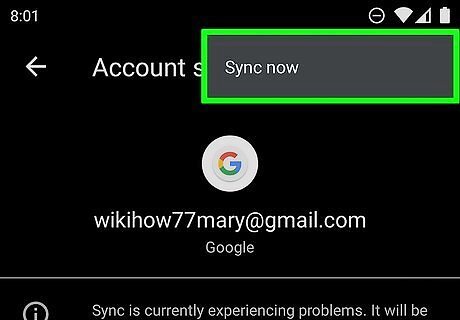
Tap Sync Now. This syncs your Google account with your Android phone and imports all your new contacts into your Android phone. If you don't see "Sync Now" in the More menu, you may have Auto-sync turned on, and a sync may already be in progress.




Comments
0 comment