views
Hand Placement
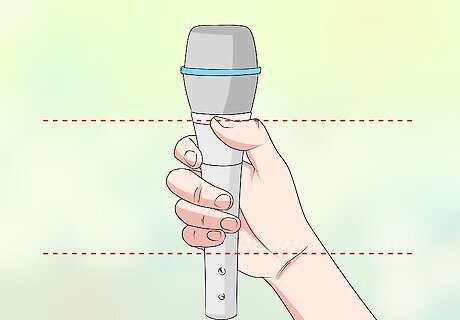
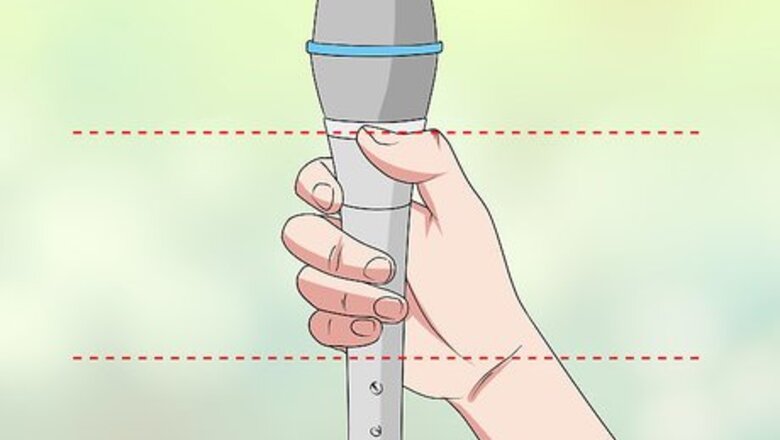
Keep your hand on the middle section of the microphone at all times. When you first pick up the microphone, take a moment to make sure that your hand is in the right position. Keep your hand in between the grille (the head of the microphone) and the base where the antenna is located. This prevents feedback and allows the microphone to enhance your voice. Although you may see some famous musicians holding the microphone by the grille, this technique actually causes feedback issues and wreaks havoc with the sound. To avoid this, never cup the microphone around the grille and always keep your hand around the middle of the mic. Don't hold the microphone near the bottom, especially if there's a wire. You could accidentally unplug the wire with your hand.
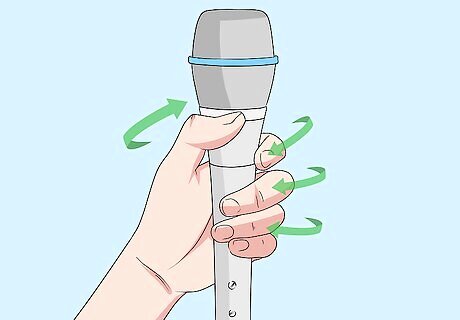
Wrap all of your fingers around the microphone to keep it steady. Always hold the microphone using all of your fingers to ensure that it doesn’t move around too much. Keep your wrist relaxed and hold the microphone in a confident manner.
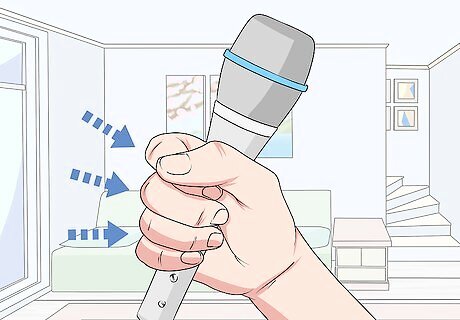
Squeeze the microphone firmly as you use it. This helps your ribs to expand and for you to have greater control over your breathing. However, try not to squeeze the microphone too hard as this can cause tension to build in your hand, wrist, shoulder, and voice. Never hold the microphone limply as this can cause handling noise. The microphone will move a lot if it isn’t held securely and all of the extra noise will be amplified may interfere with your voice.
Positioning and Distance
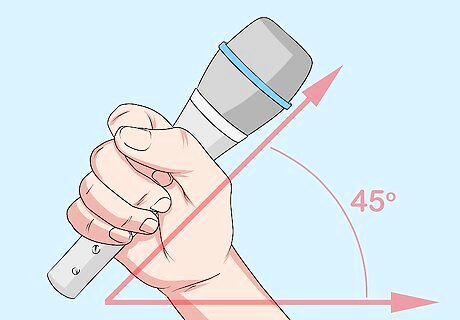
Hold the microphone at a 45° angle. Make sure that the center of the grille is directly in front of your mouth. This angle is the best position for your breathing and for expanding your ribs. Never hold the microphone in a vertical position like an ice-cream cone, as this won’t enhance your voice. Each person has a slightly different angle for holding a microphone that works the best for them. Change the angle slightly while you are practicing to find the spot that creates a full, rich sound. If you notice that your breathing sounds too intense through the microphone, try shifting the microphone so the top is more parallel to the floor.
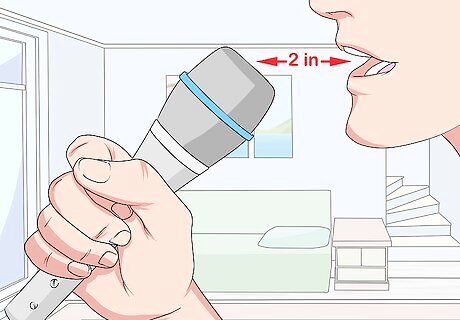
Keep the microphone approximately ⁄2–2 in (1.3–5.1 cm) away from your mouth. Although it differs from person to person, try to keep the microphone as close as possible to your mouth without actually touching it. Experiment with holding the microphone a few different distances away from your mouth to see what proximity works the best for you. The proximity effect is the idea that the microphone responds differently to your voice depending on the distance from your mouth. The closer you are to the microphone, the more enhanced the lower frequencies will be. Contrastingly, you will lose bass frequencies if you are further away. Move the microphone 1 in (2.5 cm) closer or further away depending on the sound that you are aiming for. If you hold the microphone further than 3 inches (7.6 cm) away from your mouth, it won't pick up your voice.

Move the microphone further away when you talk or sing more loudly. As you raise your voice, bring the microphone slightly further back from your mouth. Once you return to your normal volume, bring the microphone back to its original position. Alternatively, you can keep the microphone in its normal position and instead simply shift your head to the left or the right slightly. Once you move the microphone 3 inches (7.6 cm) from your mouth, it will usually stop picking up your vocals.
Perfecting Your Technique

Practice regularly to feel confident using a microphone. A microphone is technically an instrument which will become more effective the more that you practice using it. Take every chance that you can to practice your speech or performance using a microphone so that you become comfortable and confident working with it. While you are practicing, this is a good opportunity to make any necessary adjustments to your technique. Experiment with the way that you hold the microphone or that angle that you use to see what technique works the best. If you can, practice using microphones with headphones so you can see what it's like to have your entire auditory space filled with your voice. Then, you can better hear the subtle nuances in your sound and adjust accordingly.
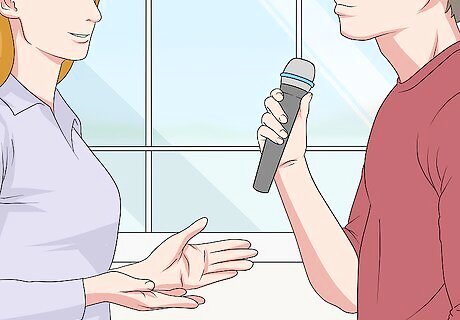
Work with a professional for help using a microphone if you need it. Sometimes a simple lesson or adjustment can make a huge difference. Regardless of whether you sing, give speeches, or do stand-up comedy, a teacher, coach, or mentor will be able to guide you and help you practice using a microphone. Having feedback from a professional in your industry is invaluable and will greatly help you to improve your performances. If your exhalations are too audible, be willing to renegotiate your place with the microphone, to take a step back to create more distance between you and the mic, or to sing the full length of your breath.
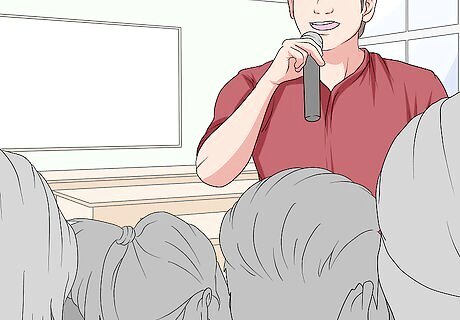
Do a sound check before you use the microphone in front of an audience. If possible, practice speaking or singing into the microphone before it's your time to shine to get your technique right and to adjust anything if needed. This is especially important to do if you are using a new microphone or sound system that you haven’t worked with before. The sound technician will be able to assist you with any issues that you have with the microphone during this time so that you are all ready to perform when the time comes. For instance, you can let the engineer or sound manager know that you like to a have a little bit more bottom end in your voice, or a little more reverb. Keep in mind that you don't need to sing or talk loudly into the microphone since it will amplify your voice.


Comments
0 comment