views
Understanding Soil Conditions and Climate
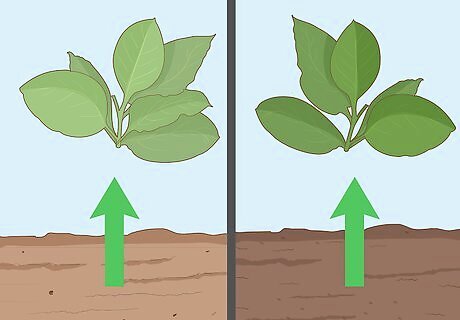
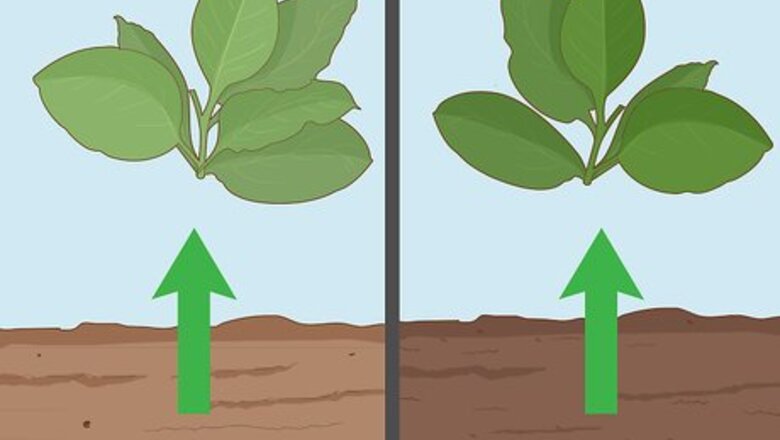
Know that tobacco leaf will grow in almost every type of soil. Tobacco is an extremely hardy plant. It grows pretty much where any other agricultural crop will grow, although, as a rule of thumb, tobacco grows better in soils which drain well. The important thing to note is that tobacco will be extremely affected by the soil in which it is grown; lighter soils will generally produce lighter colored tobacco, while darker soils will generally produce darker colored tobacco.
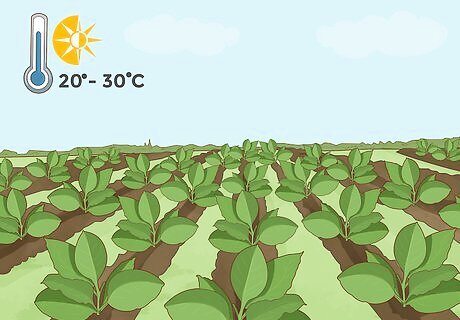
For best results, grow tobacco in a climate that's dry and warm. Tobacco requires a frost-free period of 3 to 4 months between transplant and harvest. For best results, tobacco should be ripened without heavy rainfall; excess water causes tobacco plants to become thin and flaky. The ideal temperature for growing tobacco is 68° to 86° F (20° to 30° C).
Planting and Transplanting Tobacco
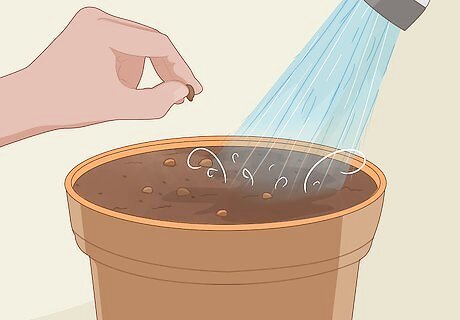
Sprinkle tobacco seeds onto the surface of a sterile seed starting mix and lightly water. Be sure you place your starting mix in a small flower pot, preferably with holes in the bottom. These seeds should be grown indoors for 4-6 weeks. Seed starting mix consists of compost and other nutrients which promote healthy seed growth. They are available at most gardening and home improvement stores. Tobacco seeds are extremely small (not much larger than a pin prick), so be sure not to sow them too thickly. Allow adequate spacing between seeds to avoid overcrowding. Because tobacco seeds are so small, it's not advisable to begin them outdoors. Also, their nutrient requirements are different from many other plants, so adding a bit of gravel or special fertilizer designed for tobacco is a good idea. Tobacco seeds require warm temperatures ranging from 75-80 degrees Fahrenheit to properly germinate. If you aren't growing in a greenhouse, make sure your indoor area meets these temperature requirements. Do not cover the seeds with soil since they need light for germination; covering can slow down and even prevent germination from taking place. Seeds should begin to germinate in 7-10 days.
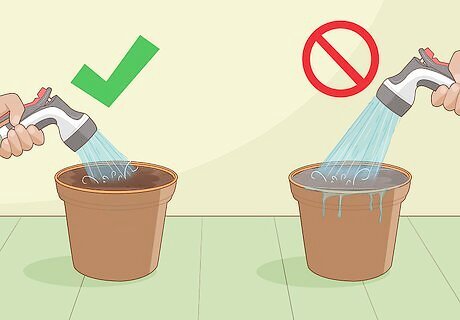
Water the soil frequently to keep it moist but not soggy. The soil should never be allowed to completely dry out. Be extra careful when watering because the force of the water can uproot the freshly emerging tobacco seedlings and cause them to die. If possible, water the seedlings from the bottom. If you used a flower pot with holes in the bottom, set the pot on top of a tray of water. Leave it there for a few seconds so that the water is absorbed by the soil. This will water the seedling without wetting the leaves.
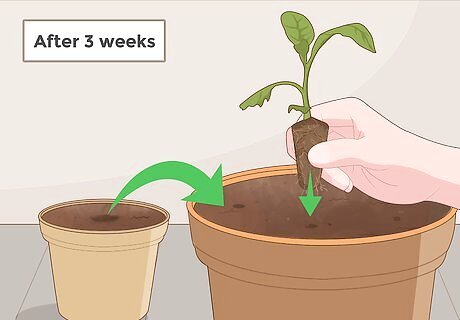
Transplant your seedlings into a larger pot after 3 weeks. Your seedlings should be large enough for transplantation if you watered and stored them correctly. Transplanting seedlings to a larger container will allow them to grow a strong and healthy root system. To see if your seedlings are the right size, try grasping them. If you can easily pinch them between your thumb and index finger, they are ready for transplanting. If they are still too small, allow the germination process to continue until they have reached the right size. Transplanting tobacco plants bare-root (without soil) directly from the seedling pot to the garden is an easier method, as it only involves one transplantation. However, once planted, the bare-rooted plant can go into "transplant shock" where some or most of its largest leaves turn yellow and wilt. After a week, the tobacco plant will begin to flourish once more, but avoiding transplant shock altogether will save you a week of waiting as the potted plant will begin growing immediately once transplanted.
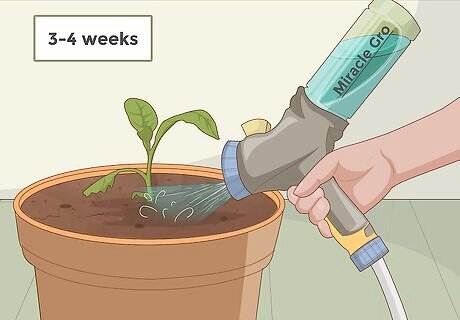
Water your seedlings with plant starter fertilizer solution like miracle grow or seaweed/fish emulsion fertilizer. This should be sufficient food for the plants until they are ready to be transferred to your garden in approximately 3-4 weeks. If your plant begins to look yellow or look stunted, another dose of fertilizer may be needed. Do so sparingly, however, since over-fertilization while in pots may burn the plants roots or lead to overgrown, spindly plants.
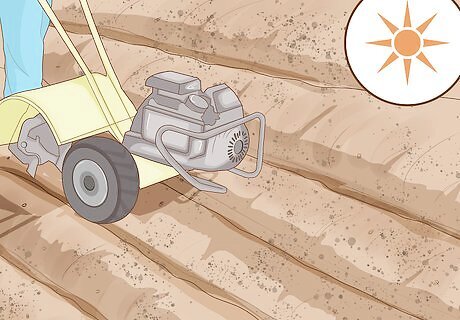
Prepare your garden plot for transplanting the larger plants. Be sure the area you plant the tobacco is constantly exposed to sun, well-drained, and tilled. Lack of sun will result in spindly plants, poor growth, and thin leaves. This may not be problematic if you intend on planting tobacco for cigar wrapper use, since growing tobacco under shade can create desirable leaf characteristics. Also test the pH levels of your garden. Tobacco plants need to be planted in moderately acidic soil, otherwise they won't flourish. The soil itself should have a pH of 5.8. Poor growth and some growth disorders may occur if the soil pH is 6.5 or higher. Avoid preparing your garden on soil that is infested with diseases and nematodes. Nematodes are parasitic worms which feed on tobacco and are extremely difficult to exterminate once infestation occurs.
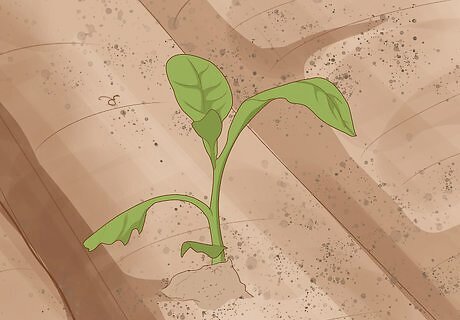
Transfer the tobacco plants to your garden. When the plant's shoots are 6–8 inches (15.2–20.3 cm) in length, and you're sure the freezing period is over, you can transplant the tobacco to the garden. Space the plants at least 2–3 feet (0.6–0.9 m) apart in a row, and space rows 3 1/2 - 4 feet from each other. Tobacco plants are "heavy feeders," meaning they will deplete the nutrients in the soil in about 2 years. To counteract this, employ a 2 year rotation in your growing space by planting for 2 years in a different location and waiting 1 year before transferring it back to its original location. Rather than having an empty garden plot, you could rotate tobacco with plants that are not susceptible to common soil-borne pests, like corn or soybeans.
Caring for Tobacco
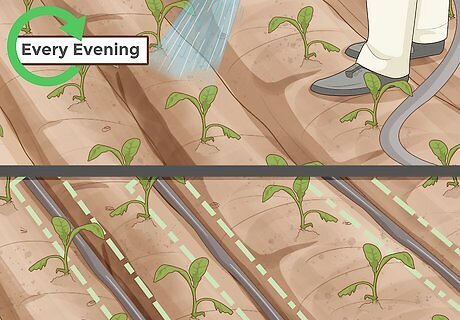
Water the tobacco thoroughly each evening for a few days as the plants settle. Once they become better established, you can water less frequently to avoid over-watering. Keep the plants well watered without making the soil soggy. If your garden area may experience drought, consider installing an irrigation system. This will prevent the soil from becoming excessively dry, which can then hinder tobacco growth. If you expect a few days of light drizzles or rain, you can water even less frequently. The structure of the tobacco plant's leaves enables the plant to collect and funnel the water down to the base of the plant.
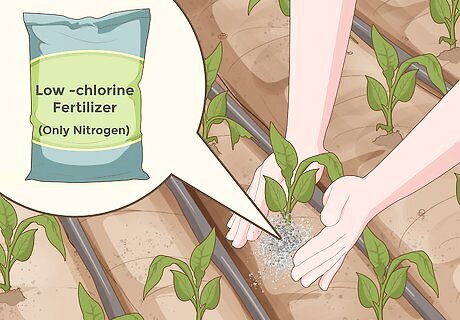
Apply a low-chlorine fertilizer which only contains nitrogen in nitrate form. Fertilizers used for tomatoes, peppers, and potatoes are also suitable. Over-fertilizing is a serious concern, as it can cause damaging salt accumulation. The application amount will depend largely on the grade of the fertilizer, the natural fertility of the soil, losses of nutrients due to leaching, and other subjective factors. Consult your fertilizer's directions for the most optimal usage. It is recommended that you apply the fertilizer several times. Once the tobacco begins to flower, there should be no need to fertilize further.
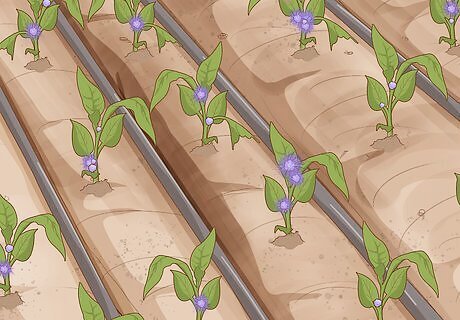
Top the tobacco plant as soon as it begins to flower. Topping is the removal of the terminal (center) bud and allows the upper leaves to get larger and thicker than if they were untopped. The terminal bud is the most prominent and is typically located at the very top of the stem. The top can be removed by simply breaking or cutting it off, preferably before any flowers open. Soon after the top is removed, axillary buds or suckers will develop at each leaf. Remove these by hand as well, otherwise they will reduce the tobacco's yield and quality.
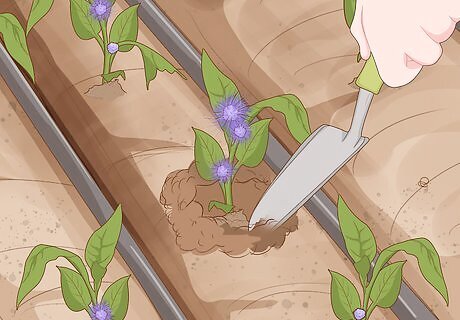
Hoe gently around your tobacco plants to keep them free of weeds. You can also pull up soil around the base of the plant to help strengthen it. Tobacco roots grow quickly and the root structure is quite large, with thousands of small hair-like feeder roots that grow close to the soil surface. Be careful when tilling or hoeing, as penetrating the soil too deep can damage the roots. After 3-4 weeks from planting, heavy tilling should be stopped and only light scrapings to control weeds should be done.
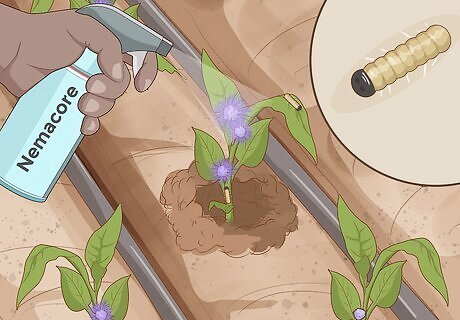
Spray your plants with tobacco-specific pesticides if you notice pests or rot. Common tobacco pests include budworms, hornworms, and pathogens. Tobacco is subject to infestation by many different bugs and diseases. The rotation process should help reduce the likelihood of infestation, but it is no guarantee. If you still find your tobacco to be infested, many gardening and home improvement stores sell tobacco-specific pesticides. Brand names include "Nemacor," "Prowl," and "Admire." Keep in mind that some pesticides are specifically geared towards insect control on young plants, while others just kill fungus. Find a pesticide which is most suitable to your situation.
Harvesting and Curing Tobacco
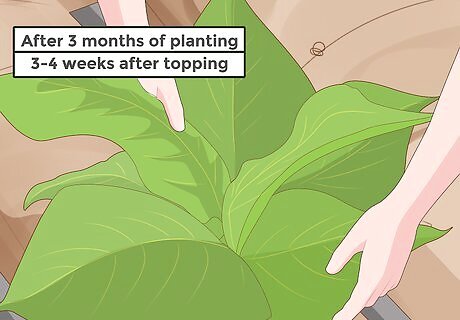
Cut your tobacco plants at the stalk while keeping the leaves attached. Alternatively, you can remove the leaves from the stalk in the field. Your plants should be ready for harvest about 3 months after planting. Stalks should be cut about 3-4 weeks after topping. The lower leaves will be partially deteriorated at this time. If you remove the leaves in the field, there should be 4 or 5 harvests at intervals of 1-2 weeks, starting with the lower leaves. The first harvest should start soon after topping and when the leaves show a slight yellowing. Flowers will inhibit the growth of your leaves and will compete for sunlight; removing them is important for obtaining the broadest tobacco leaves possible. You will need to keep the leaves intact because they will be hanged during the curing process. Curing is necessary because it prepares the leaves for consumption; the process produces various compounds in the leaf which give cured tobacco its hay, tea, rose oil, or fruity aromatic flavor. Curing also contributes to the tobacco's "smoothness" when consumed.
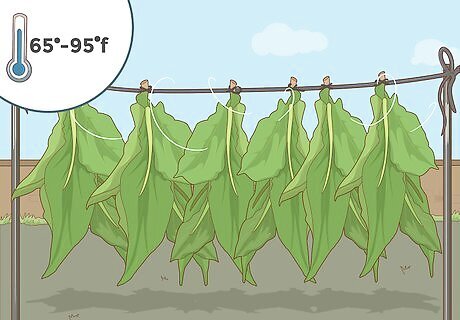
Hang your tobacco leaves in a well-ventilated, hot, and humid area. The suggested temperature for curing ranges from 65 degrees to 95 degrees Fahrenheit, while the most optimal humidity ranges from 65-70 percent. Be sure to provide adequate space between the stalks to allow for satisfactory drying of the leaves. Proper curing should take a few weeks in order to achieve good quality. Tobacco that cures too fast will be green and will likely not have good aroma or flavor. Leaves that cure too slow may develop mold or rot. Be sure to monitor your tobacco leaves closely for these signs and adjust your temperature/humidity accordingly. If curing leaves on the stalk, remove the leaves from the stalk once curing has completed. A building that can be opened and closed as needed to control the humidity and drying rate is ideal. Some producers of homegrown tobacco have built curing facilities and may offer them for sale. Air curing tobacco is primarily reserved for cigar use. Tobacco can also be cured using fire, the sun, or can be flue-cured. Fire-cured tobacco typically takes between 10-13 weeks and is used to make pipe tobacco and chewing tobacco. Sun-cured and flue-cured tobacco is used in cigarettes.
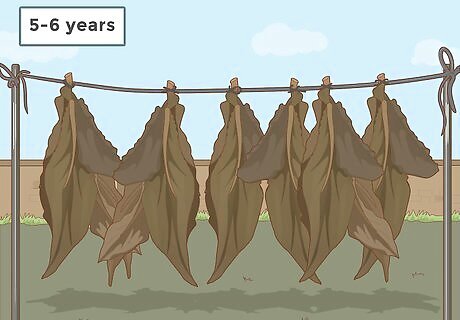
Age your tobacco in conditions similar to the curing process. Commercial tobacco is typically aged for a year or more, but aging your own tobacco can take up to 5-6 years. Aging will not occur if the temperature and moisture content is not perfect. If the tobacco is too dry, it will not age; if it is too moist, it will rot. Unfortunately, the proper temperature and humidity vary widely and will require some experimentation on your part. Monitor your leaves closely during the aging process to ensure that they remain moist, yet rot free. Aging is not an exact science and will require impromptu adjustments when necessary. Aging your tobacco leaves is optional, but know that un-aged tobacco is often harsh and lacks good flavor.


Comments
0 comment