views

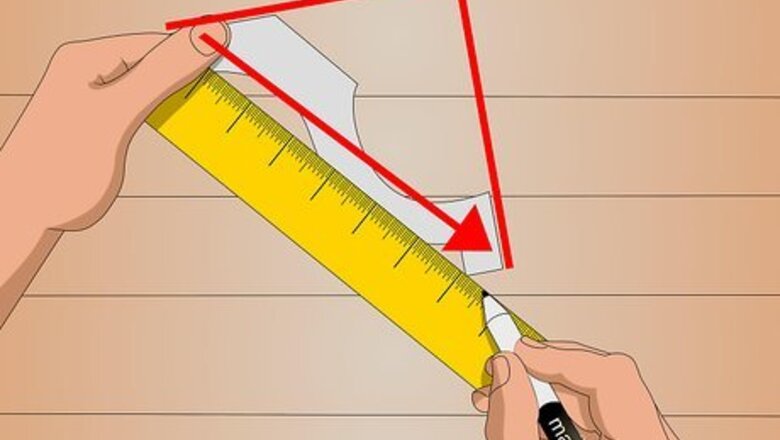
Measure the width of your coving and mark this spot on a ruler.
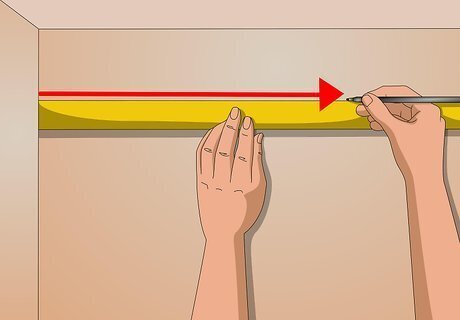
Draw a straight line on each wall that is as far from the ceiling as the width of your coving. Use the spot marked on your ruler as a guide. The line should be level and run between every corner. This will make the adhesive used to install coving stick more strongly.
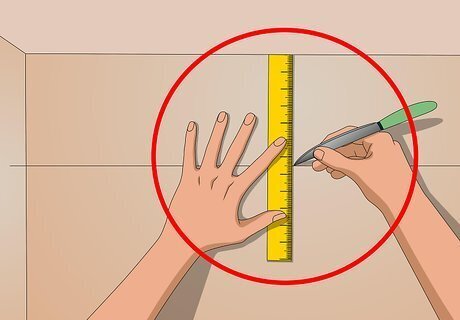
Score the area in between the lines and the ceiling using a knife so that there are no large sections of undisturbed wallpaper or paint.
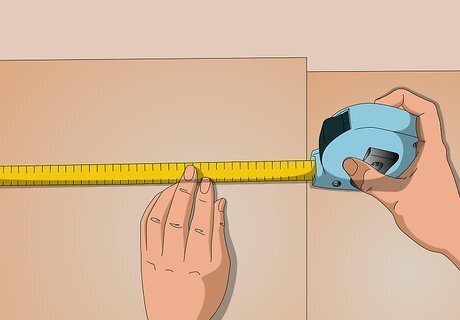
Measure out the coving sections you will need. At each corner, you will need to cut the coving at a 45-degree angle. This will allow the two sections of coving running from perpendicular walls to slide over each other. One section of the coving running into a corner should protrude at the top (with the cut sloping upward from the bottom), while the other should protrude at the bottom (with the cut sloping downward from the top). Plan out which sections will slope which way, and mark these lines.
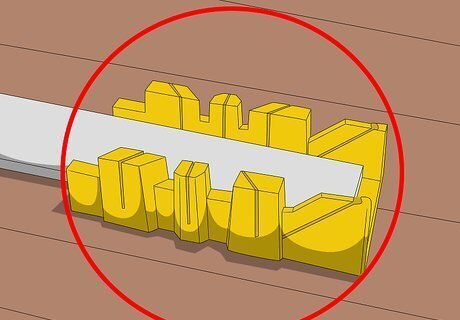
Place the coving sections in a miter box lining up the sloped lines so that they can be easily cut.

Cut the coving sections using a saw ensuring that the edges are as level as possible.
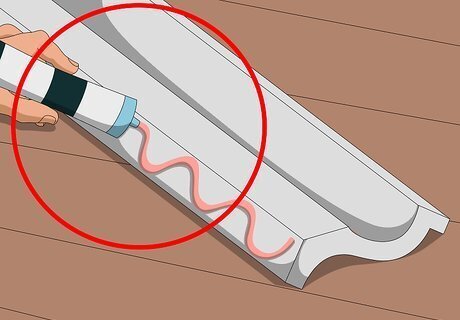
Apply adhesive to the back of your first coving section. You should have a thin, even layer that covers the entire length of the coving.
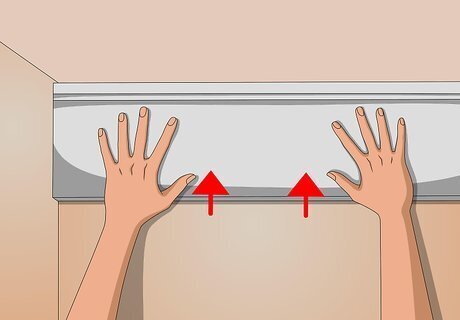
Press the first coving section on the wall.

Use your line as a guide and hold the coving firmly in place, tamping with the palm of your hand.

Hammer a few nails into the coving section to keep it in place as the adhesive dries.
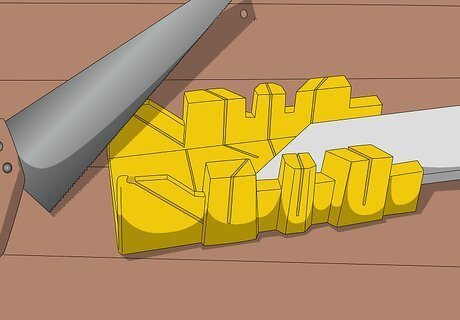
Repeat Steps 7-10 for the rest of the coving sections.
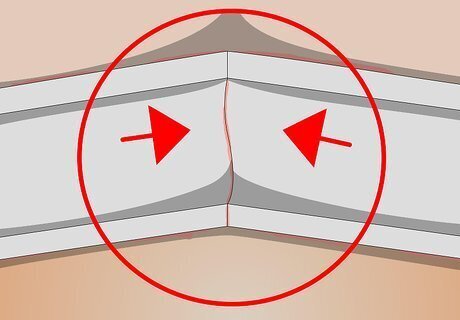
Apply adhesive to the edges of the coving sections that will meet at the corners and press them together.

Wipe away any excess adhesive using a towel.
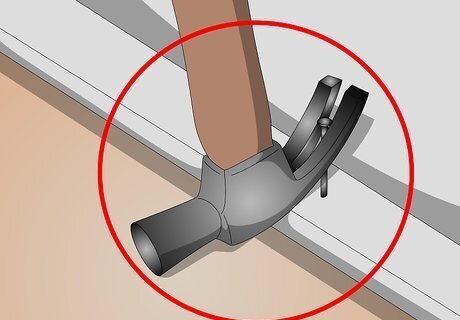
Remove the nails once the adhesive has dried and paint or finish as desired.




Comments
0 comment