
X
Expert Source
Melissa JannesBeauty Stylist
Expert Interview
While you can choose to only use one of these products to help fill in your eyebrows, they work best when they're used together.
Defining the Brows
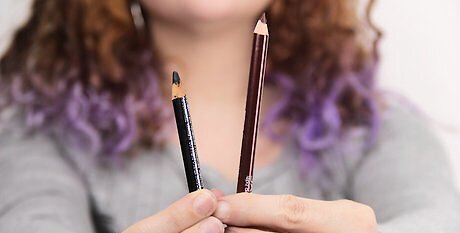
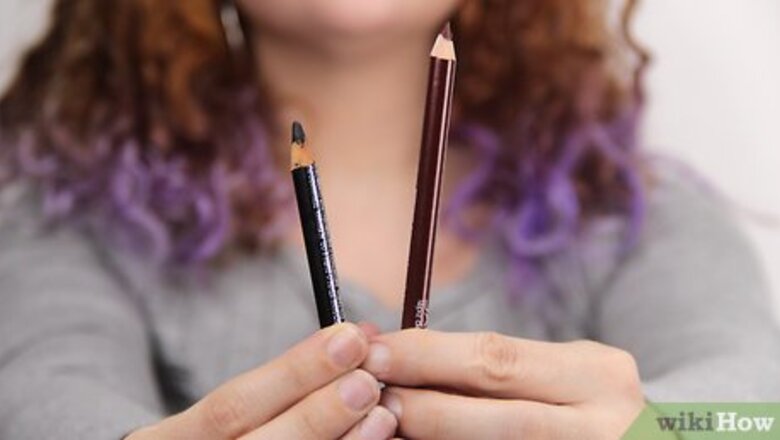
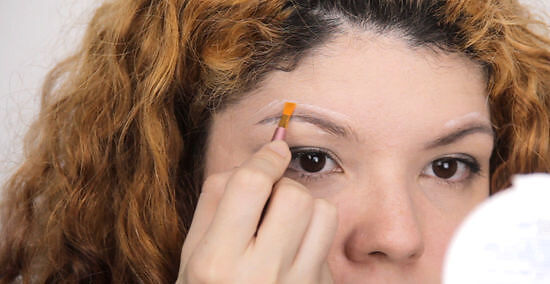
Choose an eyebrow pencil 1-2 shades lighter than your natural brow color. This is may help to ensure that your brows don't look too dark once they're filled in. You can find a variety of eyebrow pencil colors at your local drugstore, beauty supply store, or big box store. Taupe is a popular eyebrow pencil color for blondes. Keep in mind that this may not work for blondes with very light blonde eyebrows, which may look almost translucent. Try different shades to see what works best for you.
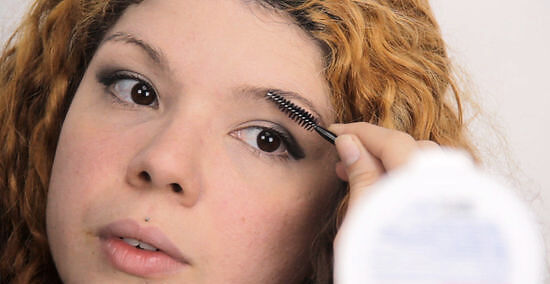
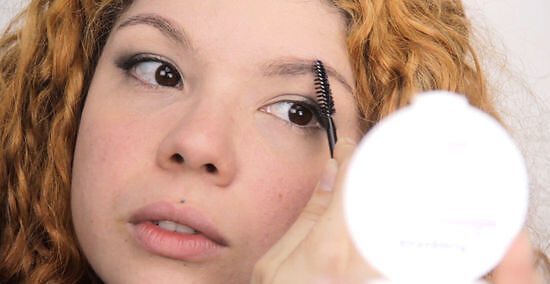
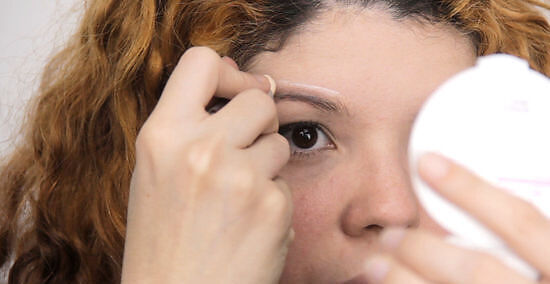
Comb your brows in an upwards motion using a spoolie brush. Spoolies look just like the brush used to apply mascara. Use the spoolie to brush your eyebrows with upward strokes. Slide the spoolie along the top of your eyebrow to create a nice line and fix any stray hairs. If you don't have a specific brow brush, you can also use a clean toothbrush.
Define the bottom of your brows using small strokes of the pencil. Start at the front of your brow, closest to your nose, and begin drawing a line at the bottom of your brow to outline it. Use small, soft strokes to mimic the look of real hairs. Move along the arch of your brow, making thin strokes until you get to the tail of the brow. Avoid drawing one long line under your brow—this doesn't look natural.
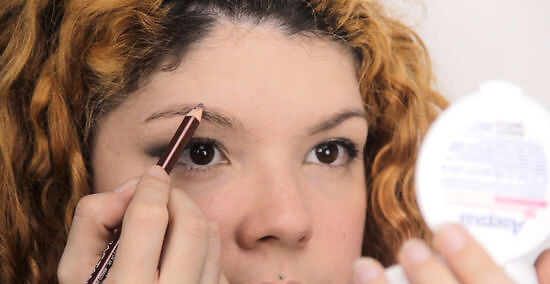
Start outlining the top of your brow near the arch. Using the brow pencil, start drawing a line just as you did at the bottom of your eyebrows. Starting near the arch will allow you to get the trickiest part out of the way and will set up how you should outline the second eyebrow. Use small, light strokes for the top of the eyebrow when creating the line. Follow the natural curve of your eyebrow, letting it guide where you make the marks. Taper the tail of each eyebrow for a natural look.
Fill in your brow with the pencil, if necessary. If you do choose to fill in your entire brow as opposed to just outlining it with the pencil, it's important to use very soft, small strokes. Use the light-colored eyebrow pencil to fill in sparse spots to give your eyebrows an even look. You can choose to fill in your eyebrows with pencil and powder, but know that doing both will likely make your eyebrows darker than just doing one or the other.
Blend the lines with the spoolie, if desired. Running the spoolie through your eyebrow hairs after you've finished using the brow pencil will help even out any lines that are too thick. Using the brush will also unclump any hairs that had been stuck together, giving your brows more volume.
Creating a Fuller Look

Select a brow powder that's one shade lighter than the hairs. Similar to the brow pencil, choosing a brow powder that's a shade lighter than your actual eyebrows will prevent your brows from looking too dark once you fill them in. Check your local drugstore, big box store, or beauty supply store to see which brow powder is best for you. If you'd rather have a bold look, choose a shade darker than your natural brow color.
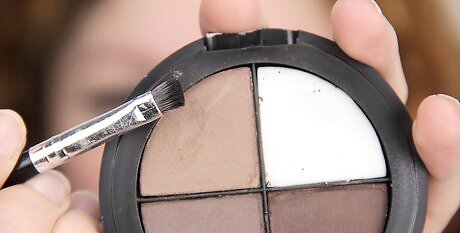
Opt for using eyeshadow as an alternative to powder, if desired. If you already have an eyeshadow that's close to your brow color, you can use this just as you would a brow powder. Select a shadow with a matte finish and make sure the eyeshadow doesn't have sparkles in it to avoid glittery eyebrows. For example, super light eyebrows can be filled in with a light tan or chestnut colored eyeshadow.
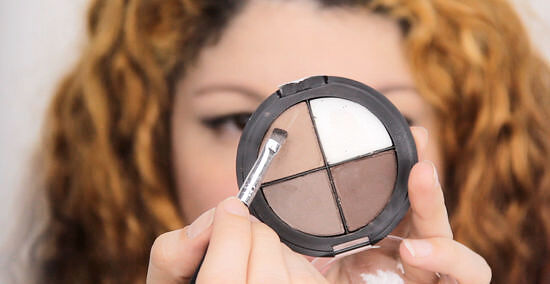
Use an angled brush to apply the powder to your eyebrows. Dip a small, angled makeup brush into the powder, shaking or tapping off any excess. Start towards the inner part of your eyebrow closest to your nose, filling it in with soft, small strokes of the powder. Go slowly and avoid applying too much so that your eyebrows don't become too dark. If you outlined your eyebrows with pencil, stay within these lines when applying the powder. For a natural look, make the color at the start of the eyebrow a bit lighter than the arch and tail of the eyebrow.
Comb through the brows using a spoolie to spread the powder. Brush the spoolie in different directions over your eyebrows to spread the powder evenly. Once it's evenly placed, use the spoolie to create upwards strokes for a full, natural look.
Adding Finishing Touches
Sketch a line above and below your brow using a concealer pencil. Using a concealer pencil that's a shade lighter than your skin tone, make a line right below your eyebrow and right above. This will help make the shape of your eyebrows stand out. While the line should be made right above and below your eyebrow line, don't worry too much about the exact placement—these lines will be blended.
Blend the concealer using a flat, synthetic brush. Take the flat makeup brush and begin blending it along your eyebrow line. This is supposed to help cover up or fix any mistakes that you made while using the eyebrow pencil or powder. Be careful not to blend the concealer too far into your eyebrows, or you'll end up covering up some of the definition you created.
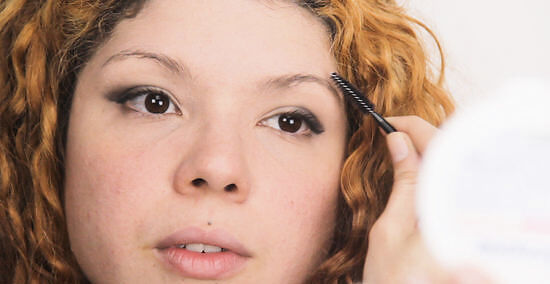
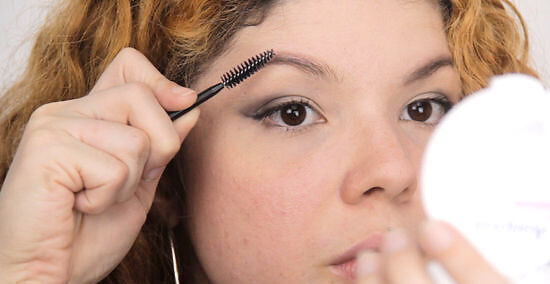
Use a spoolie brush to blend any harsh lines and separate the hairs. Take your spoolie brush and run it through your eyebrows one last time, separating all of the hairs and evenly distributing the product. Create upwards strokes with the brush before flattening out the top of your brow line with the spoolie.
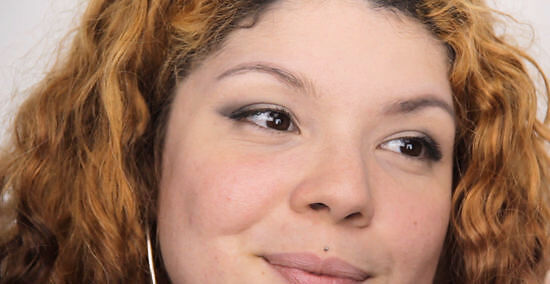
Set your brows using a clear brow gel. Lightly brush the clear brow gel, or clear mascara, onto your eyebrows. This will keep your eyebrows in place and help set the makeup, preventing the pencil liner, powder, or other cosmetics from rubbing off throughout the day. You may need to experiment with how much gel you use to avoid having shiny eyebrows from excess product. Swipe the gel or mascara wand over your eyebrows in a direction away from your face, moving with the natural movement of your eyebrow hairs.


Comments
0 comment