
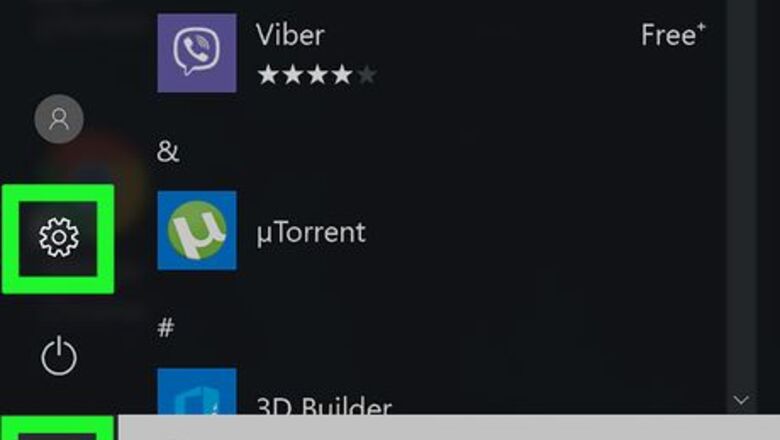
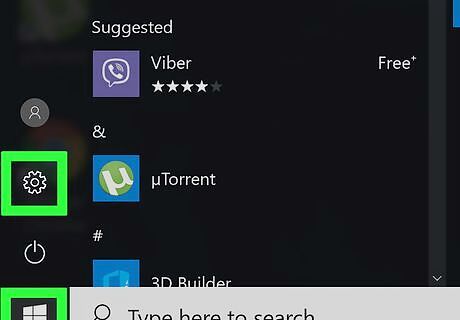
Open the Settings app. This can be done through the Start menu. Follow these steps: Click or tap the Start Windows Start button Select the settings gear Windows Settings in the lower-left corner.
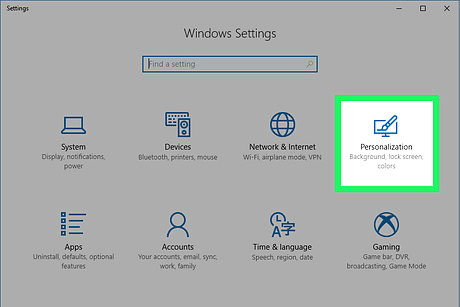
Navigate to the Personalization settings. Select Personalization from the category list.
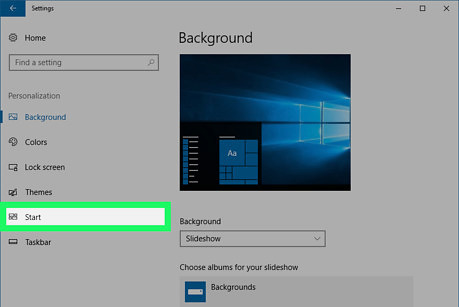
Click or tap Start from the left pane. It's second from the bottom.
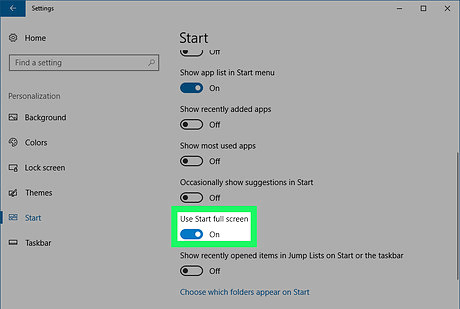
Toggle on Windows Switch On the slider under "Use Start full screen". If you don't see the setting, you might have to scroll down. If you are on a tablet, this option might already be enabled. Users with tablet mode enabled will still see the full screen Start menu, even if they toggle the switch to off.
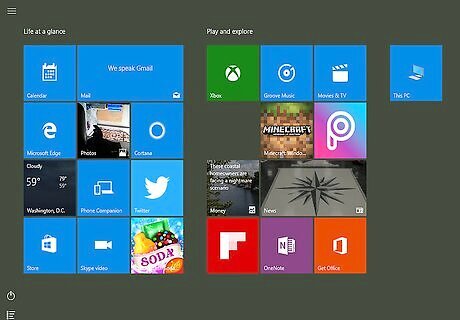
Test it out. Open the Start menu and you'll see tiles take up the entire screen. It's different from the Windows 8 Start screen. For example, the power, user, app list are to the left as well as extra tiles will be pushed down instead of to the right (no more horizontal scrolling). The entire taskbar will still be visible and usable. You'll be able to see everything, including the notification center icons and the search bar/icon (unless you've disabled it).


Comments
0 comment