
views
Using Your Computer

Launch an Internet browser. Double-click on your preferred browser’s icon on your desktop to open it.

Head to X’s login page. Once you have the browser open, click on the address bar at the top of the screen, type in www.twitter.com, and hit Enter. You will be taken to X’s login page.
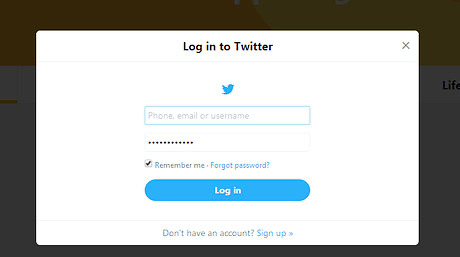
Log into your X account. Click the first box at the top of the screen and enter your email address or X name, then click the second box and type in your password. Once you have finished entering the information, click “Log in” to access your X news feed.
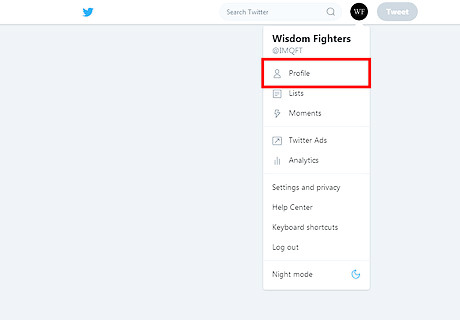
Open your profile. Click on your profile picture at the top bar and select Profile from the drop down list.
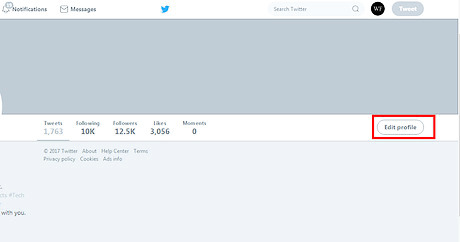
Click on the Edit profile button. This is located under your X Banner.
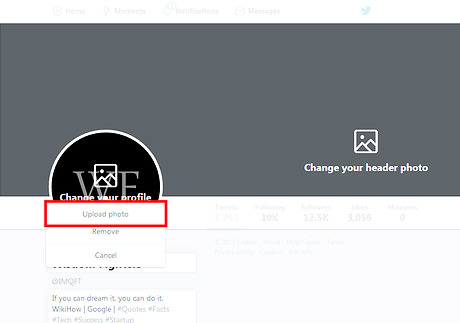
Upload a new profile picture. The first thing you can edit in the Profile Settings is your profile picture. You will notice your default picture next to a button that says “Change your profile photo.” Click on this to begin uploading a picture. Click on “Upload photo.” A pop-up window will appear showing the pictures currently on your computer. Click the one you want to use. Adjust the image by clicking and dragging it around the space provided until it fits. Once you are done with adjusting your new profile picture, click “Apply” on the pop-up box to upload it.
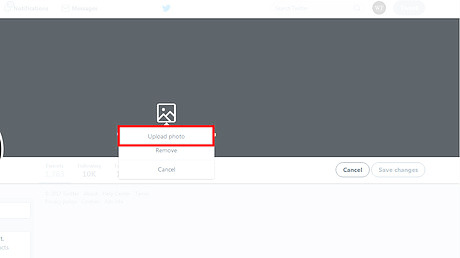
Upload a new header. The header is the image that will appear at the top of your X page for everyone to see. Select “Upload photo” beside the option; a screen will open up showing the current pictures on your computer. Click the one you want to use. Adjust the image by clicking and dragging it around the space provided until it fits. Once you are done with adjusting your new profile picture, click “Apply” on the pop-up box to upload it.
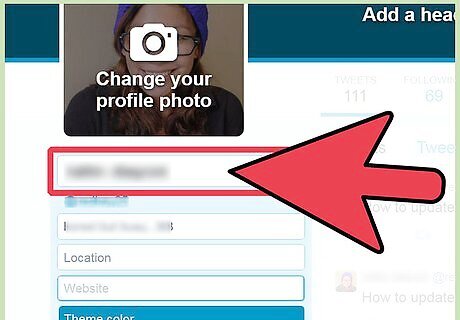
Edit your name. The third option asks for your name. Click inside the box and type your name in; this will ensure that people can find you easily on X.
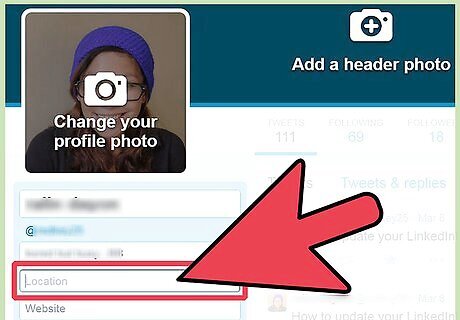
Add your location. The box below your name is for your location. Click inside the box and type in your city, state, or country.
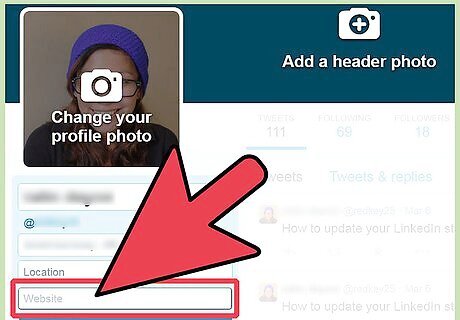
Add your website, if you have one. Below the location box is another box for your website. You can use a blog, social media page, your business page—anything you would like. Just type or copy the URL into the box. Having a website linked to your X is good for promoting your business or brand.
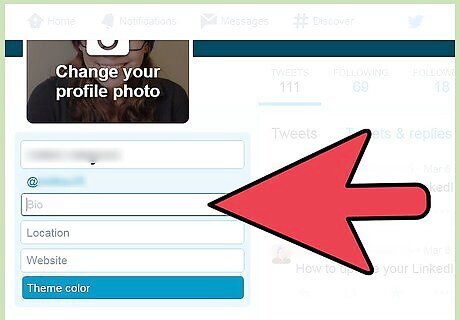
Tell something about yourself. The final profile setting you can edit is your bio. Click inside the box and type in a little information about yourself. You are limited to only 160 characters for this, so try to keep your bio simple but interesting.
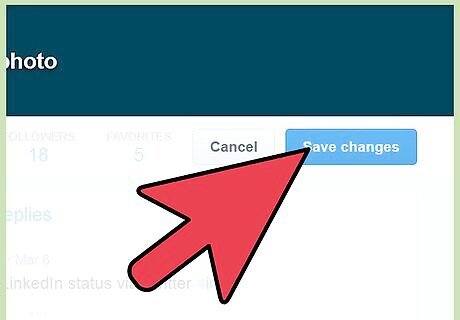
Review and save your changes. When you are finished, go over your changes to make sure everything is what you want it to be, then click the blue “Save changes” button at the bottom of the screen.
Using Your Smartphone

Launch the X app. You can do this by tapping on X’s icon on your home screen or apps drawer. If you don’t have the X app yet, you can get it from Google Play (for Android) or iTunes App Store (for iOS). Just search for the app in the app store, tap on the the X icon in the search results, and then tap “Install” or “Download” to install the app to your device.
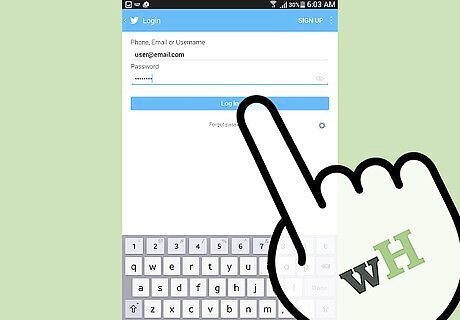
Log into your X account. Click on the box that says email and type in your email address. Then click on the box below it and type in your password. Once you are finished, click “Log in” to access your account.

Access the Edit Profile menu. Click on the 3 vertical dots on the top-right side of your screen then click the picture of you and your X handle. Your profile page will load. Directly below your picture is an “Edit profile” button; click this to begin editing your profile.Edit Your Profile Settings on Twitter Step 14Bullet1 Version 2.jpg

Change your profile picture or heading. The first and second options in the “Edit profile” page are for your profile picture and header. These can both be edited the same way: Click on the option you want to change (whether profile picture or header), and click “Choose existing photo.” Your picture library will load. Select the picture you want to use, and it will automatically upload to your X profile.

Edit your name. The third option is for your name. Tap the box under “Name” and enter in a new name if you wish.

Add your location. Below your name is the Location box. Tap inside this box and type in your location; it can be as specific or vague as you choose.
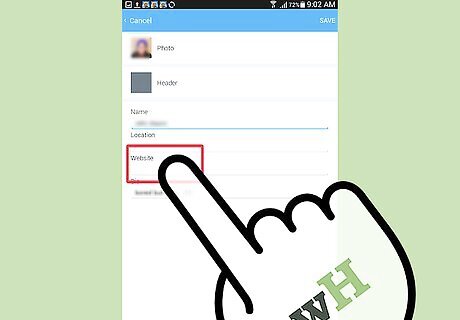
Link your website. The next option is for your website; you can enter any site you want, whether it is your business site or blog. Tap inside the box and type in the URL to your page.
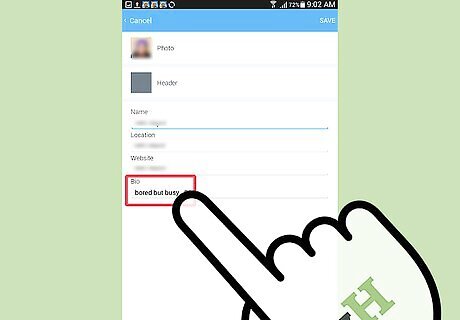
Tell something about yourself. The final box is for your bio; tap inside the box and type a very brief summary of yourself. You are limited to only 160 characters.
Review and save all your changes. When you are finished, go over your changes to make sure everything is what you want it to be, then click the blue “Save changes” button at the bottom of the screen to keep your changes.


Comments
0 comment