
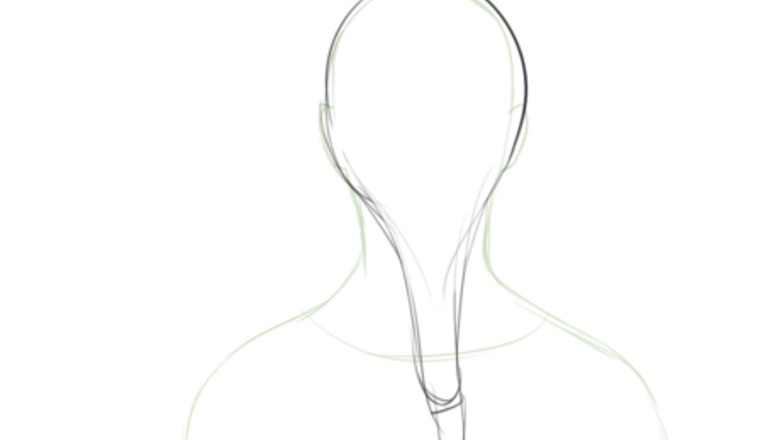
Sketching a Braid
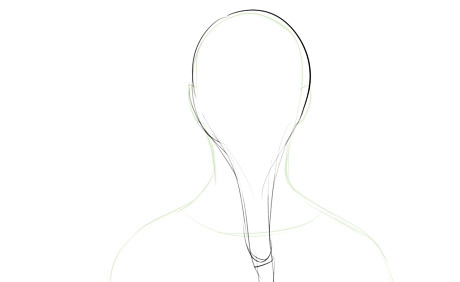
Sketch a vague outline of where you want the braid to go. Braided hair will be wider on top and narrower towards the bottom. Sketching some quick guidelines will help you keep your place. Even if the person has straight hair, the braid doesn't need to fall straight down. Curved lines make it more interesting and lifelike.

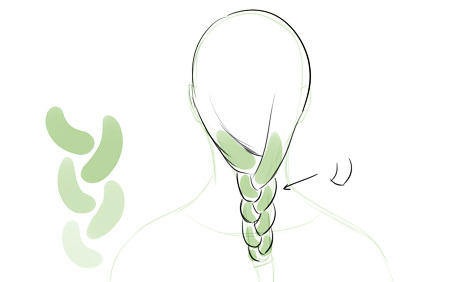
Sketch or imagine the parts of a braid. A braid consists of interlocking curves, shaped similar to a parenthesis. When placed together, they make a sort of "Y" shape. Figuring this out can be tricky for many beginning (or even intermediate!) artists. It's okay if you need to erase it and try again. It will get easier the more you practice.
Start drawing the actual outline of the braid. If you're drawing digitally, create a new layer. Following your guidelines, draw each interlocking piece. Remember, there may be little gaps in between as the pieces of hair twist around each other.
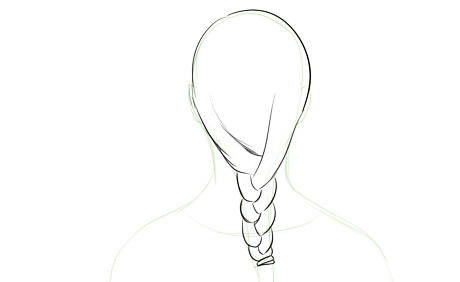
Draw a ring to tie off the braid. You'll have to interrupt one of the hair sections; this is fine. Many hair ties have to be twisted once or twice to wrap around someone's hair, so try drawing several pieces.

Draw the "tail" below the tie. This is where the hair tapers to an end. It may "fluff out" a little beyond the confines of the hair tie, but then it will usually narrow down to a near point. How much hair is below the tie depends on you! There will need to be some (or the tie would fall off), but some people leave only a little at the end while others prefer to end the braid up higher.

Add details. The braid will look prettier if you add some extra strands. Some of these strands will be inside the braid, showing how the hair flows. You can also draw strands that have come loose from the main braid. The hair should go in similar directions to the surrounding hair, but it doesn't have to be exactly the same. A little variation makes it interesting. How much hair falls out of the braid, and how far it goes from the rest, will depend on the looseness of the braid. Braids get looser over time, so if the person has been wearing the braid for a while, it will become messier. Tip: Use the elbow and wrist to keep your strokes loose. Stay loose and relaxed. There's no need to be precise; a little chaos is a good thing when it comes to drawing hair.
Coloring Digitally

Create a new layer for coloring. Put it below your line layer. Lay in a flat color or a gentle gradient to begin. Some people like to create a layer mask. If you use a mask, you can shade freely without worrying about whether you're coloring outside the lines.
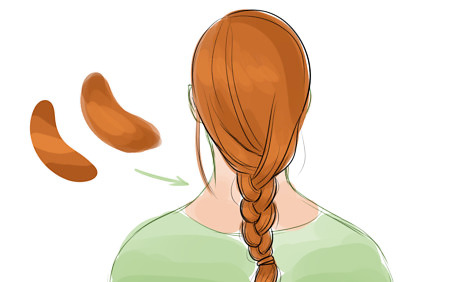
Add highlights and shadows. Each section of hair within the braid will be darker near the ends (where it folds under other sections) and lighter in the middle. Think about where your light source is coming from. In this picture, the main light source is gentle and comes from the upper left. You can color the hair ring a different color, or leave it the same tone as the hair. Some people prefer to use hair rings that are a close match to their hair color, so that it blends in visually a bit more. Tip: Your highlight color will be a little less saturated than your main hair color, and your shadow color will be a little more saturated. This keeps it more lifelike than shading with black and white. A translucent brush can be useful if you want to avoid harsh lines.
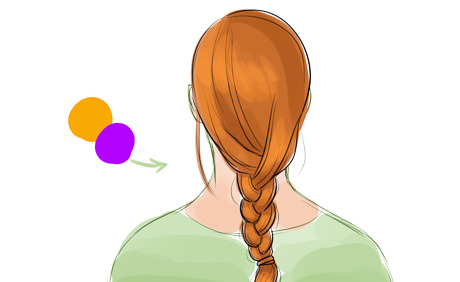
Consider colored highlights and shadows to make your picture a little more vibrant. Adjusting hue for highlights and shadows can make your art look more interesting. This picture uses a gold color on Add (Glow) mode and a purple color on Linear Burn mode. A low opacity keeps the effect from being overpowering.


Comments
0 comment