views
Making a Doughnut Bun
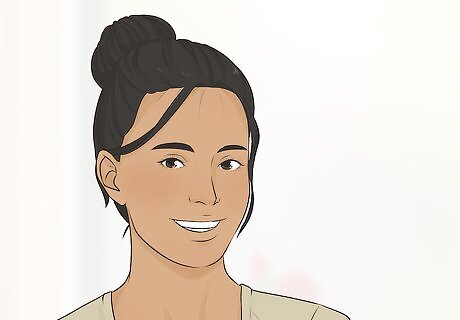
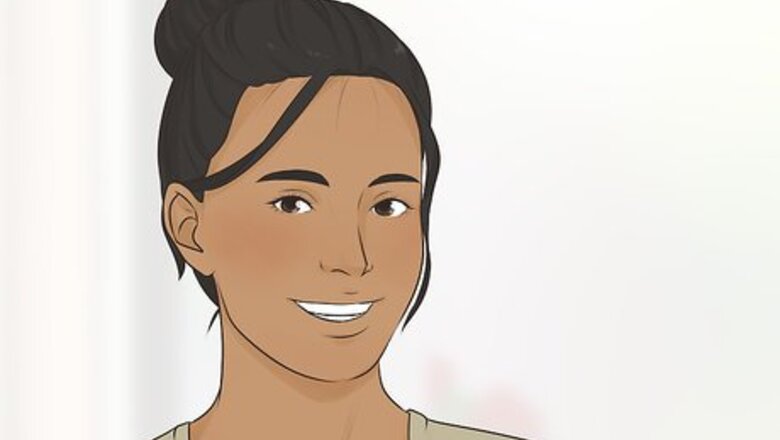
Create a doughnut bun for a sleek look. This requires very little time, and it looks very pretty. All you need is two hair-ties, a brush, and a doughnut form accessory. If you do not have a doughnut form accessory, you can use a sock. Make your own doughnut bun with a large, stretchy tube sock. Cut off one inch at the end of the sock, and roll it up. Then, roll the sock down toward the bottom edge so that it forms a doughnut shape. It should be rolled tight and be even all the way around. You can find doughnut forms in the hair accessories section of most drugstores. They are sold in blonde, brown, and black colors so you can find one that best matches your hair.
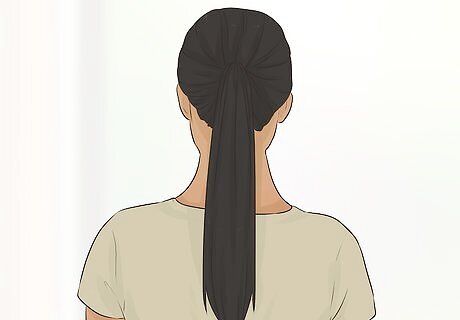
Tie your hair into a ponytail. Doughnut buns look good high or low, so the height of your ponytail is up to you. Be sure to smooth out the hair on your head, and make the ponytail tight. Use a fine tooth comb to help smooth out your hair into the elastic. If you prefer a looser, messier look, then do not pull your hair back as tight. Consider spraying your hair with some hair spray to help hold your hair in place, and smooth it down.
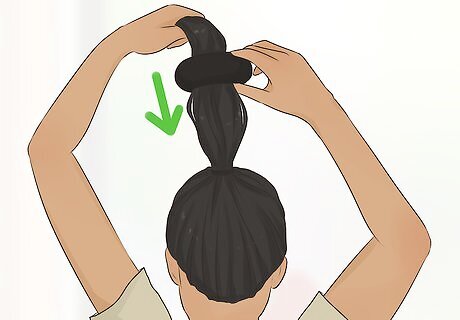
Slide on the doughnut form. Start by pulling your ponytail through the form or sock hole. Bring it all the way down to your hair tie, and make sure all of the hair from your pony tail is pulled through. Brush your hair out again if needed.
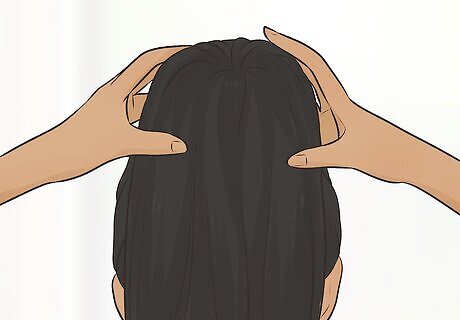
Bring your hair down around the doughnut form. Start by pulling your ponytail up, and letting it fall evenly around the form. You should not be able to see the form peaking out through any hair gaps. Once you have fully covered the form, wrap the ends of your hair around the form, twisting all of your hair in the same direction. The ends of your hair will create a hair ring around the base of your bun. If you find it hard to completely cover the form or sock, try using a smaller doughnut accessory that your hair will more easily cover.
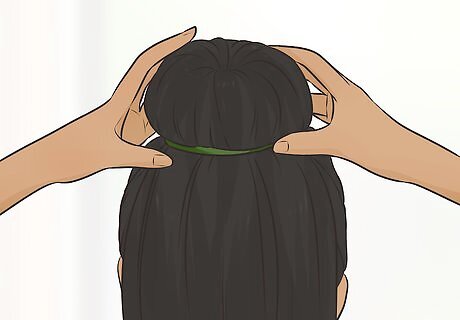
Add another elastic. As your hair is in place over the form, completely covering it, carefully place another elastic over the bun, and let it sit around the base. This is meant to hold your hair neatly over the bun accessory.
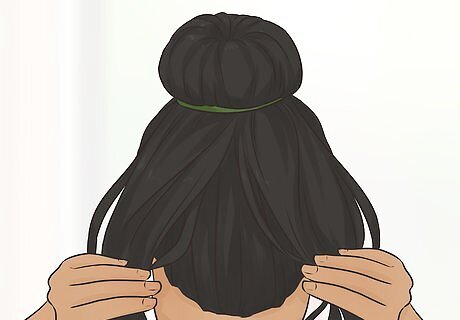
Divide your remaining hair. The ends of your hair that are left sticking out need to be wrapped around the bun. Start by dividing it into two parts. Twirl each part around the base of your bun going in opposite directions. The goal is to create an even hair ring around the bun.
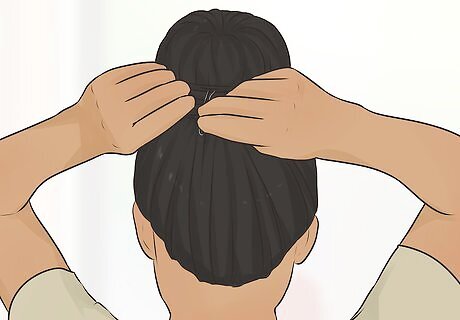
Pin down the ends of your hair. Once you have the ends of your hair placed neatly around your bun, pin them in place. You will need about three to five bobby pins depending on your hair type. Push the pins into either the doughnut form, or just beneath the sock. Be sure that the bun is tightly secured with pins before you finish.
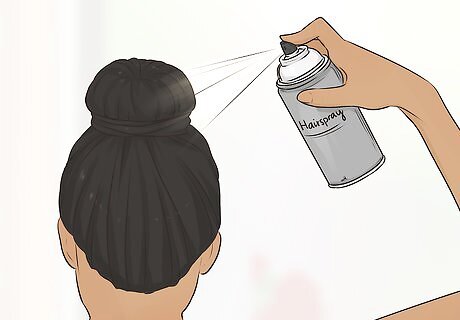
Wear your doughnut bun all day. This look should have no problem making it through the day. For extra hold, add hairspray, and bring extra bobby pins with you in case you need them later.
Creating a Pinned-Back Look
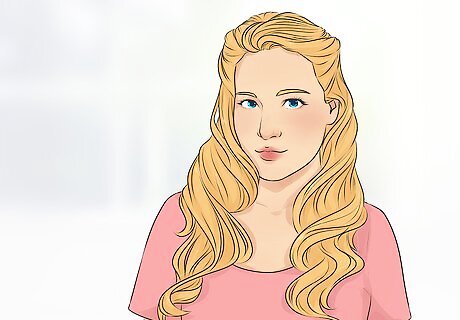
Go for a sailor look. Pinning the front sections of your hair back is adorable and keeps the hair from the front of your face. Here are a few items you need to create this look: 1-inch curling iron Bobby pins Hairspray Brush
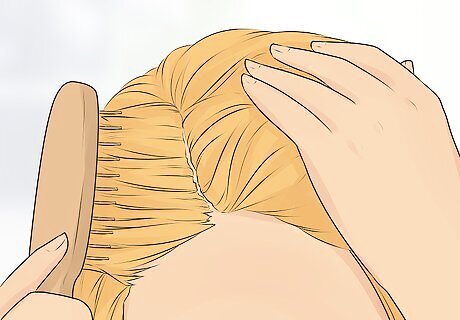
Make a side part. You can part your hair on the left or right, the decision is yours. After your make the part, grab the bigger side, starting from above your ear over to the part, and brush it out. You want to remove any bumps or knots.
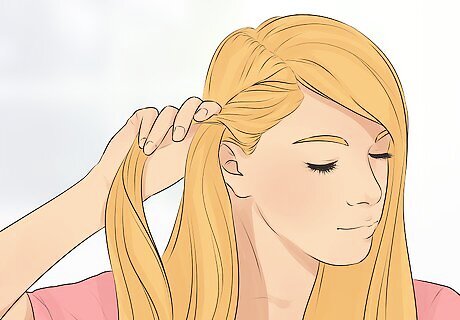
Twist your hair. Take the section, and twist it inwards several times. While twisting, bring it up toward your part.
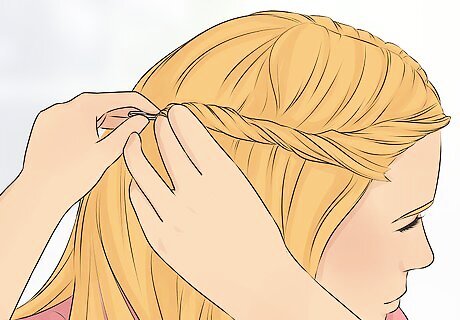
Pin down your hair. Cris-cross two bobby pins through the tail of your twist to keep it in place. The tail should be pinned down right above your ear. You can play around with the section, but it should be puffed up a bit. To create a poof, simply push the hair forward.
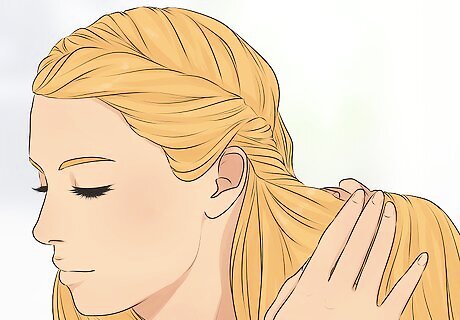
Repeat on the opposite side. Gather the smaller hair section, and twist it around several times. Pin back the tail so it is just above your ear. How far back you pin it is up to you, but it shouldn't go too far behind your ear.
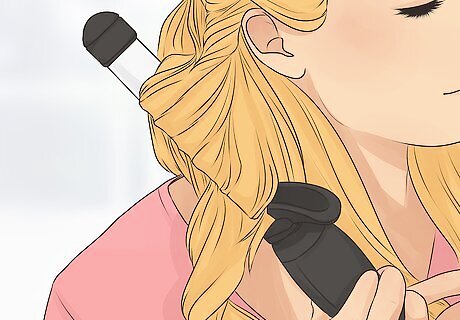
Curl your hair. Once your hair is in place, take 1" sections, and curl them using the curling iron. Hold the barrel vertically for five-seconds, and then release your hair. You should be left with a spiral look.
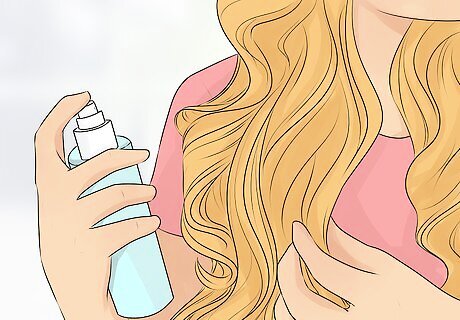
Spray in place. After you are done curling your hair, spray with hairspray. Instead of using a brush, use your finger tips to loosen, and fix your hair. A brush may straighten out your curls, or pull the pins out.
Creating Heat-Less Waves
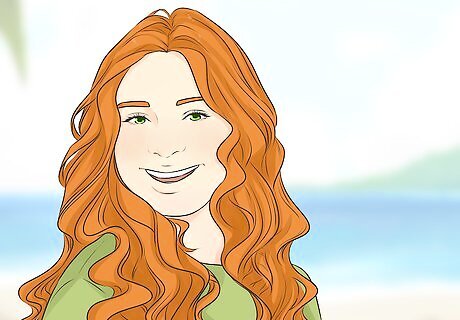
Wake up with braids for a beach look. Hair waves may look like a lot of work, but there is a trick to getting them with almost no work at all. Here are the materials you will need: Mousse Brush Comb Several hair clips
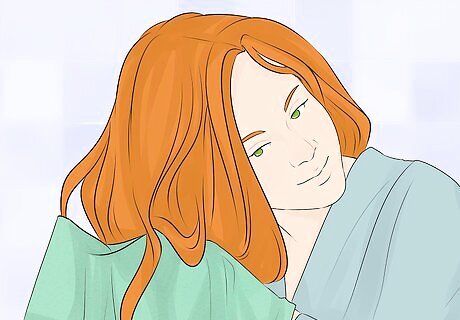
Wash your hair, and let it partially dry. Once your hair is about 80% dry, add in a bit of hair mousse or another volume stabilizing product of your choice. Carefully spray about a quarter size of mousse into one of your palms. Mousse expands quite a bit once it is out of the can, so try not to spray too much. Rub the mousse between your palms, and then spread both hands through your hair. Start at the root, and bring your fingers down through your hair to the ends. Be sure to evenly cover all of you hair.
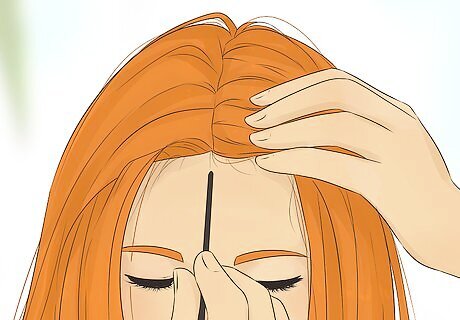
Part your hair down the middle into two sections. Take each section, and begin twisting at the roots all the way down to the ends. You want to make the twists tight, but not so tight that it hurts your head.
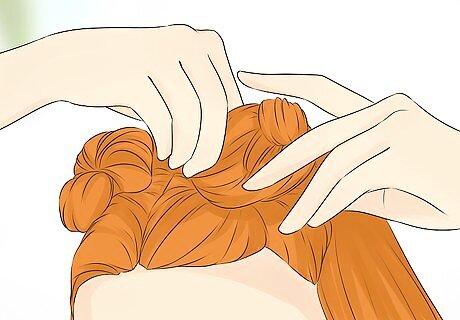
Twist all of your hair. Make sure that you twist the hair on the inside of the twists. You can do this by coming your fingers through your hair as you twist. Simply twist the section of hair around, pulling your fingers through as you do, and then remove your twisting hand, and hold the hair section with the opposite hand in place. Then, repeat the twisting process until you have twisted all the way to the ends of your hair. You will twist each section separately, but in the same direction. So both sides either need to be twisted away from your face or towards your face.
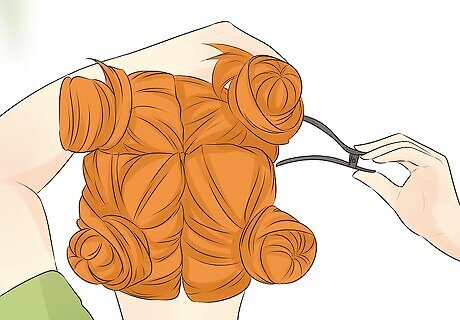
Clip each twisted section. After you are done twisting, clip each section securely in place at the crown of your head. You can use bobby pins to help keep each section in place.
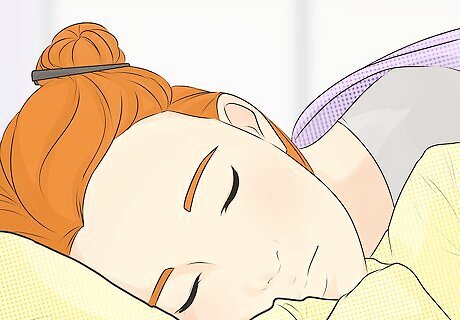
Sleep with the clips in. The trick to this style is letting your hair dry overnight in the twists so that in the morning, you can remove the clips, and reveal the waves.
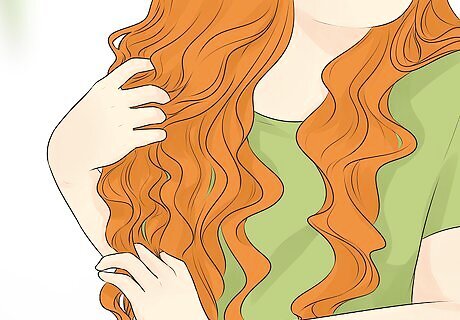
Brush your hair. After you have removed the clips, gently brush your hair, or use your fingers to comb through the waves in your hair. Add hairspray if you desire. The waves should last all day, but it depends on your hair type, climate, and styling products used.
Wearing a Perfect Ponytail
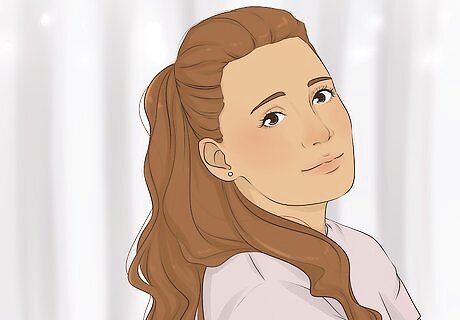
Wear a ponytail for a chic look. Ponytails will never go out of style and can be worn for formal or casual events. They are also functional as they will keep your hair away from your face, and stay in all day long. All you need is a brush, hair-tie, and a few minutes.
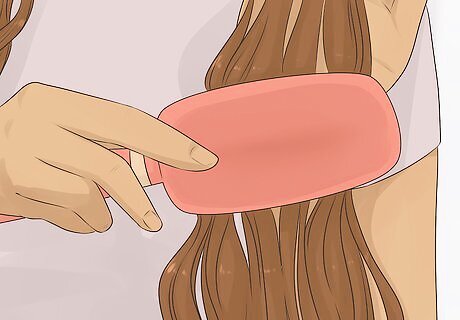
Brush all of your hair. You want your ponytail to be smooth and free of any knots or bumps. Always brush your hair from tip to root to prevent damage.
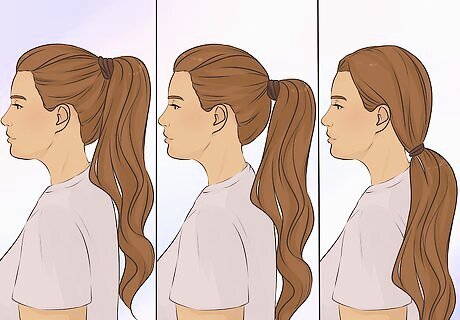
Decide on the height. You can wear your ponytail high, low, or right in the middle. The decision is based on your preference. Make a low to mid level ponytail by brushing all of your hair straight back and holding it in one hand. A fine tooth comb works great for smoothing out your hair once you already have it brushed back. Make a high ponytail by flipping your head upside down, and gathering your hair in your hands. Use a brush to smooth your hair out on your head, and flatten any bumps. When you have it at the right height, pick your head back up, and check it for bumps. If you do have uneven hair, use a comb to smooth it out.
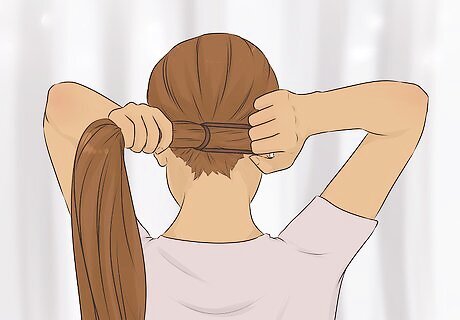
Tie it into place. Flip your hair through the hair-tie, and tie it around your hair two to three times. The amount you wrap the tie around will depend on your hair type as well as the thickness of the elastic tie. Just be sure that your ponytail is tightly secured. Use hairspray to help hold your hair in place, and prevent any split ends from sticking up. Try using an elastic hair tie that advertises as being damage-free. This will help protect your hair from breakage.
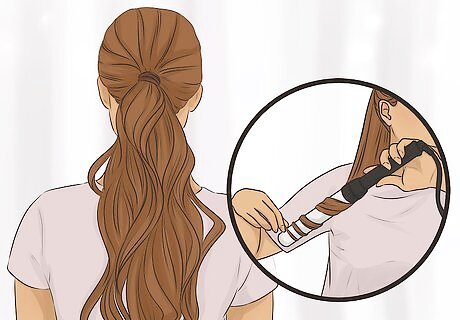
Curl your ponytail. Once your ponytail is tight and secure, add a few curls to the end. Simply divide your hair into three to four sections, and create big curls with a 3" curling iron barrel. Finish with hairspray.
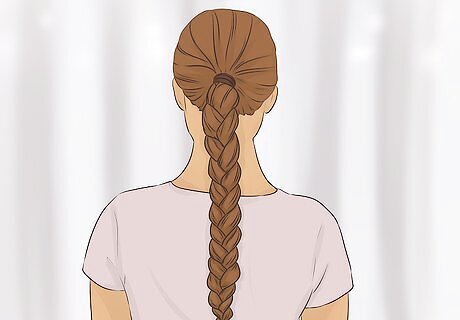
Add a braid to your pony. Braiding your ponytail is simple and can make your hair look extra stylish. All you need is a brush, some hair-ties, and the know-how. Section your ponytail into three even sections. Wrap your left piece down and under the middle piece, and then wrap the right piece down and under the middle piece. The exchange of pieces from left to right will create a braid. Once you reach the bottom, tie it off.


Comments
0 comment