
- To do body wave curls, use a curling iron or wand, wind a section of your hair up, and hold it for 15 seconds before slowly uncurling it.
- This technique involves some tight, careful movements with a curling iron or wand, so don’t skip the heat protectant spray.
- You can do body wave curls on natural hair or extensions, but you do need your hair to be at least shoulder-length for the style to look right.
Sectioning and Smoothing Your Hair
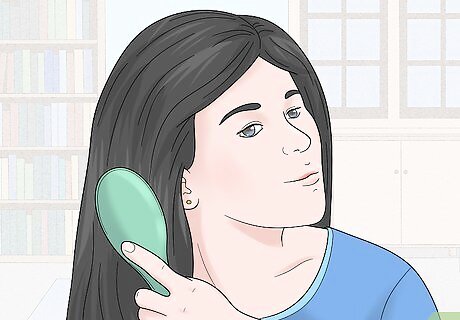
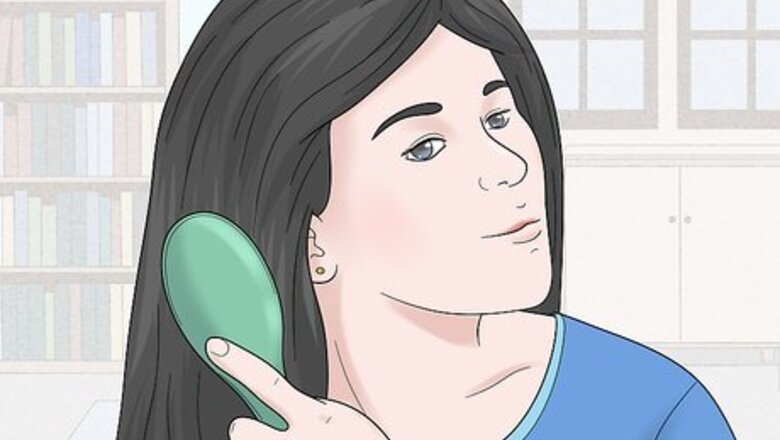
Part your dry hair the way you normally do for styling. Once you create body waves, the curl pattern will be set and it can be difficult to change your part at that point. To prevent this, go ahead and part your hair the way you normally would. Brush out your hair to remove any tangles as you're creating your part. Achieving this look requires smooth, tangle-free hair.
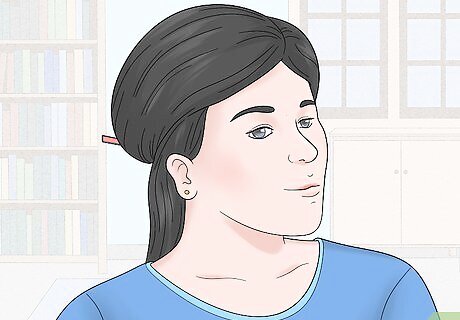
Split your hair into 2 sections based on your part and clip 1 section up. If your hair is long enough, arrange the lengths of each section over your shoulders. If not, use a loose scrunchie or plastic hair clips to secure 1 of the sections up and out of the way. You will start working on the section of loose hair first. It doesn't matter which side you start on.
Grab a 1–2 in (2.5–5.1 cm) section of the loose hair and clip the rest up. Systematically working from back to front is the easiest approach, so grab the section of hair from the very back. Loosely twist the rest of the hair on that side up and clip it out of the way. Creating smaller sections allows you to focus on creating 1 curl at a time.

Pull a small tooth comb through the loose section of hair to smooth it. Start at the root and slowly comb down through the section of hair until you reach the very end. Do this 1-3 times until the hair is as smooth as possible.
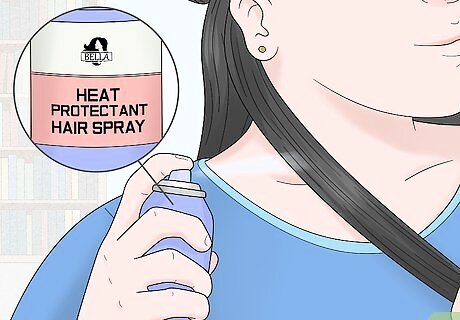
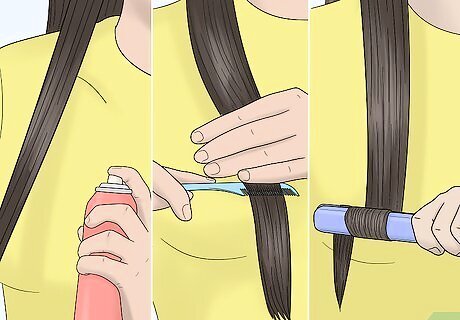
Spray the section of hair with a heat protectant spray. To prevent hair damage, spray each section of hair with a heat protectant product before you use the flat iron it. Comb through the section once more to distribute the protectant evenly and wait 10-15 seconds for the product to dry. Heat styling tools can damage your hair. You’ll be using a flat iron quite a bit for this look, so don't skip this step!
Using a Curling Iron or Wand

Use a curling iron or wand with a 1 inch (2.5 cm) barrel. The barrel size you choose depends on the curl size you want. A 1 inch (2.5 cm) barrel is the most common choice and produces great waves. You can use a curling wand, which doesn't have a clamp, or a regular curling iron. Both tools will get the job done, although a wand may produce nicer curls. If you use a curling iron, you won't be clamping sections of hair in it like you normally would. Instead, you'll wrap the hair around the outside of the barrel to create curls.

Hold the curling iron parallel to the floor and position it near the roots. Grab the first section of hair and hold it out straight so it's parallel to the floor. Put the barrel right next to the roots of the hair, positioning the barrel behind the hair. Keep the barrel parallel to the floor and angle the end downward slightly. To create the right curl pattern, you need to hold the curling iron parallel to the floor throughout the process. This may feel a bit awkward at first!
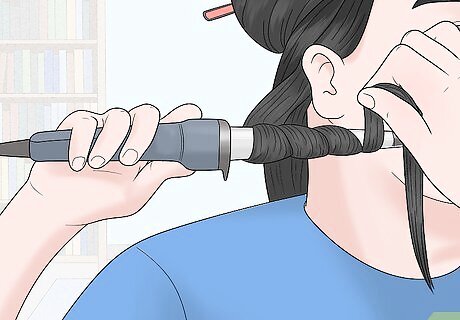
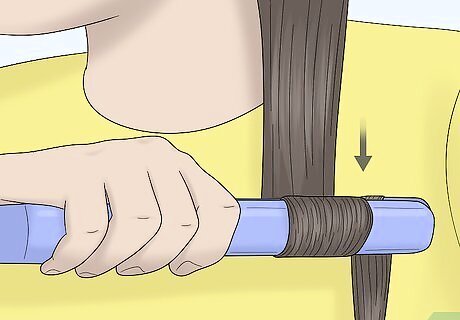
Wrap the section of hair over and around the barrel. Pull the section of hair over the barrel and back around to create the first curl. If you're using a wand, the barrel will taper at the end, so be sure to start wrapping the hair at the thickest end of the barrel. If you're using a curling iron that isn't tapered, you still want to start wrapping on the side of the barrel closest to the handle. Be sure to pull the hair up and over the barrel, in the opposite direction of your face, toward the wall behind you.
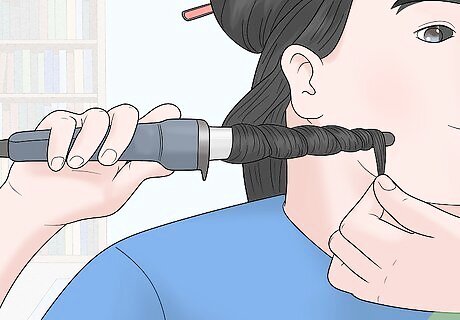
Wind the section of hair around the barrel until you reach the ends. Hold the curling iron or wand in place; you only need to move the hair around it. Keep wrapping the same section of hair around the barrel, working your way toward the end of the barrel, until you get about 1 inch (2.5 cm) from the ends of your hair. Hold on to that last inch of hair with your fingers. Hold the ends of your hair away from the barrel so you don't burn yourself.

Hold the barrel in position for 15 seconds. If your hair is very thick, you may need to hold the hair in place for a little longer than 15 seconds. Keep the barrel and your hand completely still during this time.

Release the hair and cup it in your palm for a few seconds so it can cool. Unwind the hair around the barrel, but don't let it fall down. Catch it in your open palm and cup it for a few seconds before completely releasing the section of hair. This gives your hair a few seconds to cool and helps the curl set.

Keep curling sections of hair the same way until you've curled all of it. Be sure to maintain the barrel position so that it's always parallel to the floor. Always hold the barrel behind the section of hair and wrap the hair back, away from your face, and around the barrel. This ensures you keep the same curl pattern.
Creating Curls with a Flat Iron
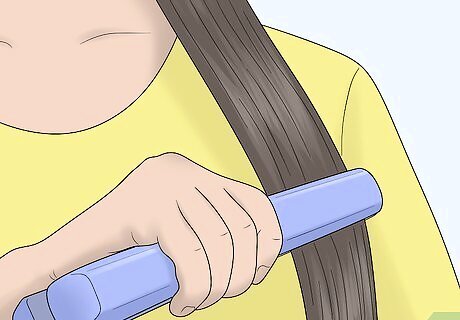
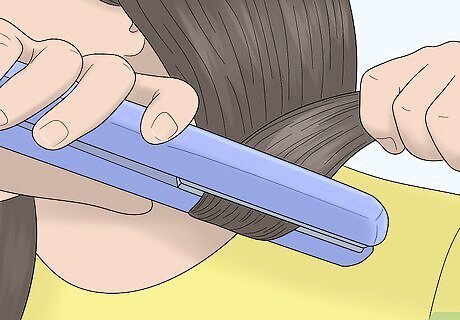
Run a 1 inch (2.5 cm) flat iron down the length of the hair to straighten it. This may seem counter-intuitive, but straightening first will help make your waves smooth and glossy. Clamp the section of hair in the flat iron near your roots and pull it slowly down the length of your hair before releasing it. A round barrel flat iron is easier to make curls with, providing results similar to a curling iron. You can still try this with a flat edge barrel, but your curls may not look as rounded. If you want your waves even looser, try a 1.5 inches (3.8 cm) flat iron.
Angle the flat iron barrel downward and clamp the hair in it again. Angling the barrel downward is important for creating the curl pattern you want to achieve. Where you clamp the hair depends on where you want your curls to start. Clamp the hair firmly. For example, if you want your waves to start at chin-length, hold the section taut with your free hand, angle the barrel down and clamp your hair at chin-length.

Turn the barrel back toward your face and make 1 full rotation. Flick your wrist back toward your face, then move the flat iron slowly and consistently as you twist the barrel 1 full rotation. This creates your first curl and will be the only time you actually rotate the flat iron.
Pull the flat iron slowly down through your hair in the same direction. Keep your wrist cocked back toward your face as your glide the flat iron slowly down the length. Your hair should slide smoothly through the flat iron's ceramic plates. If it doesn't, loosen your grip on the handle a bit so the hair can slide through more easily. Work your way slowly and steadily to the ends of your hair. You don’t need to continue flicking your wrist back toward your face. Just keep it cocked back and hold it steady. The hair slides through the flat iron plates and twists around the barrel as you move it down the length of your hair.
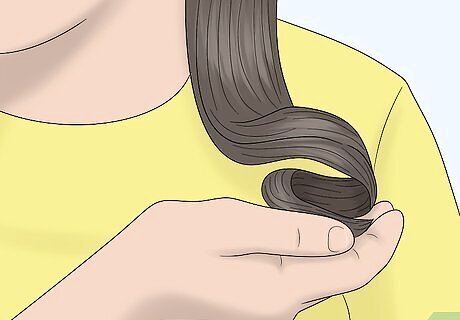
Release the hair and cup the curl in your hand for 15-20 seconds to cool. When the flat iron reaches the ends of your hair, the section will spring up into a bouncy curl. Cup the bottom of the curl in your hand and lift your palm up to where the curl begins. Hold it there until your hair cools, then slowly lower your hand to release the curl. This helps your curl set.

Release the curl and grab the next 1 to 2 in (2.5 to 5.1 cm) section of hair. Unclip your hair, grab the next section of hair, and clip the remainder back up and out of the way. You can leave the first curl dangling loosely where it is. Don’t clip the curl up or you’ll mess up the curl pattern.
Repeat the same process for the next section of hair. Spray the hair with heat protectant and comb through it with a small tooth comb. Pull the flat iron straight down through the section of hair the first time. Then, flick your wrist back toward your face and move the flat iron down the length a second time to create the curl. Don't forget to cup the curl in your palm until it cools before releasing it.

Continue the same pattern until all of your hair is curled. Continue working systematically on your first section until you run out of hair. Then, repeat the same process on the other side of your head, starting in the back and working your way forward.
Loosening the Curls into Body Waves

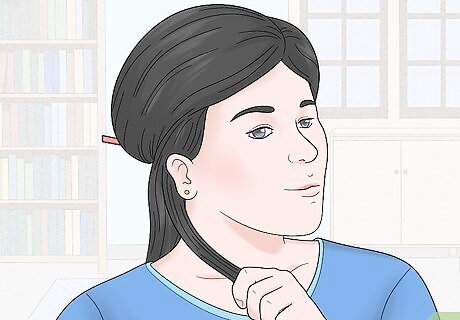
Run a wide tooth comb through all of your curls multiple times. After you finish curling each section of hair, your curls will be bouncy and very defined. To get the body wave look, run a wide tooth comb down the lengths of your curls to loosen them and create gorgeous body. Once you comb through the curls, they will feel super soft. Keep combing through your curls until your hair is as wavy as you like.

Flip your head upside down to introduce more volume. This is optional, but flipping your hair upside down once before whipping your head back up can create a lot of extra body and movement. Body wave curls are all about soft body and movement! You can also spritz dry shampoo at the roots to add volume to your style.

Mist your hair lightly with hair spray to set your style, if desired. You don’t have to use hairspray, but it can help your waves last throughout the day. If you like a lot of texture, try adding a small amount of hair wax to your hair to define the waves and provide a little more hold. Depending on how well your hair holds curl, your hair may revert to being straight by the end of the day. For most people, the waves holds for at least a day, if not longer.Tip: If you want a more permanent solution, visit your favorite salon and ask about getting the body wave perm.


Comments
0 comment