

Unlocking and Deleting a File Using Finder

Open the Finder Mac Finder. It has an icon that resembles a blue and white smiley face. Click the Finder icon in the Dock at the bottom of the screen to open the Finder.

Navigate to the file you want to unlock. Use the Finder to navigate to the file you want to unlock.
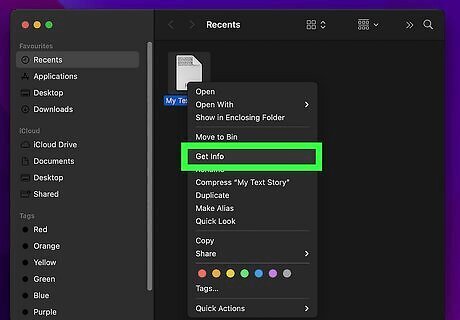
Press and hold ⌘ Command and click the file you want to unlock. This displays a context menu next to the file you want to unlock. Alternatively, you can right-click the file, if your mouse or trackpad has a right mouse button. If you want to select multiple files, hold Shift and click all the files you want to select.

Click Get Info. It's in the context menu that appears when your Command-click (or right-click) a file or folder. If you have multiple files selected, hold Option and click Show Inspector instead.
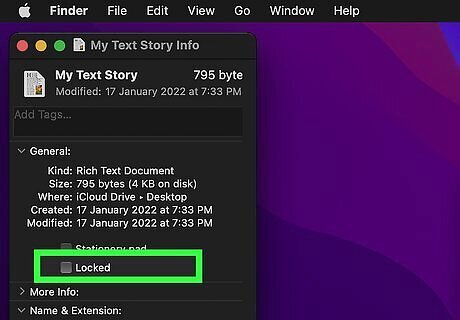
Uncheck the box next to "Locked." It's the last box below the "General" heading. This unlocks the file. If you don't see the checkbox next to "Locked," click the arrow icon (⏵) next to "General" to expand the General heading. If you are not signed in as an Administrative account, you may be asked to enter an administrative password. If asked to do so, enter an administrative password and press Enter.

Drag the file to the Trash. It's the white icon that resembles a trashcan at the bottom of the screen in the Dock. Drag and drop the file into the Trash to delete the file. Now that the file is unlocked you should be able to do so without any problems. A locked file prevents the file from being renamed or modified. It typically does not prevent a file from being deleted, but it does ask you to confirm if you want to delete the file. If you are asked if you are sure you want to move the file to the trash, click Continue to do so.

Empty the Trash. To empty the Trash, right-click (or Command-click) the Trash icon in the Dock and click Empty Trash. This permanently deletes all files in the Trash. Be sure you really want to delete the file before emptying the Trash. Once the Trash has been Emptied, you cannot recover the file(s).
Changing File Permissions
Open the Finder Mac Finder. It has an icon that resembles a blue and white smiley face. Click the Finder icon in the Dock at the bottom of the screen to open the Finder. If a file is not locked, but you still can't delete it, it's possible the file permission setting may be preventing you from deleting it.
Navigate to the file you want to delete. Use the Finder to navigate to the file you want to delete.

Hold ⌘ Command and click the file you want to delete. This displays a context menu next to the file you want to delete. Alternatively, you can right-click the file, if your mouse or trackpad has a right button. If you want to select multiple files, hold Shift and click all the files you want to select.
Click Get Info. It's in the context menu that appears when your Command-click (or right-click) a file or folder. If you have multiple files selected, hold Option and click Show Inspector instead.
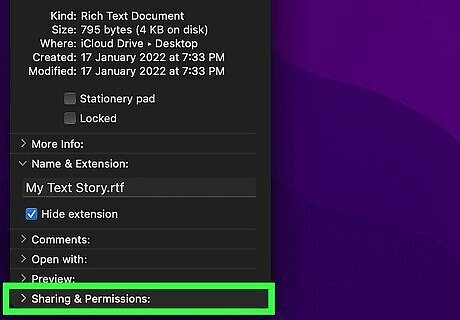
Scroll down to "Sharing and Permissions." It's at the bottom of the "Get Info" or "Show Inspector" window. This shows permissions for all users on your Mac. If you don't see a list of different user permissions below "Sharing and Permissions," click the arrow icon (⏵) next to "Sharing and Permissions" at the bottom.
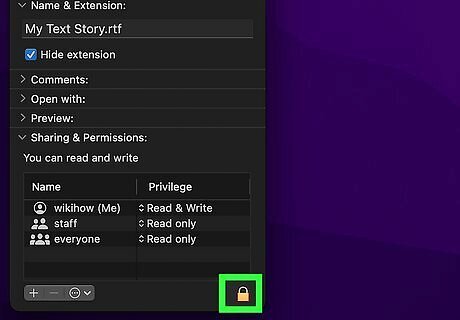
Click the lock icon (if locked). It's in the lower-right corner. If you are not signed in under an administrative account, you will need to enter the administrator's username and password in order to change permissions for a file.
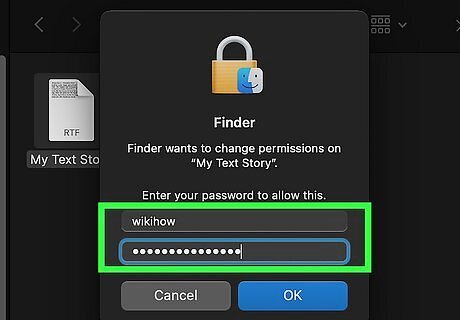
Enter the administrative username and password and press ↵ Enter. This unlocks the "Sharing and Permissions" menu and allows you to change the permissions for the file.
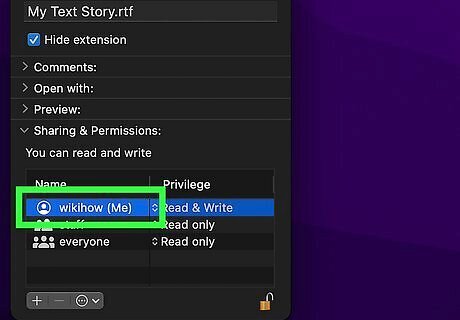
Click the status next to your username below "Privilege." If you are unable to delete a file, your privilege is most likely set to "Read only." Click Read only below "Privilege" next to your username.
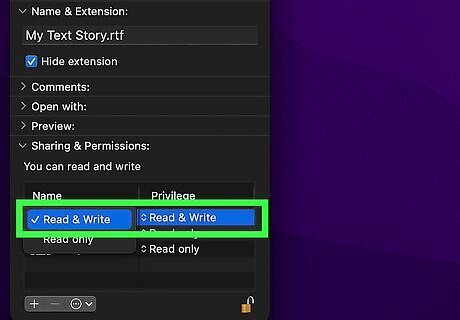
Select Read & Write. This changes the file's permissions status from "Read only" to "Read & Write" which allows you to modify and delete the file.
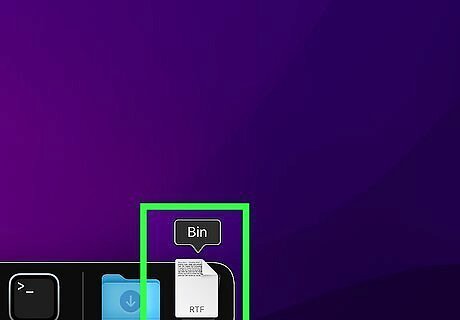
Drag the file to the Trash. It's the white icon that resembles a trashcan at the bottom of the screen in the Dock. Drag and drop the file into the Trash to delete the file. Now that you have changed the file permission to "read & write," you should be able to delete it without any problems.
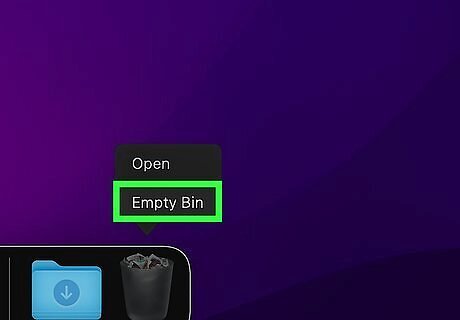
Empty the Trash. To empty the Trash, right-click (or Command-click) the Trash icon in the Dock and click Empty Trash. This permanently deletes all files in the Trash.
Unlocking a File from Within an App
Open the app the file is associated with. Most Apple applications (including some non-Apple applications that use the Mac convention) allow you to lock a file using the title bar. Open the app the file is associated with. For example, if the file is a Pages document, open Pages. If it is an image file, you would open Preview.
Open the file. To open the file, click File in the menu bar and then click Open. Navigate to the file and click it to select it. Then click Open. Alternatively, you can just double-click the file to open the file and the app.

Click the filename. It's in the title bar at the top of the screen. This displays a drop-down menu.
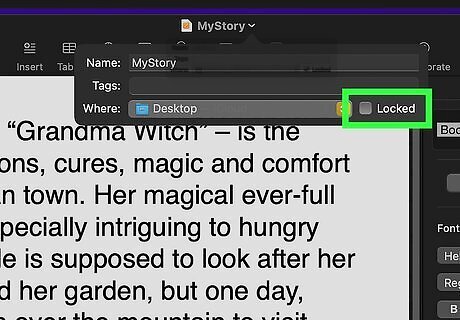
Uncheck the checkbox next to "Locked." It's in the lower-right corner of the window that appears when you click the file name in the title bar. This unlocks the file.
Drag the file to the Trash. It's the white icon that resembles a trashcan at the bottom of the screen in the Dock. Drag and drop the file into the Trash to delete the file.

Empty the Trash. To empty the Trash, right-click (or Command-click) the Trash icon in the Dock and click Empty Trash. This permanently deletes all files in the Trash.
Unlocking and Deleting a File with the Terminal
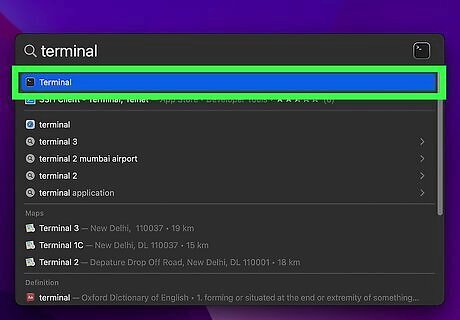
Open the Terminal Mac Terminal. The Terminal allows you to execute commands to the operating system with code. The Terminal has an icon that resembles a black screen with a white cursor. Use the following steps to open the Terminal: Click the magnifying glass icon in the upper-right corn of the desktop to display the Spotlight search bar. Type Terminal in the search bar and press Enter. Click the Terminal icon.
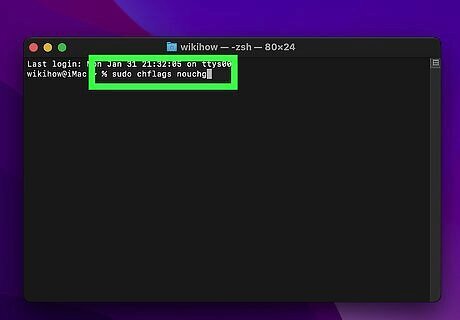
Type sudo chflags nouchg. This is the command to change the lock status of a file in the Terminal.
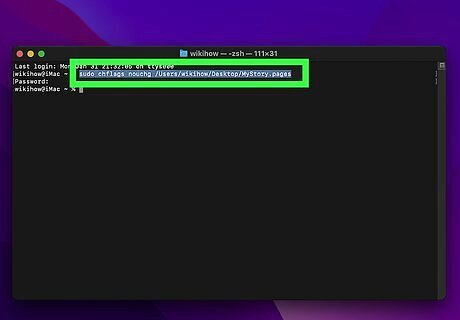
Enter the path and the file name after the command and press ↵ Enter. For example, if the file is a Word document, the command would look something like sudo chflags nouchg ~/Applications/Microsoft Word/test.doc. You can also drag and drop the target file in the Terminal window to automatically enter the file path. Alternatively, you can type the command SetFile -a l [path to file] and press Enter to unlock a file. You may be asked to enter the Administrator's password in order to continue. If asked to do so, enter the password the Administrator uses to log in to their Mac user profile.
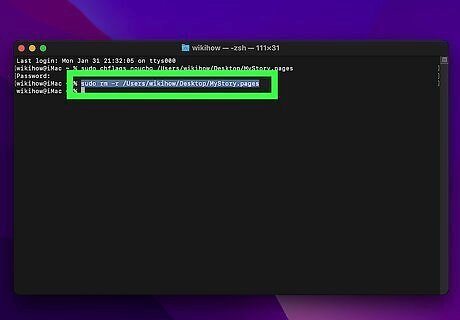
Enter sudo rm -r [path to the file] and press ↵ Enter. If all else fails, this Terminal command can force-delete a file.
Using Secure Empty Trash (macOS x 10.10 and Below Only)
Know the difference between Trash and “Secure” Trash. Secure Empty Trash is a security measure designed by Apple to make sure sensitive files have their indexing removed from the hard drive and the space they occupied overwritten. Due to the way solid-state hard drives store data, this method is less reliable on solid-state drives. Therefore, this method is being phased out by Apple. The Secure Empty Trash option has been removed in OSX 10.11 (El Capitan) and higher.
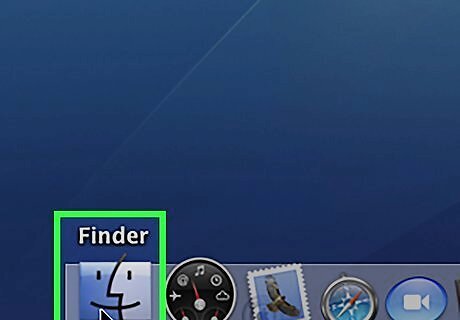
Open the Finder Mac Finder. It has an icon that resembles a blue and white smiley face. Click the Finder icon in the Dock at the bottom of the screen to open the Finder.
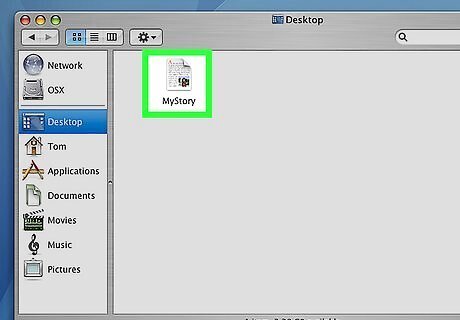
Navigate to the file you want to delete. Use the Finder to navigate to the file you want to delete.
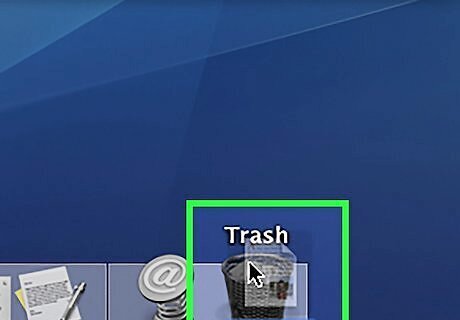
Drag the locked file into the Trash. The Trash is the white icon that resembles a trashcan at the bottom of the screen.
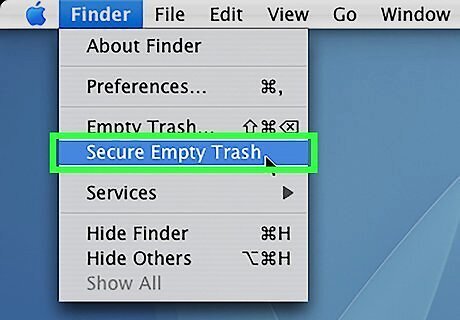
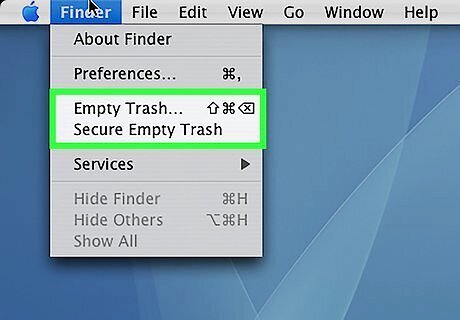
Empty the Trash securely. To do so, hold Command and click the Trash. Then click Secure Empty Trash.Alternatively, you can use the following steps to empty the Trash securely. Open the trash in the Finder Click File Click Secure Empty Trash.


Comments
0 comment