
- Choose thread that matches the color and thickness of the sock’s threads. Try yarn for thick or wool socks, or embroidery thread for thinner socks.
- Make a series of parallel running stitches that span the entire hole. Begin and end your stitches in solid fabric about ½ inch (1.3 cm) from the hole.
- Then, make running stitches perpendicular to your first set of stitches. Weave the thread under and over the previous stitches to create a woven patch.
Prepping Your Thread & Sock
Choose thread close to the color and thickness of the sock’s threads. Try to match the thickness as close as possible for a sturdy repair—choose darning yarn for thick, wool socks, or embroidery floss or regular thread for thinner materials. Go for cotton or strong synthetic threads rather than something stretchy. The color doesn’t have to match exactly—choose something similar to the sock color to blend in, or a contrasting color to add some visual interest. Yarn and embroidery floss may come in several thicknesses. Bring your sock to a craft or fabric store to compare if you’re not sure which size to get. Choosing a contrasting thread color (like white on a dark sock or vice versa) will help you see what you’re doing more easily if you’re not an experienced sewer. If you want to add multiple colors to blend in with a pattern, select one color for your horizontal stitches and another color for your vertical stitches.

Turn the sock inside out and pull it over a darning egg or mushroom. Darning eggs are wooden ovals that maintain the curved shape of the sock and hold the hole in place so you can make clean stitches (mushrooms are similar but have a base to stand the egg on). Roll the egg into the sock so it’s underneath the hole, then wrap rubber bands or hair ties over the sock on either side of the egg to hold it in place. If you’re using a mushroom, stretch the sock inside out over the mushroom “cap” and place a rubber band around the base of the mushroom to hold the sock in place. If you don’t have a darning egg or don’t want to buy one, try using a tennis ball, the rounded end of a baseball bat, maracas, a plastic Easter egg, the bottom of a jar, or any curved, hard surface you can find. If you’re concerned about the stitches feeling uncomfortable on your foot, keep the sock right-side out so the stitches go on the outside of the sock.
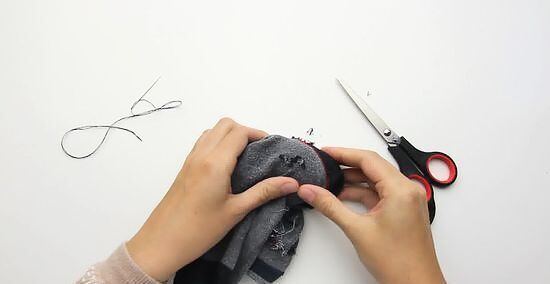
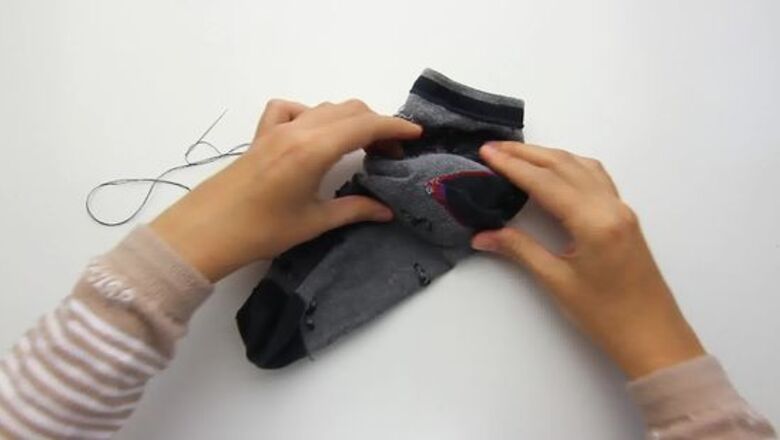
Trim away any ragged edges from the hole with scissors. Use little sewing scissors to snip away any threads or flyaway strings that are hanging from the hole before you fix it. Just make sure that you don’t actually snip one too many times and make your hole even larger. Removing loose threads makes the outline of the hole clearer and easier to stitch over.

Thread your darning needle. A darning needle is an extra long needle with a big threading eye that’s useful for sewing over large holes. If you don’t have one, try to find a regular sewing needle with an eye big enough to hold your thread. Thread one strand of thread through the eye if your thread is thick enough for the sock, or thread 2 strands to double up if your thread is too thin. Don’t worry about knotting the end of the thread. Your patch will hold without one, and knots can feel uncomfortable if they’re too big or ill-placed. For most holes, thread about 12 in (30 cm) of thread. It’s always better to use way too much thread than too little!
Darning the Hole
Sew a running stitch around the hole if the surrounding fabric is worn. This step is optional, but if your sock is threadbare around the hole, the fabric may not support your darning efforts. To stabilize the hole, stitch a perimeter circle about ⅛ inch (0.3 cm) to ½ inch (1.3 cm) outside the hole (or outside of the weakened fabric area). Make sure you’re only stitching into undamaged fabric. When you’ve encircled the hole, leave a tail of thread hanging to use later. A running (straight) stitch is the most basic stitch. Run your needle and thread up through the inside of the sock and out, then make a stitch by running the needle back down through the outside of the fabric in a different location. Keep repeating until the circle is complete. Make your stitches no more than ¼ inch (0.6 cm) long.
Begin a running stitch ½ inch (1.3 cm) from the hole and stitch over it. Make your first stitch in solid fabric (or from your perimeter circle stitch if you made one). When you reach the hole, make one long stitch that spans the entire gap, then continue your running stitch for up to another ½ inch (1.3 cm) on the other side to ensure you’re anchoring the thread is sturdy fabric. If the hole is circular, approach it from any side. If it’s an irregular shape, start stitching from the side where the gap is narrowest (like the long side of an oval).

Continue making parallel stitches until the entire hole is covered. Once your first pass over the hole is complete, reverse the direction of your stitches and repeat the process over and over. Try to make your stitches as close together as possible—this will make your patch stronger and more resistant to wear-and-tear. If you’re running out of thread after covering the hole, snip the thread so you’ve got a tail about 2-3 inches (5-7.6 cm) long, then re-thread the needle for the next step. If you have lots of thread left, continue on with the same thread.

Turn the sock and weave perpendicular stitches through the parallel stitches. Begin a running stitch about ½ inch (1.3 cm) away from the hole in sturdy fabric. When you reach the hole, weave the tip of your needle under and over the previous stitches all the way across, then continue your running stitch into solid fabric. Reverse direction and repeat these weaved stitches across the hole until you have a solid patch. If needed, use the tip of your needle to push your stitches closer together to make tighter weave. Creating stitches that go perpendicular to your previously made stitches will reinforce the patch you have essentially created out of thread.
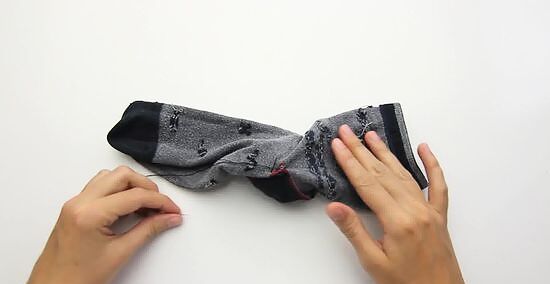
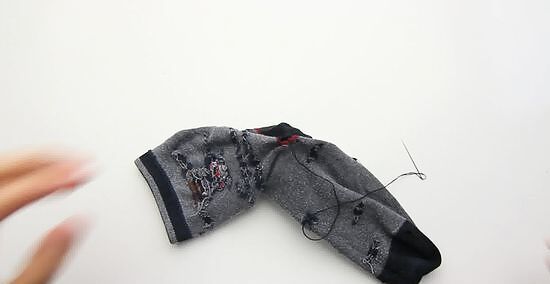
Weave in the loose ends of your thread to secure the patch. There’s no need to knot the thread at the end—knots tend to be bulky and uncomfortable, and the patch will hold if it’s woven tightly. Just thread any loose ends through your needle and weave them into the patch (a few passes over the hole will be plenty to hold the thread in place). Snip any remaining loose ends with scissors and you’re done mending your sock! If needed, iron over your new patch to flatten out the fabric.


Comments
0 comment