views
Adjusting the Wood and Saw Blade
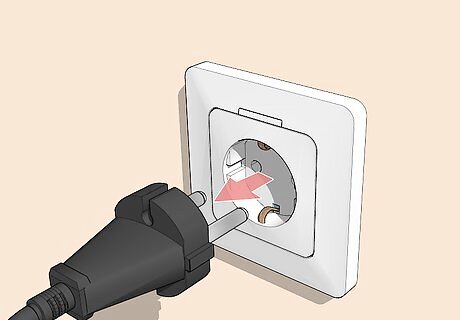
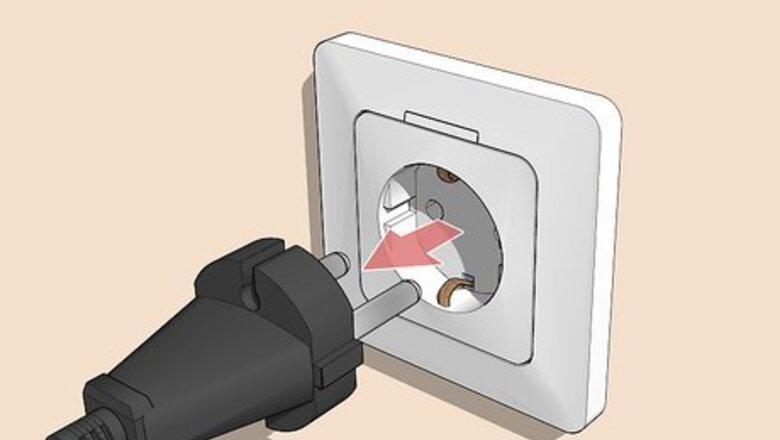
Unplug the saw to keep it off while you’re preparing the wood. As you prepare, you will inevitably come close to the saw blade. Prevent accidents by disabling the saw until you’re ready to use it. Turning it off is fine, but completely unplug it from the wall outlet to ensure it can’t turn on by accident. Always turn off the saw when it isn’t in use. This includes when you’re finished cutting the wood.
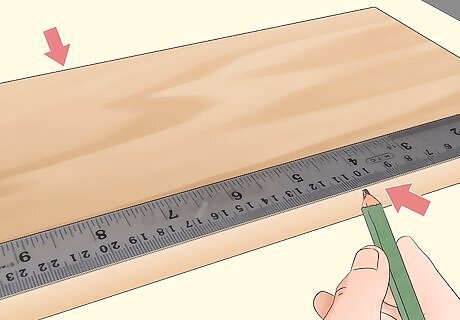
Use a ruler to measure out where the cut will start and end. Figure out what kind of angle you want to cut on the wood. It usually involves determining the length and width needed for your project. Measure along the sides of the wood, marking the spots in pencil. Double-check them to ensure the angle is correct for your project. You can also use a tape measure or another measuring instrument. Carpentry tools, like a drafting triangle or a framing square, can be reused later to set the angle.
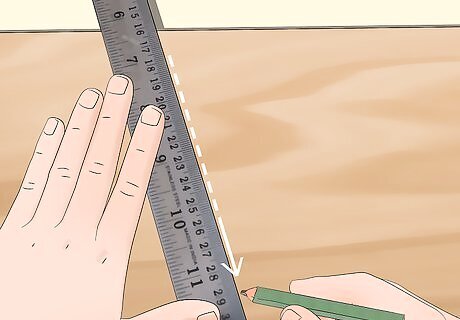
Outline the cut by drawing across the board in pencil. Connect the points you marked to indicate the beginning and end of the cut. Hold a ruler over the board, then sketch a thick, dark line across it. Make sure the line is straight but also very visible. Make sure the outline is accurate. Once you start cutting into the wood, you won’t be able to adjust it. Measure out the angle a second time.
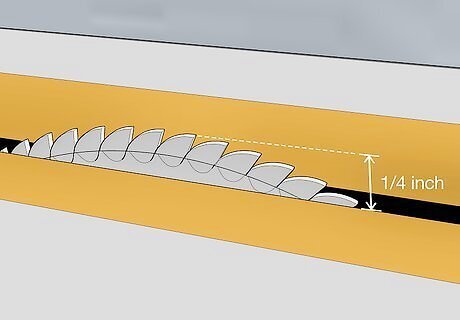
Adjust the saw’s height to about ⁄4 in (0.64 cm). Table saws have an adjustment crank that raises and lowers the blade from where it sits inside the table. One way to make the adjustment is by holding a ruler up to a piece of scrap wood. Mark ⁄4 in (0.64 cm), then place it next to the saw. Raise the saw until it meets the line. The blade is usually set at ⁄8 in (0.32 cm), which is fine for straight cuts but not as effective for angles. Increasing the height causes more of the blade’s teeth to come into contact with the wood, leading to a smoother cut. If you’re in doubt about the height, raise it as far as you can to ensure you get the cleanest cut possible.
Setting the Wood at an Angle
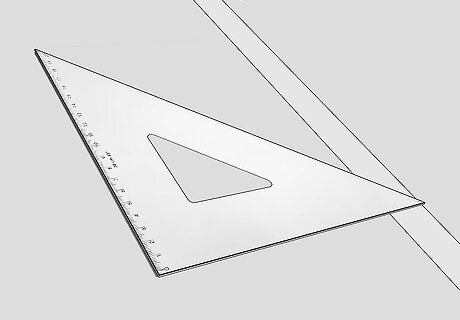
Place a drafting triangle near the saw if you’re making a cross cut. A drafting triangle is a combination tool used for measuring and precision. It has flat edges that make it great for preparing an angled cut. Before using it, clear everything else off of the table saw. Give yourself plenty of room to set the angle you plan on cutting. Cross cuts are made across the width of a board or perpendicularly to the wood’s grain. If you’re trying to cut lengthwise or cut along the edges, use a taper jig instead. If you don’t have a drafting triangle, try using a framing square or another tool with a flat edge. A framing square is also a combination measuring tool, but it’s much longer and wider, which could make it easier to use.
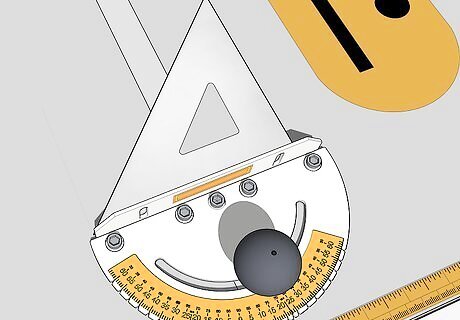
Set a miter gauge against the flat edge of the drafting triangle. A miter gauge is a handy device that allows you to hold boards at an angle as you cut them. It is semicircular with a series of markings on it corresponding to different angles. Hold the gauge against one of the triangle’s flat edges. Note the markings on the gauge, since these will be used to position the wood at an angle. A drafting triangle has 2 flat edges and a single diagonal one. The flat edges are generally easier to work with when setting an angle.
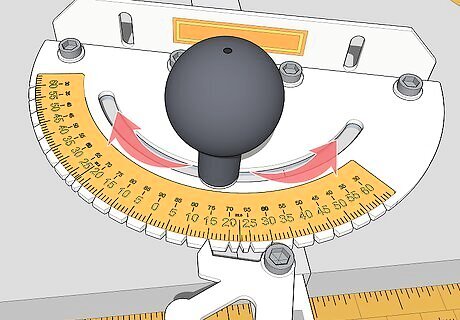
Move the gauge left or right to change the angle. Keep the wood pressed gauge and the drafting triangle pressed together. As you move the triangle, the miter gauge’s handle will move and point to one of its angle markings. Turn it so the handle indicates the correct angle for your project, then rotate the handle clockwise to lock it at that angle. Setting the angle is a little difficult. Miter gauges are touchy, so turn it back and forth a little bit at a time as needed until it’s set the way you need. If you’re planning on cutting a 90-degree angle, rest one edge of the drafting triangle against the saw blade and place the miter gauge against the other end. You don’t even need to make adjustments.
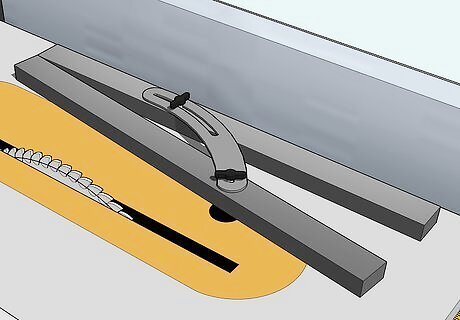
Use a taper jig if you’re making long or bevel cuts. Standard taper jigs are long pieces of wood meant to brace a board’s side. It is used instead of a miter gauge when making rip cuts and bevel cuts in order to keep your fingers away from the blade. Rest the jig against the side of the board opposite from the cut. The saw’s fence will fit against the opposite side of the jig. Rip cuts are made along the length of the board, or parallel to the wood’s grain. Bevel cuts are angled cuts made on the edge of the board. The triangular-shaped taper jigs are somewhat old-fashioned and not the easiest to use. To make the process easier and safer, get a sled-style jig. It has a base and clamps to fit the wood so you don’t have to hold onto it as it approaches the saw blade.
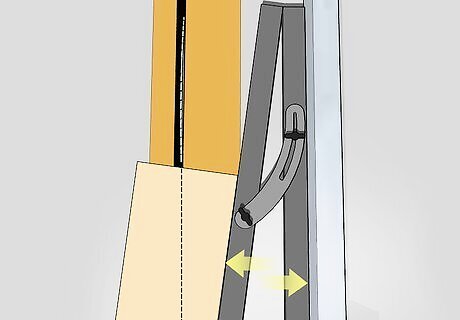
Open the taper jig to set the wood at the correct angle. Keep the wood pressed firmly against the edge of the jig while you do this. Use a tape measure to measure from the jig to the ends of the cut you wish to make. Make sure both points are the same distance from the jig. Taper jigs can be used to outline the cut. After measuring and marking the endpoints, use a ruler to connect them. Follow this guideline when operating the saw.
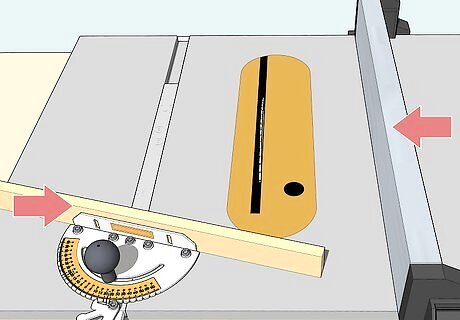
Secure a fence to the wood so you can control it. Table saws have a metal bar called a fence that serves as an integral safety feature. Slide the fence along the table so it braces the miter gauge or taper jig. If you don’t have a fence, slide a piece of scrap wood into the clamp on the front of the miter jig or the back of the taper jig. The fence enables you to hold the wood in place while also putting a little space between your fingers and the blade. If you used a drafting triangle, set it aside and replace it with the fence.
Using the Table Saw

Put on safety gear before operating the table saw. Safety glasses or goggles are a must for protecting your eyes against wood debris. Get a good pair of earplugs as well to deal with the saw’s noise. For additional protection, wear a dust mask to prevent yourself from breathing in sawdust. Ventilate your work area by opening nearby doors and windows. Turn on ventilation fans if you have any. Keep other people and pets out of the area until you have had a chance to clean up and unplug the table saw.
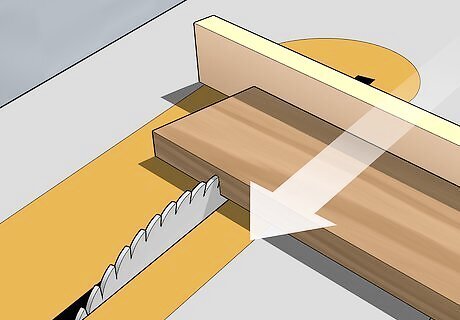
Make a couple of test cuts before continuing with your project. Use the test cuts to check that your saw and miter gauge are in order. Choose a couple of pieces of scrap wood, then cut them like you plan on cutting the wood for your project. Make sure the saw cuts cleanly through each piece. Make adjustments as needed. If you’re cutting a 45-degree angle, cut 2 different pieces and try to fit them together. Boards cut this way should fit together cleanly. If they don’t, then your miter gauge isn’t set precisely. For boards cut to something other than 45-degrees, you won’t be able to test them the same way. Inspect the cuts to make sure they look smooth. Then, double-check your miter gauge to make sure it’s set the way you want.
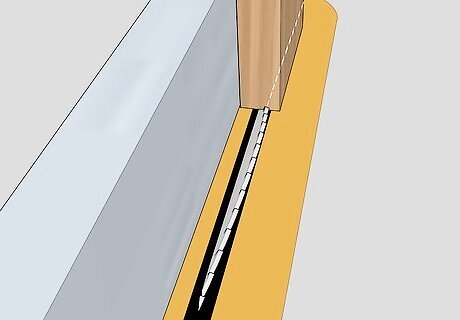
Stand the board on its end if you’re doing a bevel cut. Bevel cuts are done along the sides of the board, so they are a little trickier to do precisely. Line up the guideline you made with the saw blade. Make sure the wood is firmly against the fence. Then, use the saw the same way you would when making a cross cut along the board’s width. Bevel cuts are much easier to do with a miter saw. Switch tools if you have the option to do so. Your fingers might get close to the saw blade. To prevent this, push the wood with a stick.
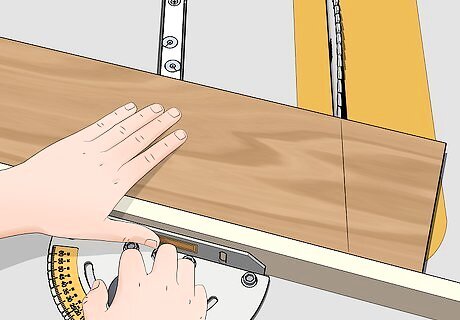
Hold the scrap wood firmly against the fence with one hand. Position the fence in front of your dominant hand at the edge of the table. Then, set the wood between the fence and the saw. Align the saw with the cutting guideline you sketched. Make sure the miter gauge is out of the way of the saw before you begin cutting. Grip the far end of the wood and fence, not the side you plan on cutting. To avoid accidents, leave at least 6 in (15 cm) between your hand and the blade. In general, it does not matter which hand you use to hold the wood. Controlling it is more important, and controlling it is easier when you use your dominant hand.
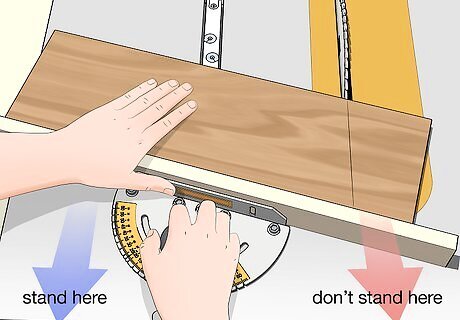
Stand behind the wood you are cutting instead of the saw blade. Take a couple of steps to the side toward your dominant hand. Position yourself right behind the miter gauge instead of the saw blade. Standing in this position protects you from something called kickback. It’s rare, but it can happen when you least expect it. Kickback happens when the wood you’re cutting suddenly shoots back toward your face. It’s dangerous, but standing to the side prevents you from getting hit. Make sure you don’t have anything valuable or dangerous behind you in case the wood turns into a projectile.
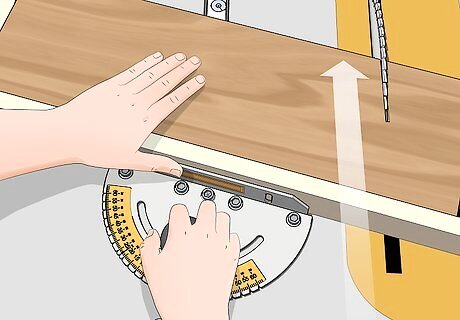
Push the board and fence toward the saw blade. While holding the fence and board together with your dominant hand, place your opposite hand on the handle of the miter gauge. Then, begin pushing everything forward at a steady, consistent rate. Go slowly to get a consistent cut and avoid kickback. Stop when the saw cuts all the way through the wood. Mastering the movement can be a little tricky at first. Remember that slower is better and safer. However, don’t stop moving the board forward once it reaches the saw. The saw will cut into the fence a little bit. As long as you’re using an expendable piece of scrap wood, that won’t matter. If your hand will get too close to the saw, such as when cutting a board lengthwise, switch to a wood stick. Use the stick to hold the board down and finish pushing it over the blade.
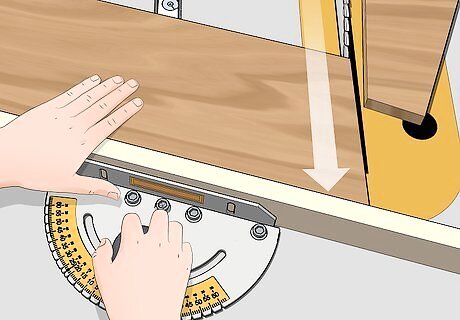
Pull the wood back after cutting through it. Once the saw cuts all the way through the board, pull everything back toward you. That includes the fence and miter gauge. Bring it back toward the edge of the table. After deactivating the saw, you can safely remove the wood and detach it from the miter gauge. Check the wood to make sure it’s finished to your liking. It should have a smooth edge and be cut to the correct angle for your project. You may need to recut it if it doesn’t look right.


Comments
0 comment