
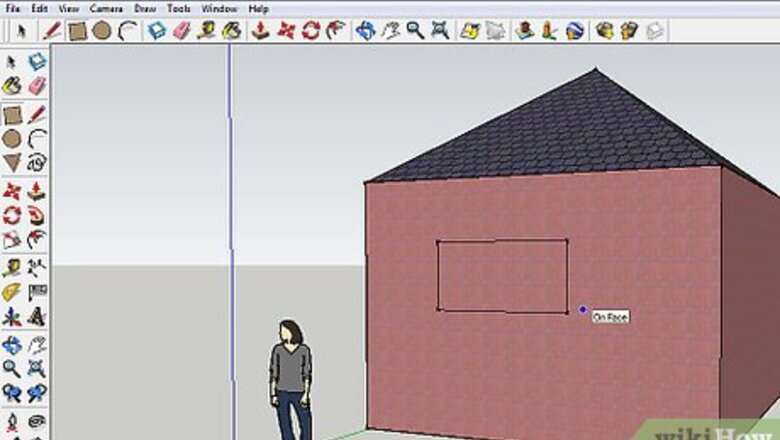

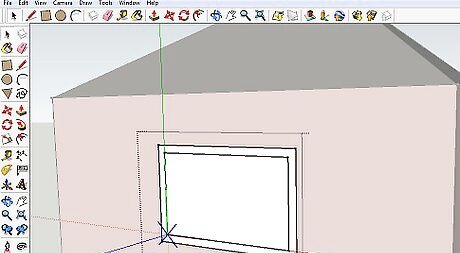
Use the Rectangle tool and create a window sized rectangle.

Delete the interior part of the rectangle.

Select the four edges left from the window being deleted.
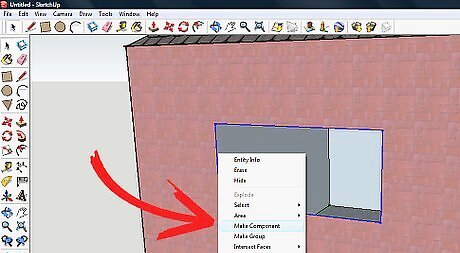
With the four edges selected, right click on one of them and Make Component.
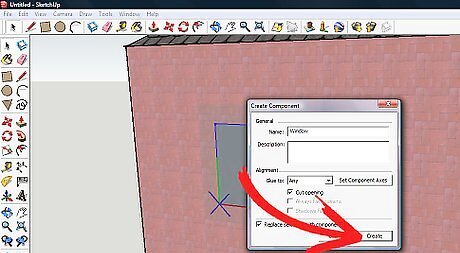
Name the component. When you click Make Component, you will see this dialog box. For this window, don't change anything. Just click Create.
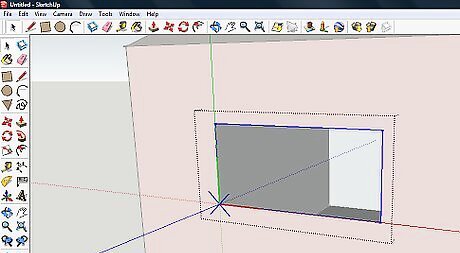
Triple click the component to edit it. This will enable you to change your component from a box to a window.
Click the Offset button and offset the rectangle. Not very much, it's just a window. You are creating the beginning of the windowsill.

Use the Push/pull tool and raise it slightly from the window. Also, extend the bottom a little bit.
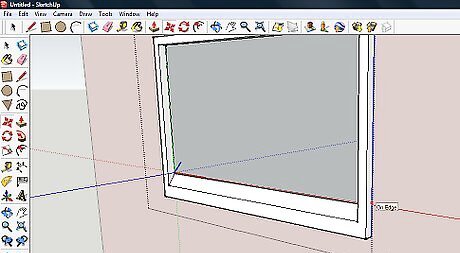
Select the bottom-most edge and using the Move tool, give it a slant.
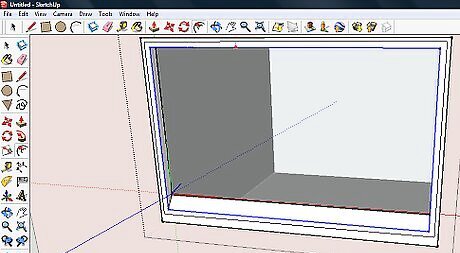
Use the Offset tool again, and create a small offset from the outermost edge. Keep it fairly small.

Pull that last offset out a small amount. It may be difficult and take a few tries.

Replace the window part with whatever glass (transparent) that you want and your window is complete. If you want to add it to your building multiple times, drag it from the component box. You can also use construction guides to make sure that it is lined up with the other window.


Comments
0 comment