views
- You can easily create a glitter effect using a Noise filter, coupled with a Crystalize filter.
- You can use a layer mask to apply a glitter effect to text or shapes.
- You can also paste a photo as a new layer and use the glitter effect as a border.
Creating a New Project
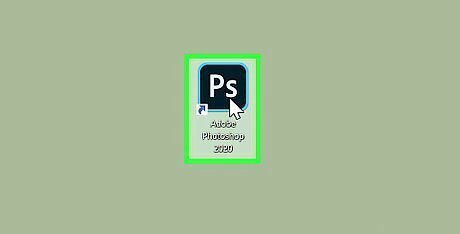
Open Photoshop. To do so, double-click the Photoshop app icon, which resembles a "Ps" on a blue box. You can find the Photoshop icon in the Windows Start menu, or the Applications folder on Mac.
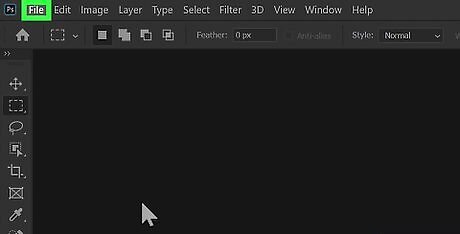
Click File. It's in the upper-left corner of Photoshop. Clicking it prompts a drop-down menu.
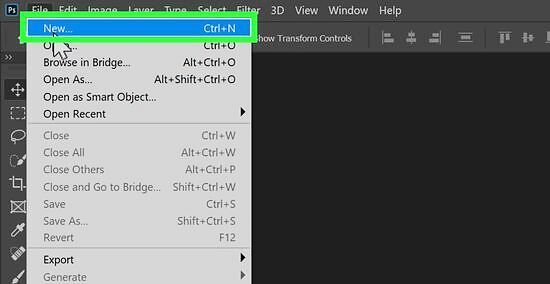
Click New…. You'll find this option at the top of the drop-down menu. Doing so opens a window. Alternatively, you can click Create New on the title screen when you first open Photoshop.
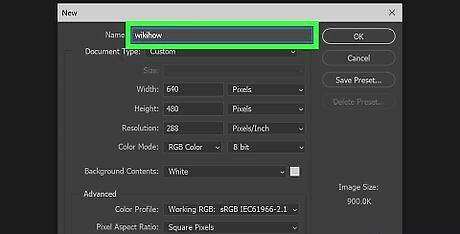
Enter a document filename. Use the text box below "Preset Details" on the right to enter the name of your document.
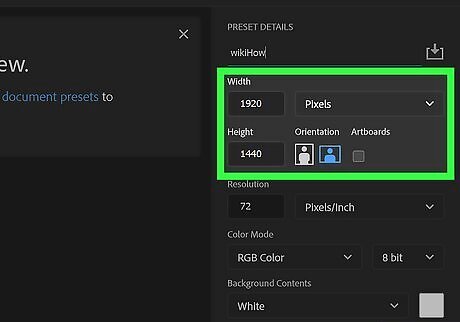
Enter your desired document size. To do so, use the drop-down menu below the text box with your file name to select the unit of measurement (i.e, inches, centimeters, pixels) and then enter the desired size of your document in the text boxes next to "Height" and "Width." Alternatively, you can click one of the blank document presets or templates in the templates in the large panel to the left.
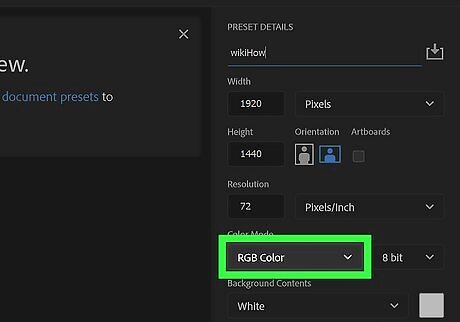
Select your color mode. Use the drop-down menu below "Color Mode" to select your color mode. If you intend for your project to be viewed on a screen, select "RGB Color." If you intend for your project to be viewed on paper or print material, select "CMYK Color." If you select "RGB Color," leave the resolution at 72 pixels per inch. If you select "CMYK color," change the resolution to 300 pixels per inch.
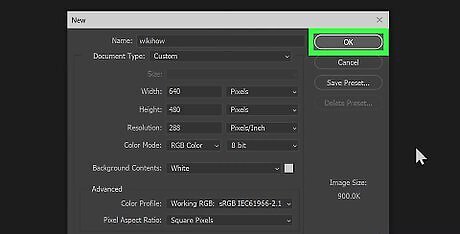
Click OK. It's at the bottom of the window. This will close the window and open your new project.
Creating the Base Layer
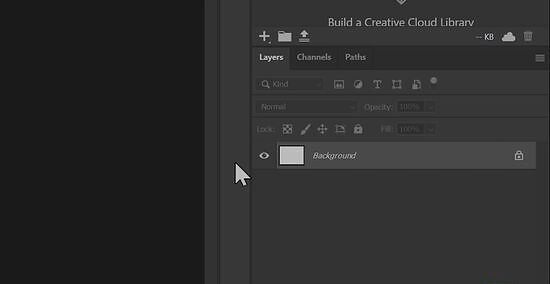
Click the "New Layer" button. It's the icon that resembles a rectangle with a folded corner. It's at the bottom of the "Layers" window. If you don't see the "Layers" window on the right side of Photoshop, first click the Windows tab at the top of Photoshop, then check the Layers option.
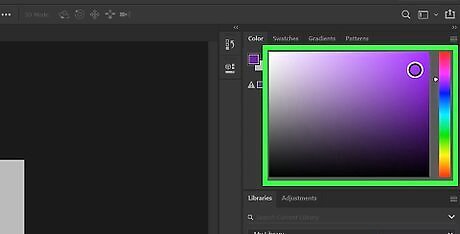
Select a color. To do so, click the colored square at the bottom of the toolbar to the left and use the color picker to select your desired color. Alternatively, you can click the Color or Swatches panel to the right and select a color from one of those two panels. If you don't see the "Color" or "Swatches" panel, click Window in the menu bar at the top, and then click Color or Swatches.
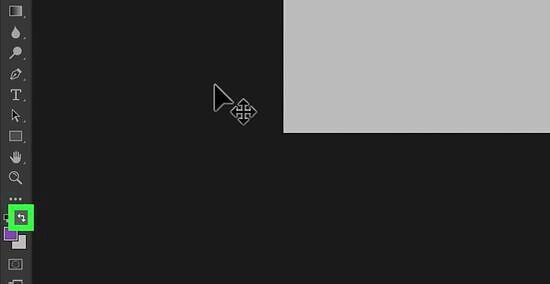
Switch the background and foreground colors. To do so, click the 90-degree arrow to the right of the two color boxes at the bottom of the toolbar to the left.. Only do this if the front color box is colored and the back color box is white. You can also just press the X key to switch the background and foreground colors.
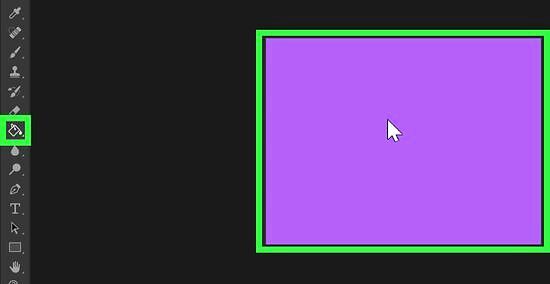
Apply the selected color to your background. To do so, press Ctrl + Backspace on Windows, or Command + Del on Mac. You should see the background color change to your selected swatch color.
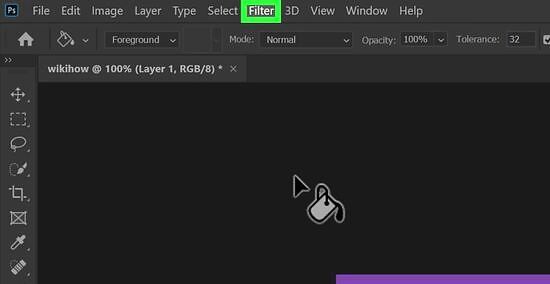
Click Filter. It's at the top of Photoshop. Clicking it prompts a drop-down menu.
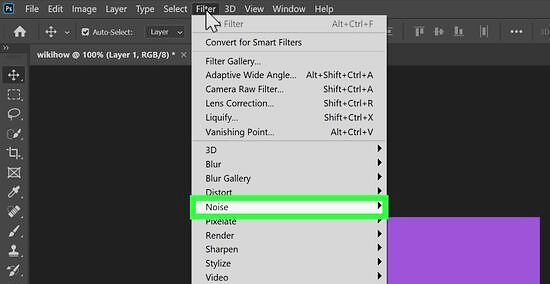
Add a noise filter. A noise filter adds a gritty texture to the layer with your base color. Use the following steps to add a noise filter: Select your base layer in the Layers panel. Click Filter in the menu bar at the top. Click Noise Click Add Noise. Click the checkbox next to "Monochromatic". Use the slider bar below to adjust the level of noise. It should look rough without dampening the color too much. Click Ok.
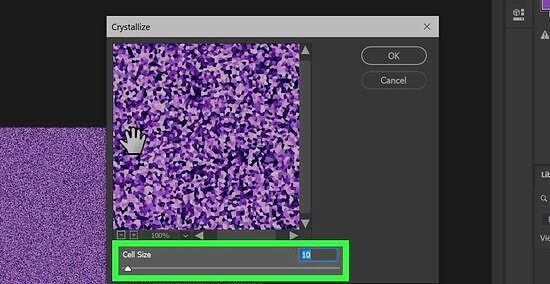
Add the "Crystallize" filter. This effect makes parts of your glitter layer more pronounced, which enhances the glitter appearance. Use the following steps to apply a Crystalize filter: Click Filter Select Pixelate Click Crystallize... Adjust the "Cell size" slider to sit between 4 and 10. Click OK
Adding and Merging Layers
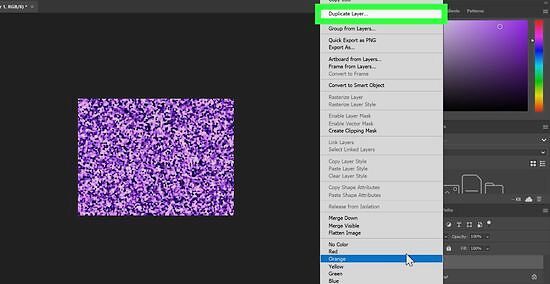
Duplicate your base layer. Use the following steps to duplicate the base layer: Right-click (or hold Control and click on Mac) the base layer in the layers panels. Click Duplicate Layer… in the drop-down menu. Click Ok.
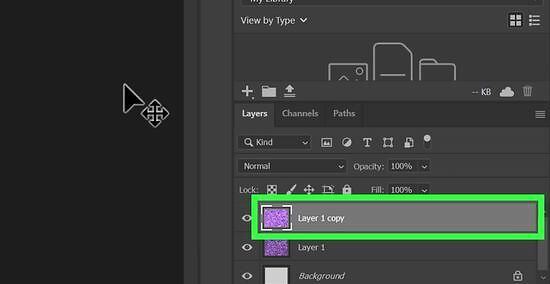
Right-click the new layer. It should be at the top of the "Layers" window. A drop-down menu will appear.
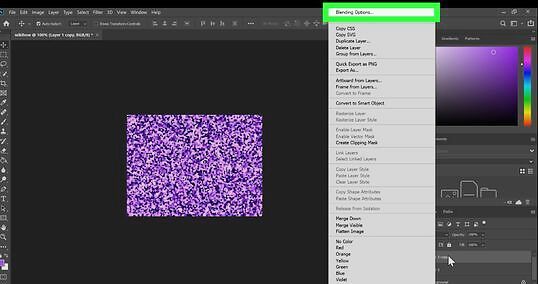
Click Blending Options…. You'll find this near the top of the drop-down menu. Doing so opens the Blending Options window. Alternatively, you can double-click the layer in the Layers panel to open the Blending Options menu..
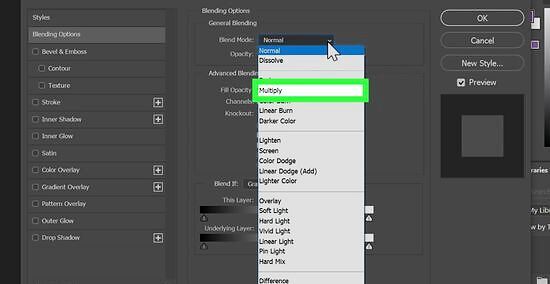
Select a "Multiply" blend mode. To do so, click the drop-down menu below next to "Blend Mode." Then select "Multiply." Then click Ok.
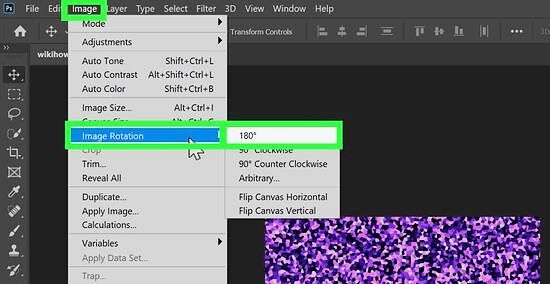
Rotate the second layer. This will ensure that your second layer complements the base glitter layer rather than just blending in with it: Select the top glitter layer in the Layers panel. Click Image at the top of Photoshop. Select Image Rotation Click 180°

Create and rotate one more layer. Right-click (or Control-click n Mac) the layer that you just created and edited, then click Duplicate Layer... and click OK. You'll then rotate the layer by clicking Image, selecting Image Rotation, and clicking 180° in the pop-out menu. You can add and edit more layers after this point if you like, but three layers will be enough to create a glitter effect.
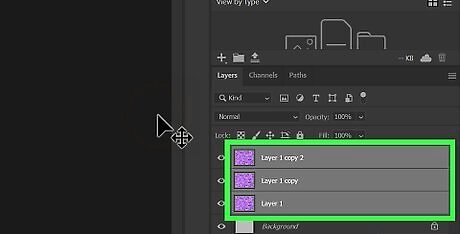
Merge the three layers. In the "Layers" window, click the top layer, then hold down Shift while clicking the bottom layer (not the "Background" layer). Once all three layers are selected, press either Ctrl + E on Windows or Command + E on Mac to merge all three layers into one layer.
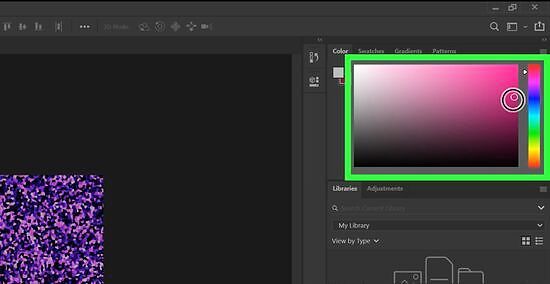
Change the glitter color. If you decide that you want to change the color of the glitter, you can use the following steps to do so: Create a new layer and make sure that it's at the top of the "Layers" window. Select a color and apply it to the layer. Right-click the layer. Click Blending Options... Click the "Blend Mode" drop-down box. Click Soft Light Click OK, then repeat with additional layers to darken the color if needed.
Applying the Glitter Effect
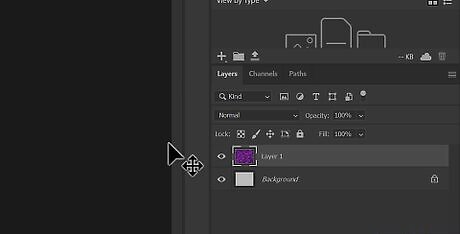
Create a new layer. Click the "New Layer" button at the bottom of the "Layers" window to do so. It's the icon that resembles a sheet of paper with a folded corner at the bottom of the Layers panel. Skip this step if you want to use the glitter effect as a border of an image.
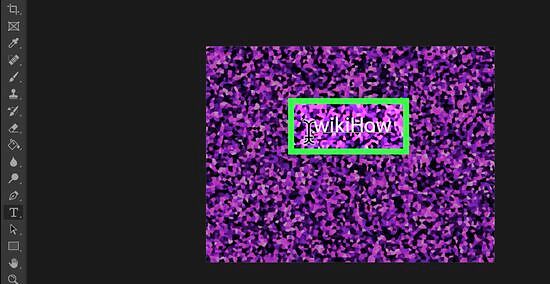
Add text, a shape, or an image. Depending on whether you want to fill a text or shape outline. You can also add an image and use the glitter layer as an image border Use one of the following steps to add text, a shape, or an image: Text — To add text in Photoshop, click the T icon in the toolbar, then use the drop-down menus at the top to select your font and font size. Then click where you want to add your text and type in your preferred text. Shape — To add a shape, click and hold the icon that resembles a rectangle in the toolbar. Then select the shape you want to draw. Click and drag to draw the shape. Hold Shift while you drag to keep the shape proportional. Image — To add an image, open the image in Photoshop, the press Ctrl + A or Command + A on Mac to select the image. Then press Ctrl + C or Command + C on Mac to copy the image. Return to your glitter project and press Ctrl + V or Command + V on Mac to paste the image as a new layer.
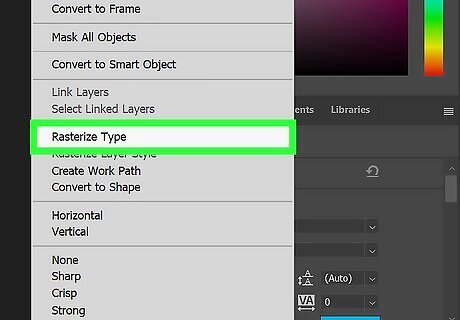
Rasterize your text or shape. If you are adding text or shape you will need to rasterize it. You will not be able to edit your text or shape after this step. To rasterize your text, right-click the layer with your text or shape, and click Rasterize Layer.
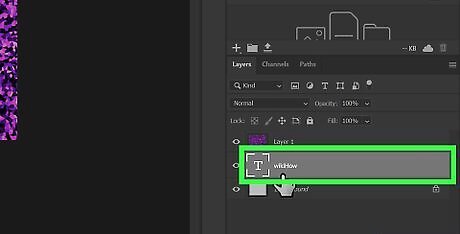
Move the text or shape layer below the glitter layer. To do so, click and drag the text or shape layer from the top of the "Layers" window to lay below the glitter layer. The glitter layer should also be at the top of the "Layers" window. If you are adding an image, you can skip this step. Just let the image layer sit on top of the glitter layer.
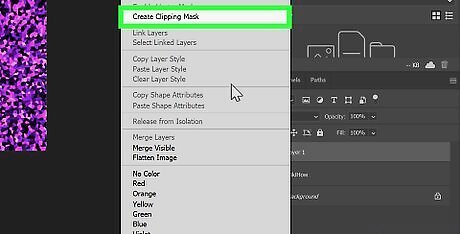
Apply a clipping mask to the glitter layer. To do so, right-click the layer with your text or shape. Then click Create Clipping Mask in the drop-down menu. You should see the glitter effect immediately assigned to the layer below it. Skip this step if you are using the glitter effect as an image border. If you want to resize the image, press V on the keyboard to select the selection tool. Hold Shift and click and drag the corners of the image to resize it.
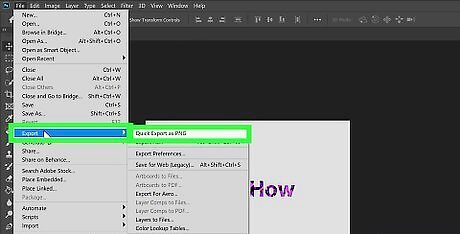
Save your image. Click File, and select Save. Select the file type (i.e, JPEG, PNG) next to "Format". Then click Save.




Comments
0 comment