
Getting Your Images
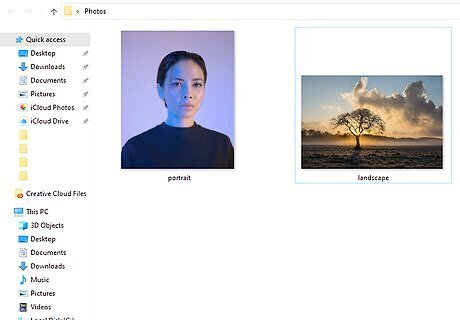
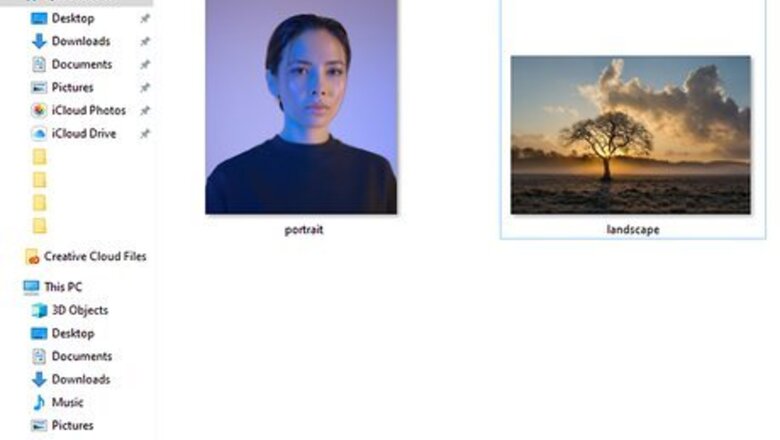
Find at least two images. You will be using an image of a person and another photograph (such as a landscape photo) that will be imposed onto the profile image.
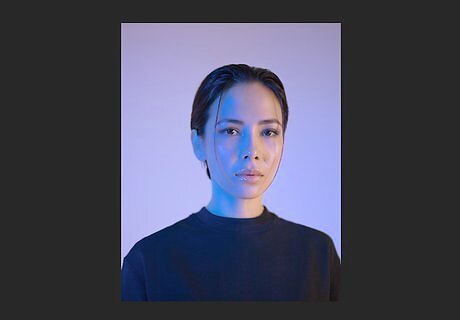
Find a good clear profile shot. This is just a suggestion to get you started. Once you have the process down, feel free to exercise your creative rights.

Isolate your person from the background. Use can use a variety of tools to do that. There is the Pen tool, the Selection tools, the Select >> Subject option, or whatever you are comfortable with using.
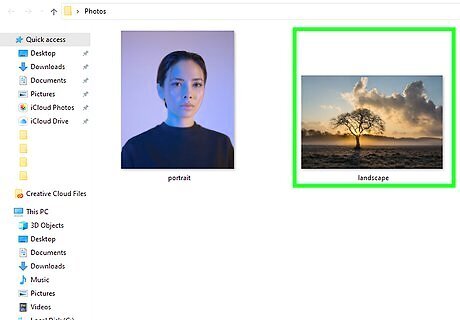
Find a second photo. For this photo, start with finding an interesting, but not too interesting landscape photo. Perhaps a row of trees, or a single tree. Perhaps, some mountains.
Make sure it is a high-contrast image. If it isn't already, make it that way. That will help it to blend more cohesively with the other image. You can do this with adjustment layers, most especially curves and levels.
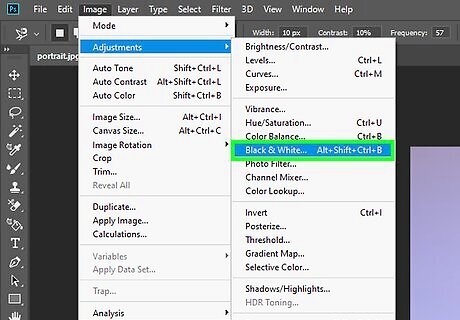
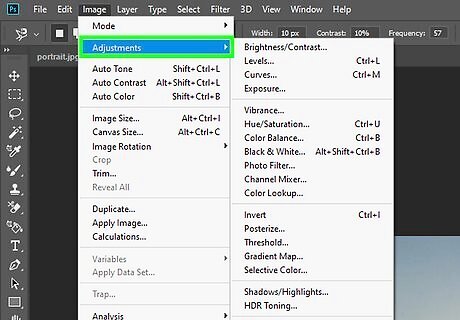
Edit your other image until it is where you want it. Some things that you might want to do to one or both of your images are: Have them both be black and white. You can also selectively add color, depending on your desired result. Increase the contrast of one or both of the images.
Blending Your Images in Photoshop
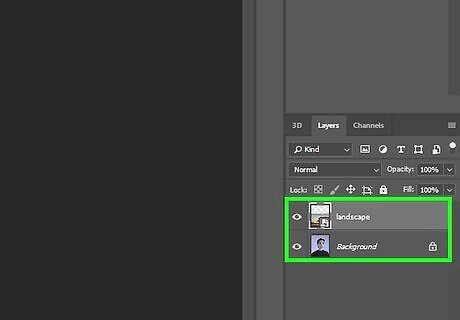
Open Photoshop with your images in separate layers.
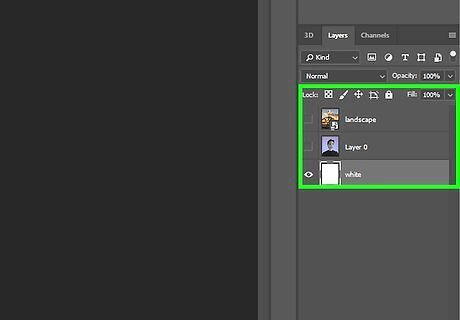
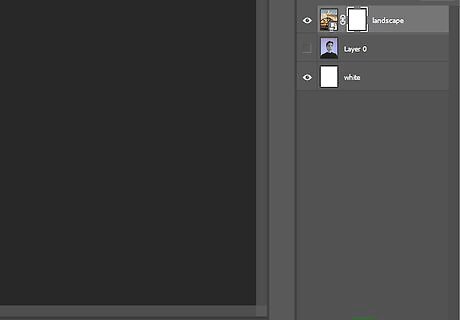
Put a white background underneath your images. Your layers should be in this order. White Solid Color layer on the bottom, profile photo in the middle, landscape photo (or whatever it is) on the top.
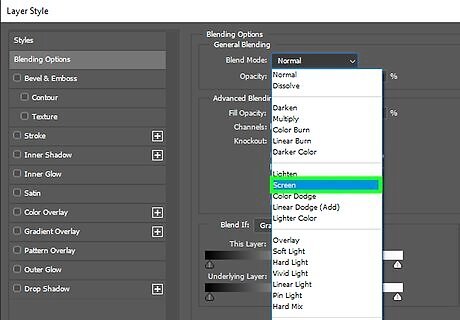
Change the Blend mode to Screen while on the top layer. Lighten also works. For a variety of looks, check out the rest of the Blend modes to see what you get.
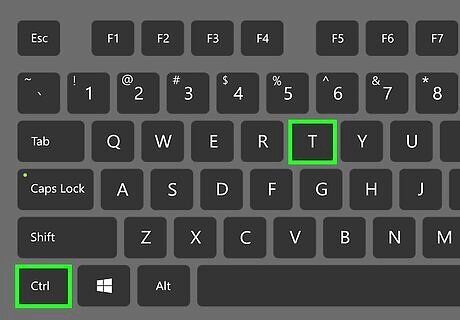
Position your image. While still in the top layer, press CtrlT so that you can move your image around so that the right part of it is in the correct position in relation to your profile image.
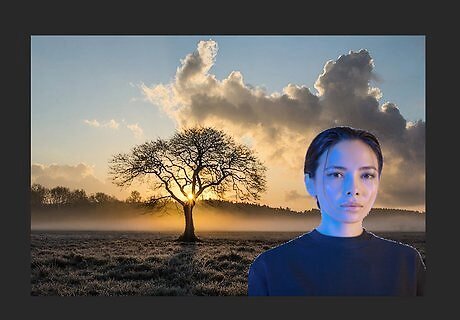
Edit your images. Using adjustment layers, continue editing your images so that they work together well. For instance, increasing the contrast so that your sky is completely blown out works well with this effect. Be sure to use clipping layers so that the changes you make only apply to the particular layer that you want it to effect.
Make adjustments as needed for your purposes.


Comments
0 comment