

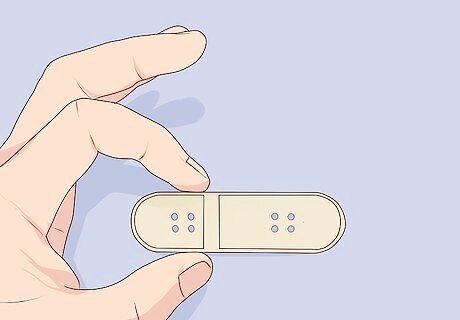
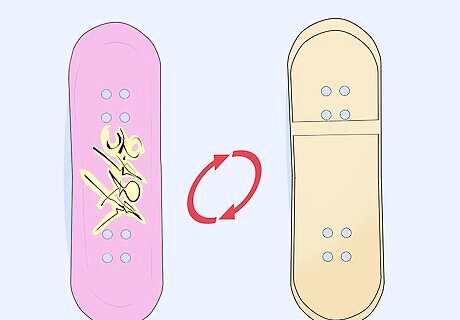
Customize the grip tape

Grab a black and PERMANENT marker, Sharpies are great and dry fast but any permanent marker should do.
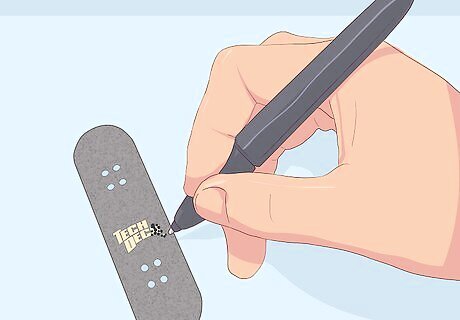
Locate the Tech Deck logo on the grip tape and start dotting away at it with the permanent marker.
Do NOT colour, just dot it, it looks a lot better and doesn't wreck your permanent marker.
Do this until you can't see the Tech Deck logo anymore.
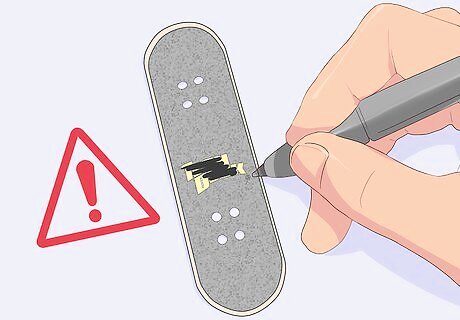
You can also cut a line in the grip tape, but there are two ways: The hard way and the easy way, but doing it the hard way improves the result.
Cut a line in the grip tape (easy way)
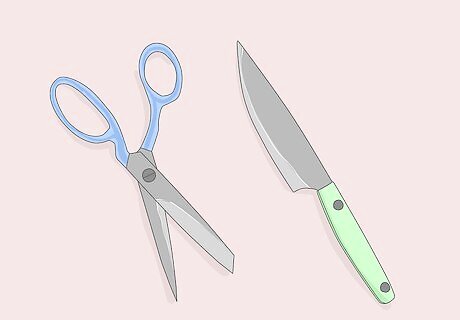
Grab scissors or a sharp knife and
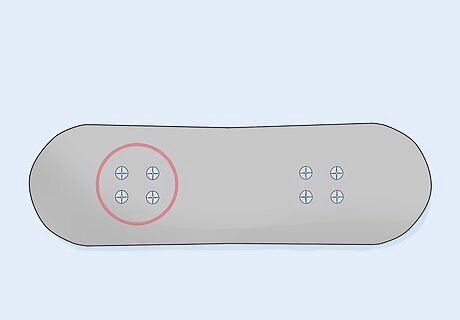
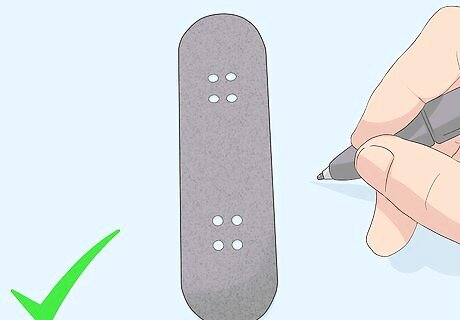
Locate the two pairs of bolts on any end of the board (They are on the two ends of the grip tape)
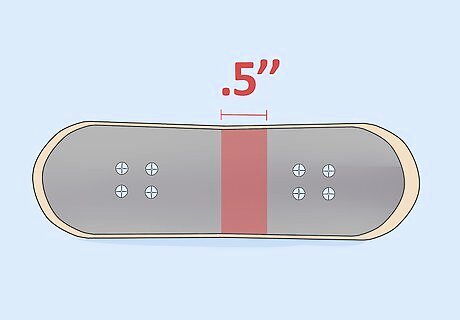
Look about half an inch closer to the middle of the board.
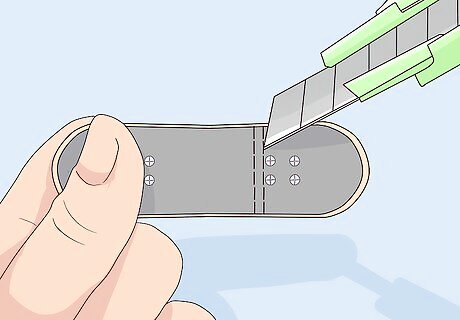
Do slow, but sure vertical cuts on this area. The cut should be about a third of the width of your fingernail - approx. 5 mm in width.
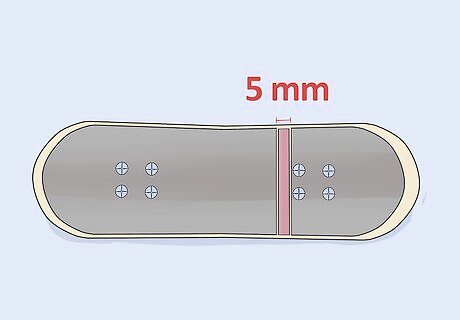
Make sure you cut the whole area vertically, as in no grip tape left in that 5 mm width of area. This looks pretty awesome and, if you wish, you can then colour the line with different coloured permanent markers, and then even go on to the rim of the deck!
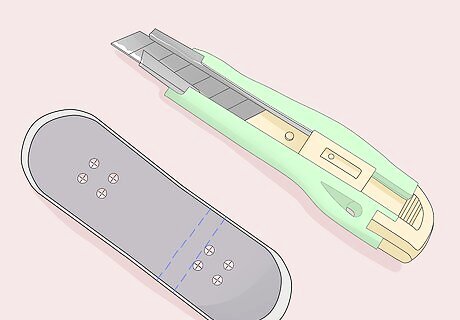
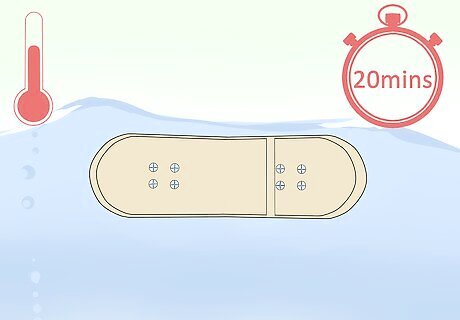
Cut a line in the grip tape (hard way)
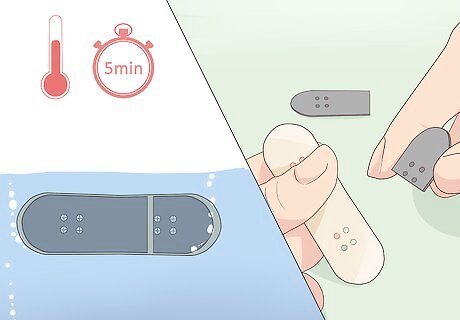
Take the grip tape off the deck but without ripping it. An easy way to do this is to soak the board in hot water for about 5 min. This burns out some of the glue holding the grip tape to the board.
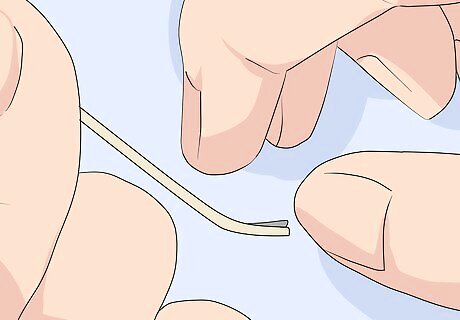
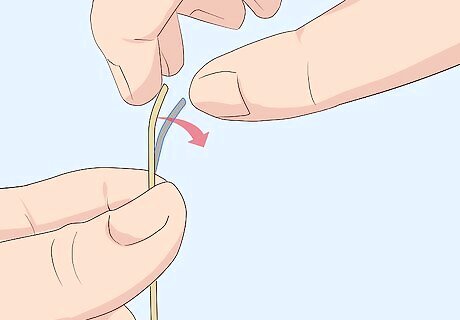
Try to get your fingernail under the board and just very, very carefully, pull away.
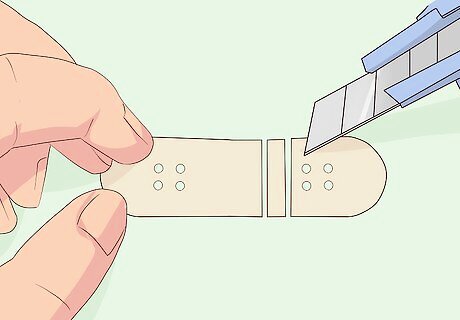
Take your time when you do this, just don't rip the board. Once the grip tape is off, cut two parts of the grip tape off in the same area as shown in the previous section. The two parts cut should be the same width as the line should be - namely, about 5 mm apart.
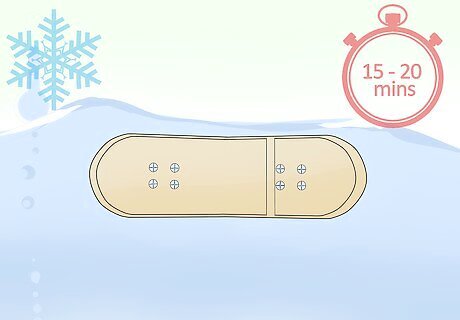
Superglue the two pieces back to the deck, with both of the ends covered in grip tape, so the line is in the right place.
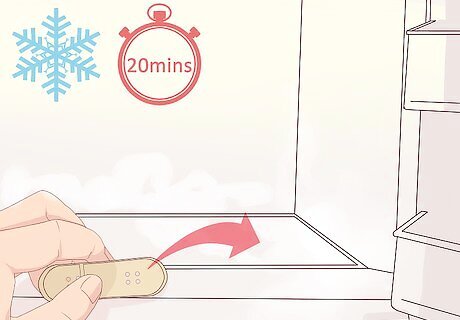
Put the board in the freezer for sometime, so the glue hardens and therefore sticks the grip tape better. About 15 minutes should do, but 20 to 30 minutes is good if you really want to make it perfect. Done!
Make your own graphic
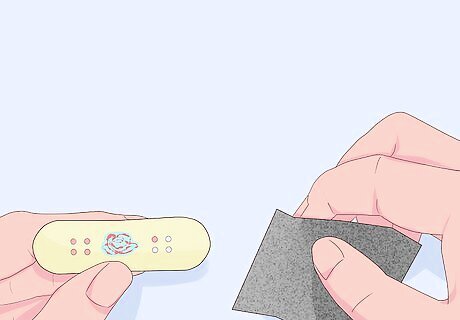
Grab sandpaper and use it to scratch the graphic off the bottom of the board. If you take the trucks and wheels off the board, this will be much easier as they take up room so it will be harder to get to those parts of the graphic.
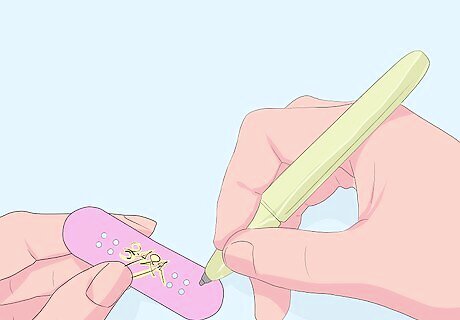
Grab permanent markers of different colours and make up your own graphic! Some ideas are polka dots, stripes, fireworks or just a whole one colour altogether - for example you could make a full-on purple board!
Colour the whole bottom purple, the whole side purple, dot out the logo with a black marker, perhaps even cut a line on the grip tape and colour it purple! The only limit is your imagination.
Increase your kicks
Soak the board in hot water for at least 20 minutes (30 is better, but 20 would do).
Bend the kicks up, try to do it not too wildly (especially the first time, as taking away pop isn't easy), otherwise it would look very fake and you could just do cheating Ollies, so just bend a little.
Soak in cold water or put it in the freezer, for 15 to 20 min.
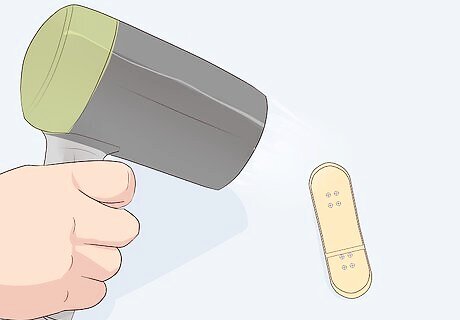
You could also use a hairdryer and use it to heat up the deck.


Comments
0 comment