views
Using a Plunger
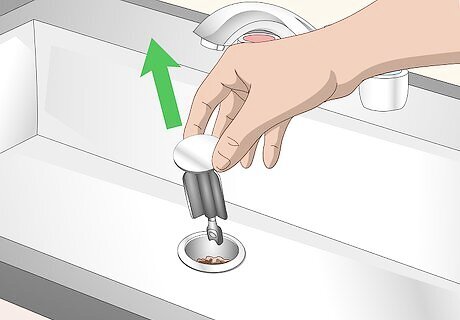
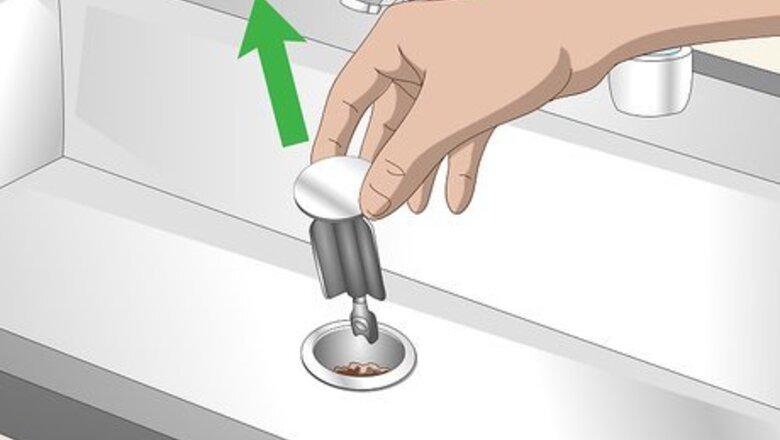
Remove any sink stoppers. If your stopper has a pivot rod, then you will need to remove this to remove the stopper. Look under the sink and locate a locking nut where the pivot rod goes into the drainpipe. Unscrew the nut, pull out the rod, and remove the stopper. Then screw the nut and rod back in place without the stopper. If you are plunging a kitchen sink, make sure to clamp the dishwasher drain hose. Do this by tightening a clamp around the bendable drain line before you begin plunging.
Use a coat hanger or wire to clear obstructions. Take a metal coat hanger and unwind it, or find a piece of wire. Bend 1 end of the hanger or wire into a small hook shape. Stick the end with the hook into the drain and use it to pull out clumps of hair, paper, or other obstructions.
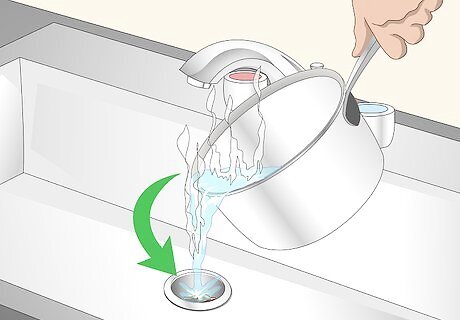
Pour boiling water down your drain. Bring 5 cups (1.2 l) of water to a boil. Pour half of the boiling water down your drain. Reserve the other half for a later use.
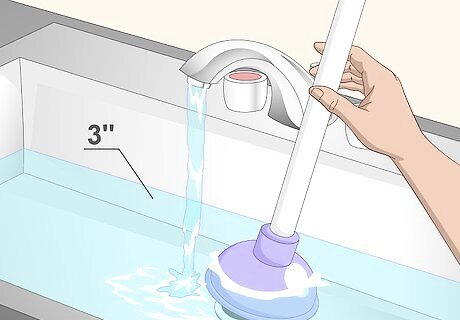
Begin to fill your sink with water. As your sink is filling, place a plunger over the drain entrance. Fill your sink until the plunger is completely submerged in the water, about 3–4 inches (7.6–10.2 cm) of water. The water will suction your plunger to the sink. If you have a double sink, then you will need to cover the other sink’s drain with a wet rag or another type of cover. This will prevent water from spewing out of the sink’s drain while you plunge the other drain. If you have a small vanity sink and your plunger is too large to create a tight seal around the drain, pick up a small plunger from a hardware store.
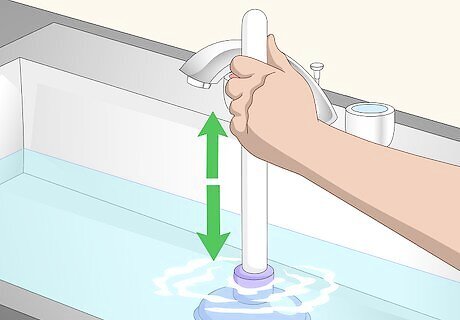
Pump your sink vigorously. Do this by rapidly moving the plunger up and down for at least 20 seconds. On your final upstroke, make sure to pop the plunger off of your drain to create extra pressure. This will help release the clog in your sink trap.
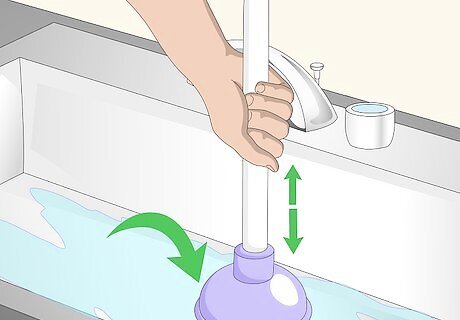
Keep plunging if necessary. If the water in your sink whirls down your drain easily, then the clog is clear in your sink trap. If not, then you will need to keep plunging. Repeat the plunging process until the water whirls smoothly down your sink.
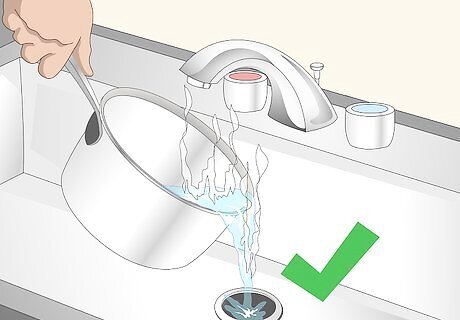
Pour the remaining boiling water mixed with dish soap down your drain. You may need to re-heat the water at this point. Re-heat the water until it is boiling again. Then, add a few drops of dish soap to the water and agitate it with a spoon or spatula. Pour the water down your drain. The boiling water should clear away any remaining residue in your sink trap. The dish soap helps remove grease and oil.
Using a Baking Soda Solution
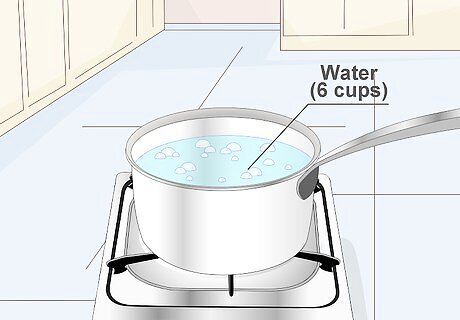
Bring 6 cups (1.4 l) of water to a boil on your stove. Place your pot on the stove and set the heat to high. Bring the water to a rolling boil, which should take about 10 minutes.
Pour 2 cups (0.47 l) of the boiling water down your sink drain. Reserve the remaining water to use later.
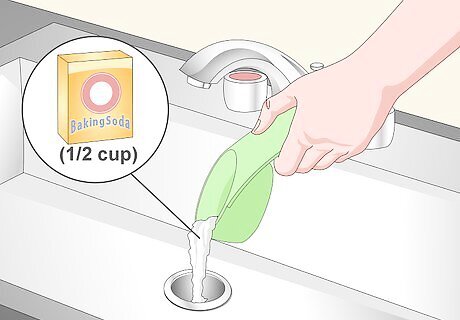
Pour ⁄2 cup (120 ml) of baking soda down your drain. Let the baking soda set for 5 to 10 minutes. Depending on how clogged your drain is, you may need to let it set for longer, like 20 to 30 minutes. Make sure to remove your sink stopper before doing this.
Mix 1 cup (240 ml) of vinegar in 1 cup (240 ml) of hot water. Use the water that you boiled. Mix the vinegar and water together until they are well combined.
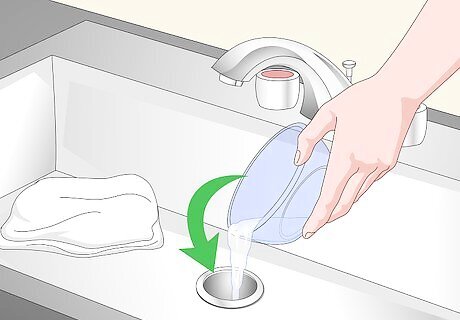
Pour the mixture down your sink drain. Then quickly cover your drain with a plug or wet towel to prevent the mixture from bubbling out of your drain. Let the mixture set for 10 to 15 minutes. If your sink trap is very clogged, then you may need to let the mixture set for longer, like 30 minutes.
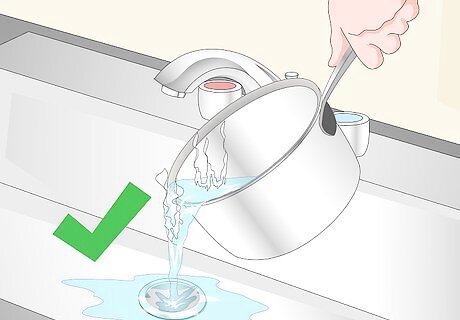
Rinse your drain. Pour the rest of the boiling water down your drain. This will help remove any remaining dirt and grime from your sink trap. If the water has cooled, then heat it to a rolling boil again before pouring it down the drain. If your sink is still clogged, then you may need to remove your sink trap to clean it properly.
Removing the Sink Trap
Locate the sink trap. Look under your sink and locate a pipe with a J or P-like curve. This is your sink trap. The sink trap is located in between the tail pipe and the waste pipe. The tail pipe is the pipe that connects directly to your sink, and the waste pipe is the pipe that connects to the wall.
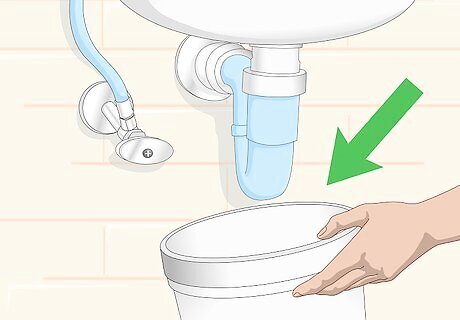
Place a bucket underneath the sink trap. You can use a regular gallon bucket, or any type of water collecting device like a dishpan. The bucket will be used to catch any water, dirt, and grime that comes out as you remove the sink trap.
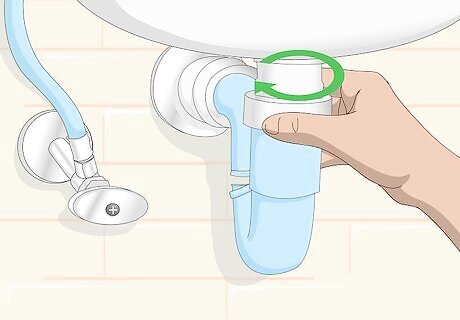
Unscrew the slip joint nuts. Begin by loosening the slip joint nuts on each end of the sink trap (on each end of the J or P). You can do this either manually, using your hands, or you can use a wrench. Once the joint nuts are loose, continue to untighten them with your hands. If your sink trap has a decorative or metal finish, then use a strap wrench to loosen the slip joints to prevent scratching. You can also place duct tape on the parts of the wrench that come into contact with your pipes to prevent scratching.
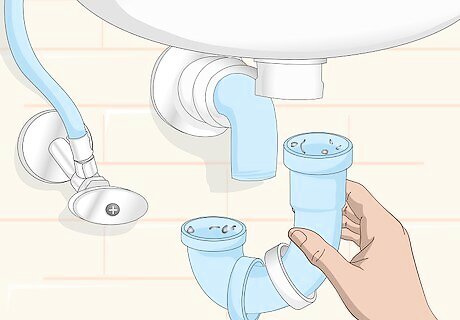
Remove the sink trap. As you remove the sink trap, make sure to locate the O-rings. There should be two; one on each side of the J. Place them somewhere safe. The O-rings are used to seal the connection between the sink trap and the tail and waste pipes. Take a picture of the trap before you remove it to help you reassemble the sink trap correctly. Clog the waste pipe with a cloth or rag to prevent sewer gases from entering your home.
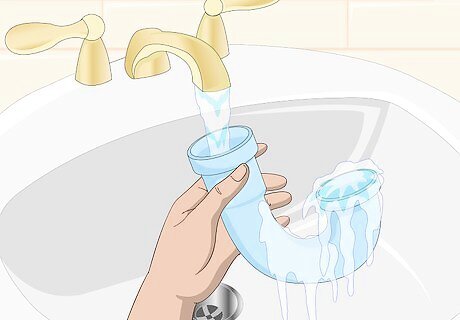
Rinse the sink trap. Take the sink trap to a separate sink or outside to rinse. Rinse the trap thoroughly until all the loose dirt and grime are removed.
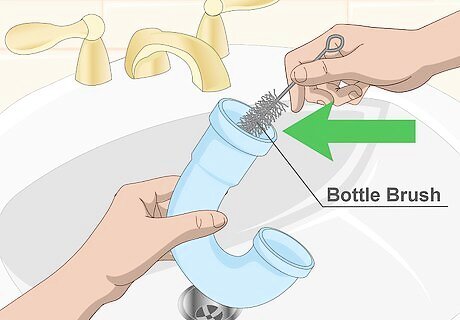
Scrub the sink trap with a bottle brush. You can also use a dishwashing detergent to remove any dirt and grime as you scrub the sink trap. Scrub the sink trap until all the dirt and grime are removed. At this point, you can use the bottle brush to scrub and remove any dirt and grime from the end of the tail pipe as well.
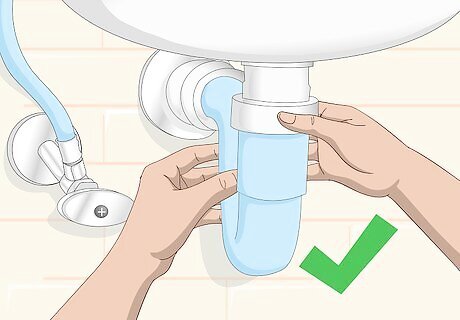
Reassemble the trap. Place the slip joint nuts onto the tail and waste pipes first. Slip the O-rings back onto the tail and waste pipes. Then place the sink trap between the tail and waste pipes. Use your hands to tighten the slip joint nuts over the ends of the sink trap. Use your wrench to finish tightening the slip joint nuts. Only tighten the slip joints nuts a quarter turn more. Try not to tighten them too tight. This can cause your pipes to crack and break, especially plastic ones. If there’s rust on the P trap, replace it before it has a chance to leak.






Comments
0 comment