views
Changing the Color of Your User Interface
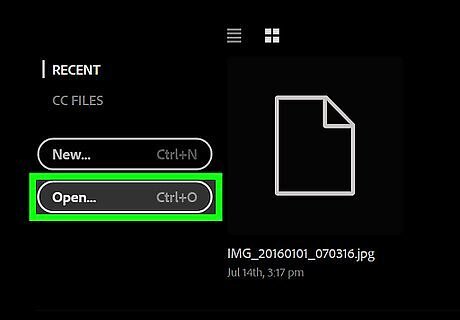
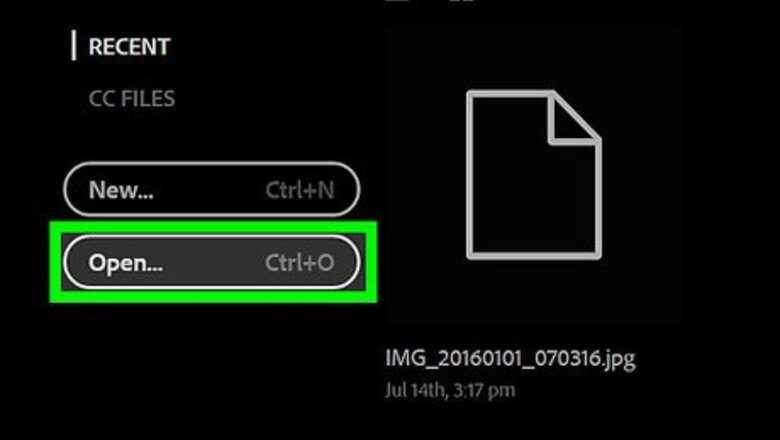
Open an Adobe Illustrator file. To do so, double-click the yellow app with the letters Ai, then click File in the menu bar at the top of the screen and Open…. Select the file in which you want to change the background color and click Open.
Go to "User Interface" options. If you're using a Windows computer, go to Edit > Preferences > User Interface. If you're using a Mac, go to Illustrator CC > Preferences > User Interface.
Choose a brightness setting from the offered tiles. This will be the tint of all the elements of the user interface including panels, buttons, and menus.
Choose a canvas color. You can select "Match User Interface Brightness" or opt for a white canvas. These settings will not affect any artwork in the drawing space. Any colors picked here will not print out of you print your project.
Changing the Color of Your Artboard
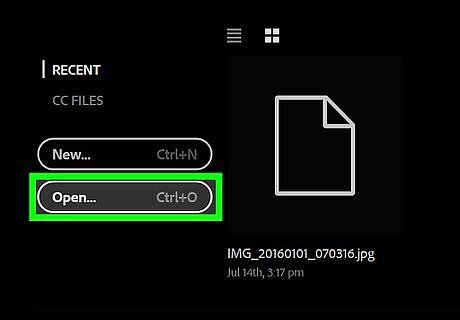
Open an Adobe Illustrator file. To do so, double-click the yellow app with the letters Ai, then click File in the menu bar at the top of the screen and Open…. Select the file in which you want to change the background color and click Open.
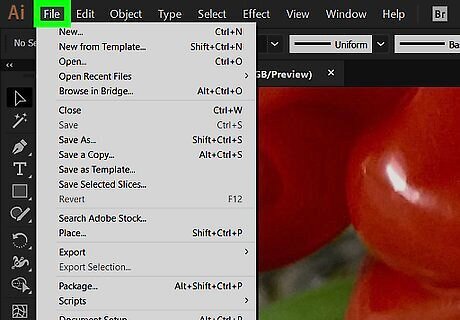
Click File in the menu bar. It's at the top of your screen with Edit and View.
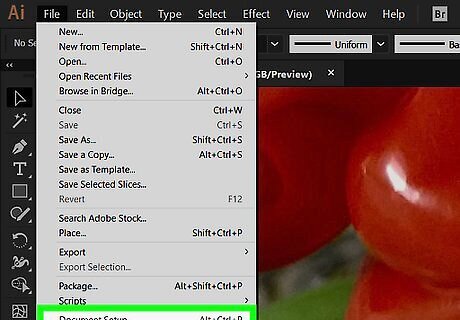
Click Document Setup…. It's near the bottom of the drop-down.
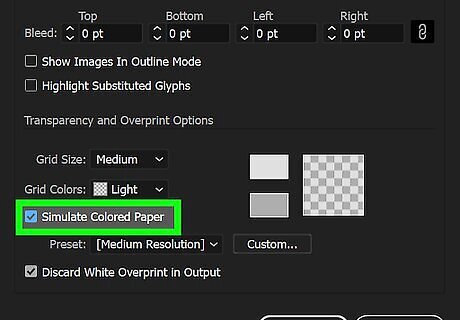
Check Simulate Colored Paper. It's in the "Transparency" section of the dialog box.
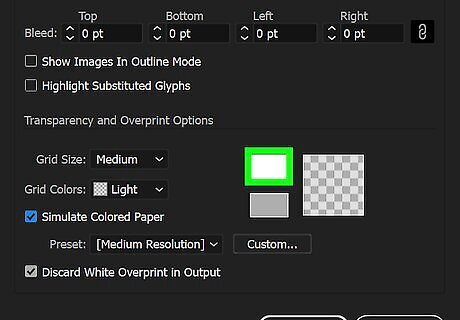
Click the upper color swatch. It's on the right side of the "Transparency" section, just left of the grid image.
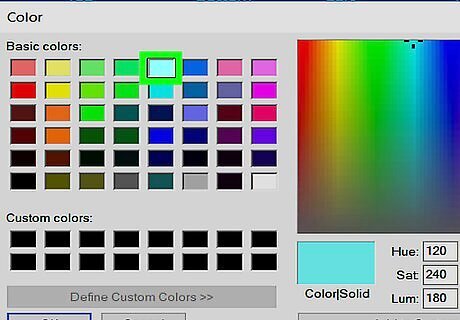
Pick a color for your background. Do so by clicking on the color wheel and then adjusting the shade with the slider bar. When you're finished, the final color will appear in a swatch in the lower-left corner of the dialog box.
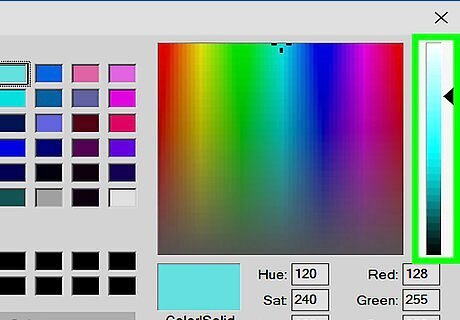
Click the swatch and drag it onto an empty square. The empty squares to the right of the color swatch are spaces where you can save custom colors.
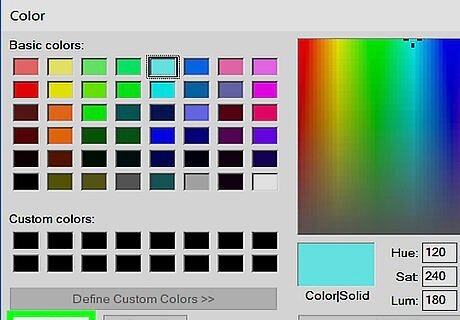
Close the dialog box. On Windows, click the X, and on Mac, click the red dot in the corner of the dialog box.
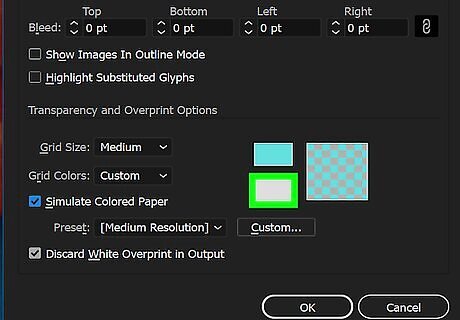
Click the lower color swatch. It's on the right side of the "Transparency" section, just left of the grid image.
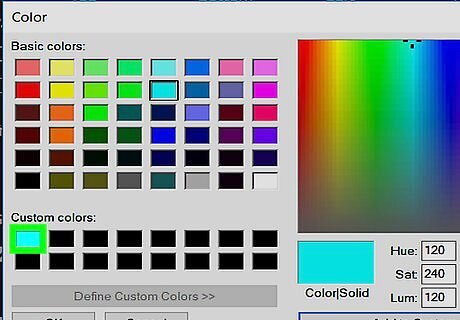
Click the color you just saved. It's in the small square in the lower-right part of the dialog box where you dragged it. The swatch in the lower-left corner of the dialog box will become the same color as the small square.
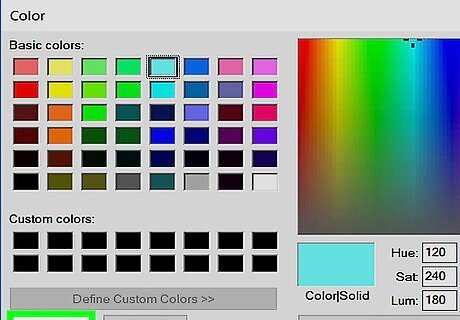
Close the dialog box. On Windows, click the X, and on Mac, click the red dot in the corner of the dialog box. The swatches and grid image should all be the color you set.
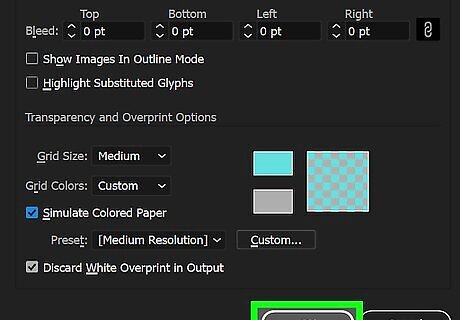
Click OK to close the "Document Setup" dialog box.
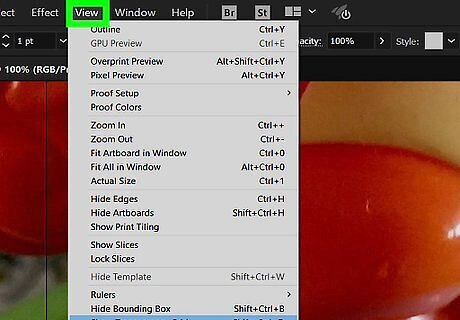
Click View in the menu bar.
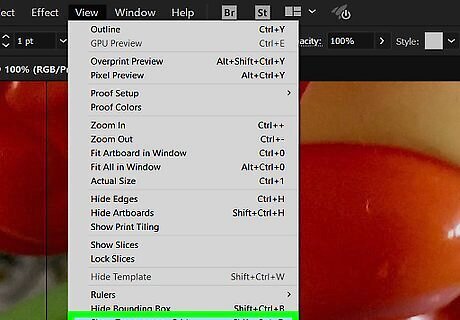
Click Show Transparency Grid. It's toward the bottom of the drop-down. The background will now be the color you specified. Any objects with fill or line colors, including white, that are not the same as the background will be visible. Instead of changing the transparent grid colors, you can create a large rectangle that's the same size of your artboard, then change the fill color of that shape.


Comments
0 comment