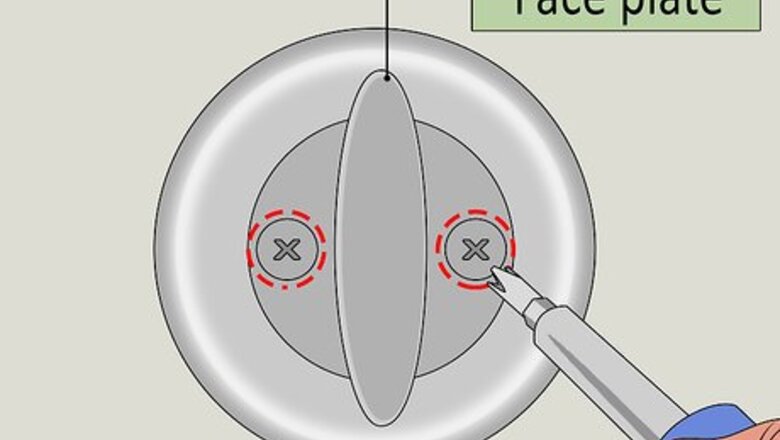
views
Removing the Old Deadbolt
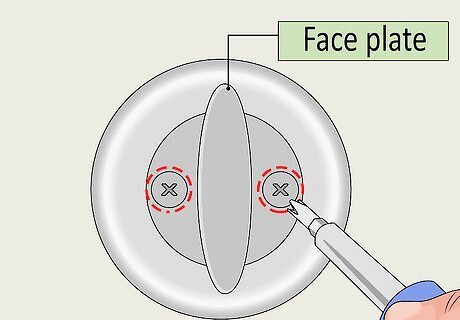
Remove the screws of the deadbolt. The face of your deadlock that is on the inside of your home should have two screws on it. Remove these screws with a screwdriver. The part of the lock that the screws are in is known as the “faceplate.”
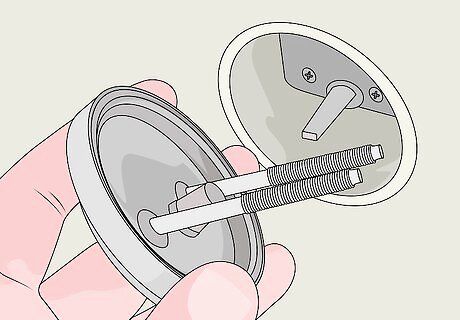
Pull out the interior faceplate. Once the screws have been removed, the faceplate can be pulled out. Generally, you can pull it straight out, though in some cases you might need to twist the faceplate counterclockwise before pulling it out.
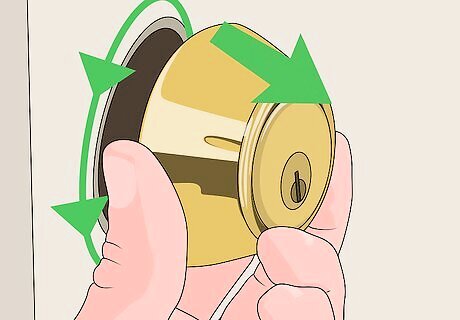
Remove the exterior faceplate. Once the interior faceplate has been removed, the faceplate that is on the outside of your door can also be pulled out. You will probably need to twist it counterclockwise before pulling it out. Sometimes there will be screws in the exterior faceplate as well. If so, unscrew these as well, before attempting to pull it out.
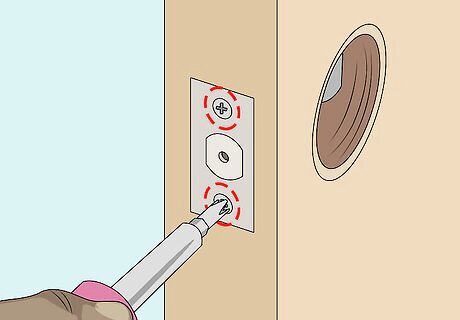
Unscrew the set plate. The set plate is the piece of metal that faces the doorframe and connects the bolt to the doorframe. It is the part of the lock that is visible on the side of the door. There should be a screw on the top and the bottom of the set plate. Remove both screws.
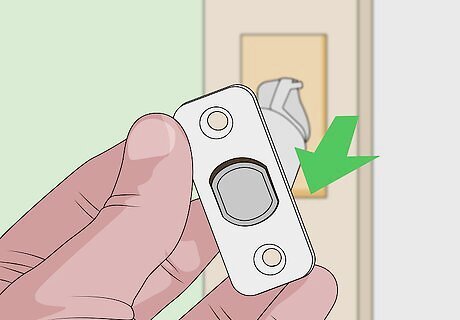
Pull out the set plate and bolt. The bolt is the piece of metal in the center of the deadbolt that, when locked, fits into the jamb hole in the doorframe to hold your door closed. It is usually attached to the set plate, so that once the set plate is unscrewed, both can simply be pulled out. In some cases, the set plate and bolt are not one piece. If so, once the set plate is removed you can pull out the bolt separately. If you did not unlock your deadbolt prior to removal, you can still remove the bolt. Just look for where the bolt connects to the locking mechanism and use a screwdriver to twist it open.
Purchasing a New Deadbolt
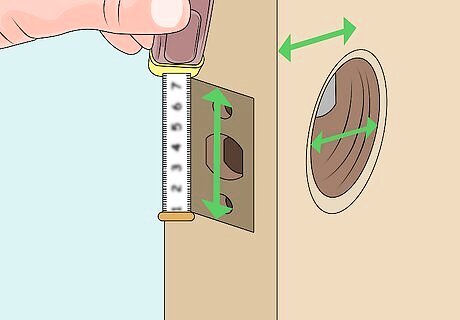
Measure the size of the lock. To ensure that your new lock fits in its opening, use a tape measure to check the size of the hole where your lock used to be. Then, measure the “setback,” the distance from the doorframe to the hole. Finally, measure the thickness of your door. In most newer homes these measurements are standard. The hole is generally 2 1/8th inches. Most bolts are also adjustable to accommodate the size of your setback. It doesn’t hurt, however, to be cautious and get all measurements.
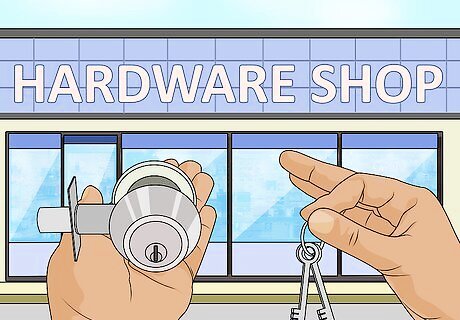
Bring your lock and key to the hardware store. Bringing these with you will make it easier to find a lock that fits your door. It will also make it possible to get a new lock that is compatible with your keys. To establish that your existing keys still work, you might want to get a deadbolt that is produced by the same brand as your current deadbolt. The brand name should be the set plate, the piece of metal that holds the bolt and connects it to the door frame.
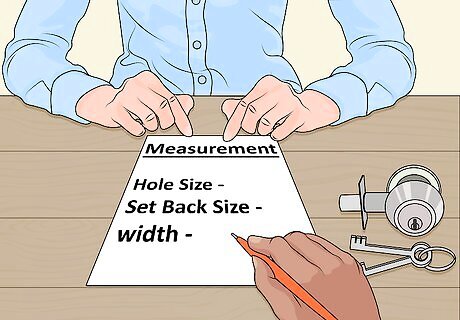
Consult with an expert at a hardware store. Tell them about the measurements you took and show them the lock and key. They should be able to point you in the direction of models that are compatible with your door.
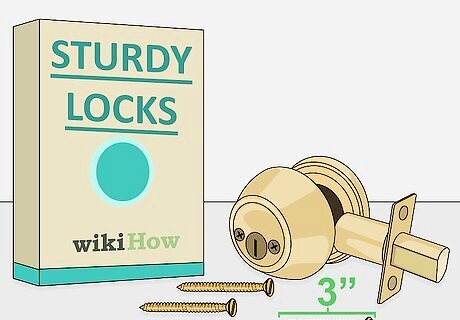
Buy a sturdy lock. Deadbolts are stronger than other types of locks and are your primary defense against forced entry. Thus, you should buy strong locks from a reputable brand, to ensure that no one can force the door open. Your new deadbolt should have a metal strike plate. The bolt in the deadlock should fit all the way into the jamb hole in the doorframe. The screws that hold the deadbolt into the door should be at least three inches long.
Installing Your New Deadbolt
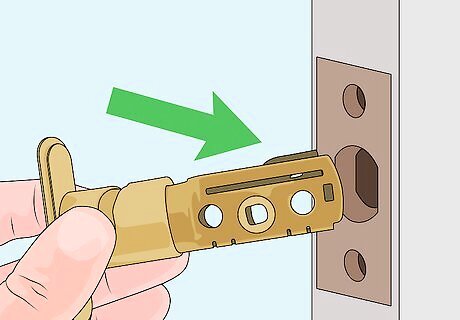
Slide the set plate and bolt into door. The bolt and set plate should slide directly into the hole in the side of your door that faces the doorframe. If the bolt and set plate are separate, slide the bolt in first, and then put the set plate over it to secure it in place.
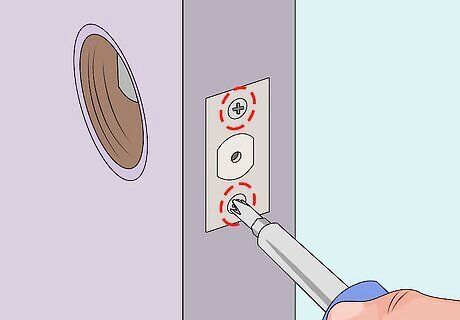
Screw the set plate into your door. There should be holes on the top and the bottom of the set plate. Insert screws into both to secure the set plate and bolt into place. This should seem familiar; each step in installing your deadbolt will mirror the steps you took to remove the deadbolt. Every time that you insert a screw, you can begin by using your hands to get the screw in place. Eventually, however, you should progress to using a screwdriver or power tool to ensure that screw is fully inserted and secure.
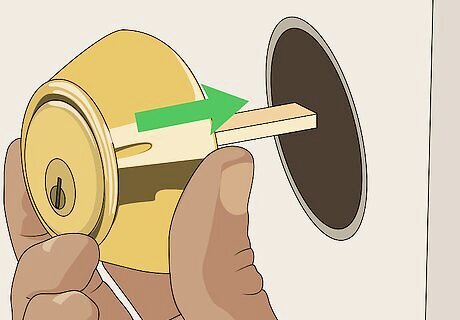
Insert the exterior facepiece into the bolt. The facepiece that is on the outside of your door should have a long piece of metal sticking out of it. Your bolt should have a hole in the center. Slide the piece of metal into this hole in the bolt.
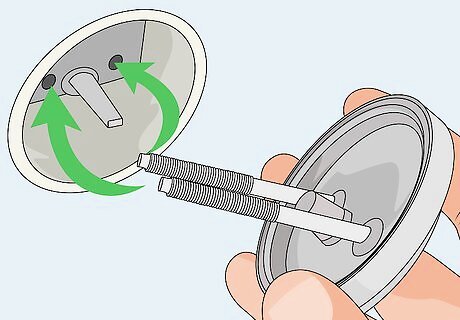
Insert the interior facepiece into the bolt. The interior facepiece should have two pieces of metal that fit into two holes in the bolt. Slide the interior facepiece into these holes. Altogether, there are three holes that run along the bolt. One, in the center, connects the exterior facepiece to the bolt. The other two, to the left and the right of this central hole, connect the interior facepiece to the bolt.
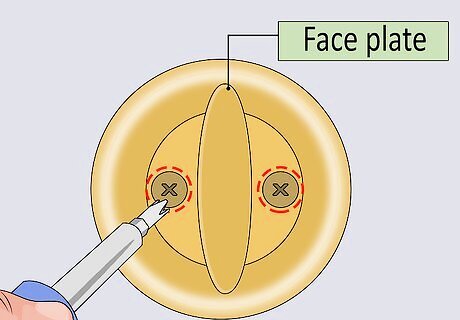
Insert screws into the facepieces. The interior facepiece will have two screws on it. The exterior facepiece might have screws, but this varies depending upon the model. Slide these screws in with your hands and then insert them securely with a screwdriver or power tool. The screws should come standard with the deadbolt. It is best to use the screws that come with the deadbolt to ensure that they fit correctly.
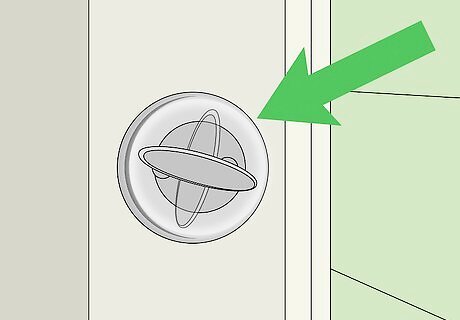
Snap on decorative covers. Some deadbolts have decorative covers that conceal parts of the facepieces. Consult instructions to verify if and how these are to be installed. Generally, they are snapped on to the facepieces.



Comments
0 comment