views
Calibrating a Hydrometer
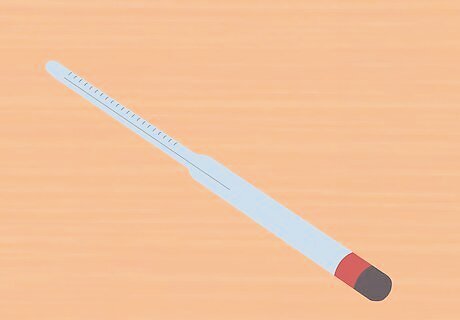
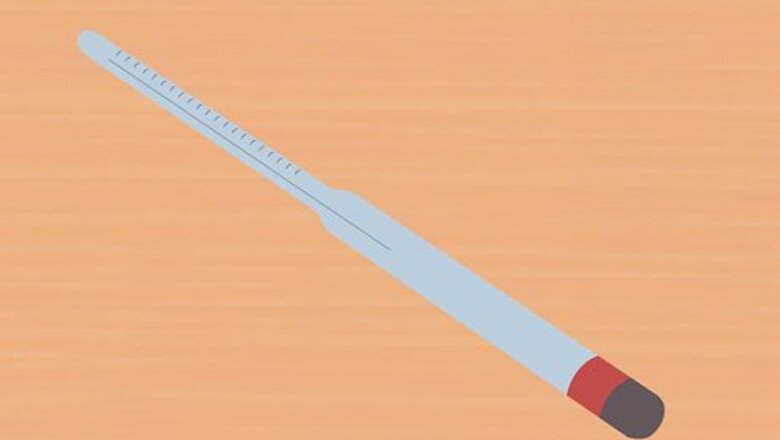
Identify the parts of the hydrometer. A hydrometer is a glass device that has a bulbous, weighted end designed to float in a liquid and a narrow, long stem with a graduated scale on the other end. It is used to measure the specific gravity of a liquid. Specific gravity is the density of a liquid compared to water. The bulbous end is placed into the liquid in question while the narrow stem will stick out of the liquid. When placed in a liquid, the hydrometer will sink and the reading is taken based on how far it sinks.
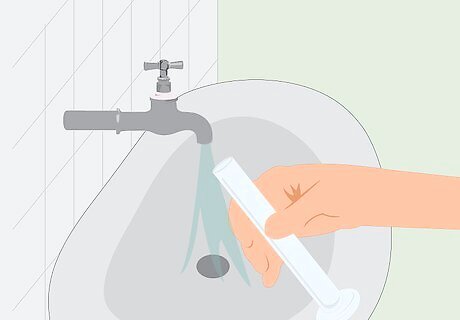
Fill the test jar with the water you will be using for brewing. Most hydrometers come with a test jar for measuring and taking readings. Fill this with the same water you will use for the brewing process. If you are using special water from a well or you add tablets to change the pH of the brew water, it must be the same water in the measuring cylinder. This will be the reference sample used for calibration. Using the same water controls for any other variables that might affect the hydrometer reading and ensures an accurate calibration.
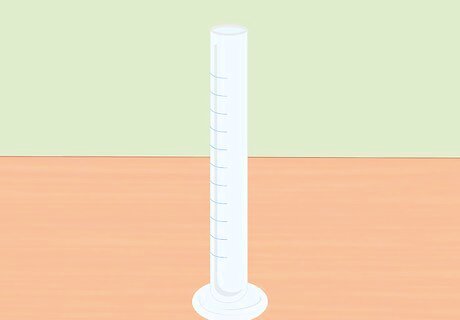
Keep the test jar the same temperature as the brewing liquid. Store the test jar with the water next to your brewing station. If you keep them next to each other, they should have the same temperature. Keeping your reference sample (the water) as close to the brew as possible will limit variations in reading due to temperature. Most hydrometers are calibrated to a reference temperature of 60°F (20°C). If your brew temperatures vary from this point, you might find some differences in your readings.
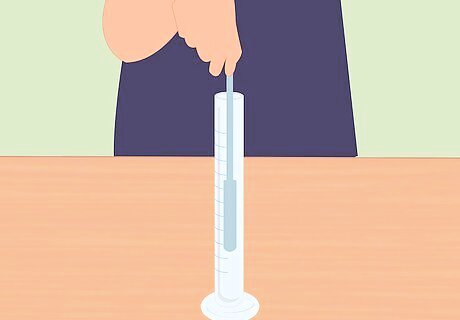
Take a reading of the reference sample (water). Spin the hydrometer in the water to get rid of any bubbles that might affect the reading and ensure the hydrometer isn’t touching the sides of the test jar. Read the bottom of the meniscus (the U-shape formed by the water due to surface tension). Write down the reading of the reference sample. Let’s say you took a reading and the reference sample reads a specific gravity of 1.003.
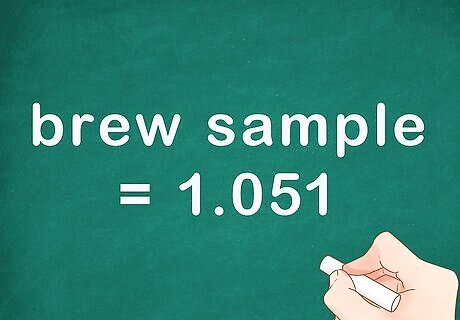
Take a reading of the brew sample. After recording the reference sample reading, clean the hydrometer and take a reading of your brew sample. Remember to twist the bulb to remove bubbles and make sure the instrument doesn’t touch the walls of the container. Let’s say the brew sample reads a specific gravity of 1.051.
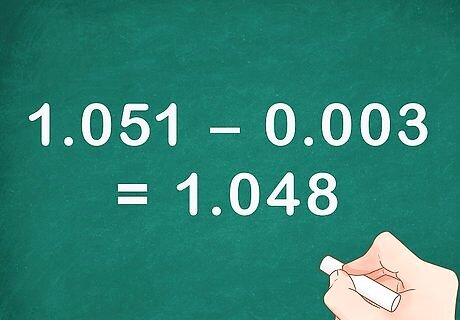
Adjust your brew reading according to the reference sample. Ideally, the water reference sample will read 1.000. If this is the case, you do not need to do any calculations with your brew sample. It is more likely that the reading will be slightly higher or lower than 1.000. In our example, the reference sample read 1.003, therefore, you need to subtract 0.003 from your brew sample. If the brew sample is 1.051, then the calibrated sample reading is 1.051 – 0.003 = 1.048. Similarly, if the reference sample read 0.998, you would need to add 0.002 to the brew sample to get an accurate reading.
Using a Hydrometer

Know the temperature at which your hydrometer works. Hydrometers are specifically calibrated to work at a given temperature. Most hydrometers are calibrated to a reference temperature of 60°F (20°C). When you purchase the hydrometer, the manual should tell you the temperature at which the hydrometer can be used. For best results, take readings of your liquid at the reference temperature.
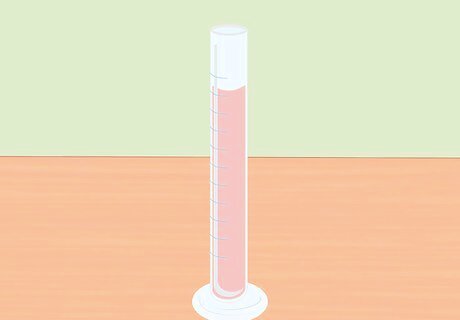
Fill the test jar with the liquid in question. Many hydrometers come with a test jar. This is filled with the liquid you want to measure instead of placing the hydrometer directly into your container of liquid. Add the liquid to the jar and then place the hydrometer with the bulb side down. It is okay if some of your liquid spills out. Make sure the hydrometer is not touching the walls of the test jar.
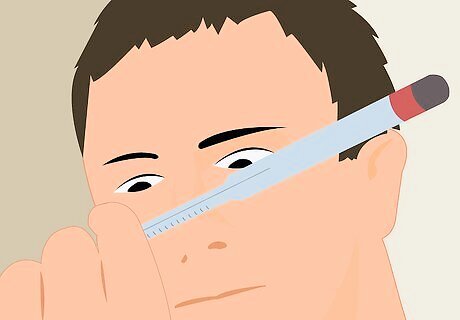
Take the reading on the hydrometer. Reading the hydrometer can be tricky because of the meniscus. Surface tension causes the water to stick to the sides of the hydrometer and creates the meniscus (the concave shape of the water against the sides of a surface). Be sure to look at the hydrometer at eye level and read the level below the meniscus. Spin the hydrometer to remove any bubbles that might be stuck to the bulb affecting the reading. Wait for the hydrometer to stop bobbing before taking a reading. Ensure the hydrometer is not touching the walls of the test jar.
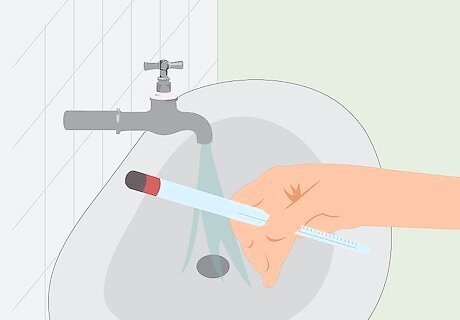
Clean the hydrometer before putting it away. To keep your hydrometer in good working order, make sure you clean it well and place it back in its protective packaging for storage. The instrument will last longer and give you more accurate readings over time if you take care of it properly. Clean out the test jar as well. A dirty test jar will give you inaccurate results the next time you use it.





Comments
0 comment