
Removing the Protection
Download NoteBurner. NoteBurner is a Mac and Windows compatible, higher-rated software that you'll need to convert your Apple Music before you can burn it. You can download a free trial before paying $39.95. With the free trial, you can only convert the first three minutes of an audio file.
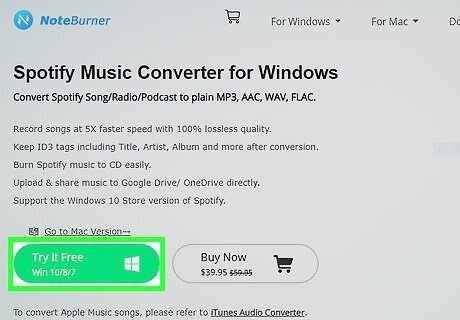
Click Try It Free. You'll see this button under the software's name and description. There's also a link to take you to the other OS version (Mac or Windows) if you're on the wrong page.
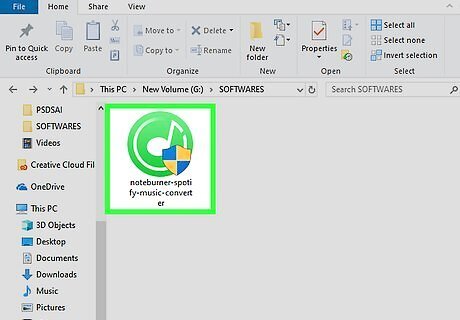
Download and install NoteBurner. For Windows, run the downloaded file. For Mac, drag and drop the app icon into the Applications folder.

Open NoteBurner Audio Recorder. You'll find this program in your Start Menu or Applications folder. If you're having issues using NoteBurner with macOS Catalina or macOS Mojave, you may need to allow downloads outside the App Store. Go to System Preferences > Security & Privacy > General and click the lock in the bottom left corner of the window to allow changes to your settings. Choose "App Store and identified developers," then open Finder and open Noteburner and click OK in the pop-up. Go back to your Security & Privacy window and click Open Anyway next to the warning, "NoteBurner was blocked because…" NoteBurner should now open without causing errors.
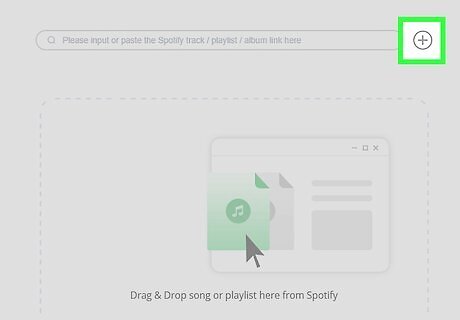
Click the center of the program window or the plus icon (+). A window will pop-up with your iTunes and Apple Music libraries. Double-click a song to select it.
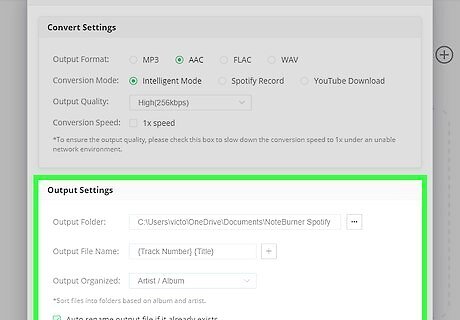
Change the output setting. In Windows, click the gear/settings icon in the upper right corner, then choose an output setting (MP3, WAV, FLAC, or M4A), a conversion mode (Intelligent mode, iTunes Record, or YouTube Download) and output path (where to save the converted file). In Mac, you'll find this menu in "Preferences" from the toolbar along the top of your screen.
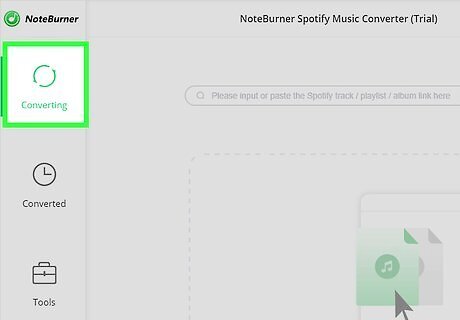
Click Convert. After you've set your settings/preferences, you can start converting your music. This may take a few minutes depending on how many minutes are queued to be converted.
Burning a CD with Mac
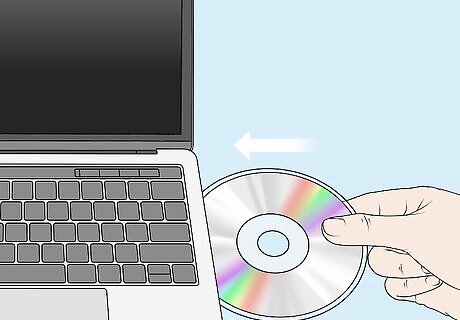
Insert a blank CD into your computer's disk drive. You can find this on the side of your laptop, the side of your monitor (for 3-in-1s), or the front of your CPU tower. If your computer does not have a CD drive, you can purchase an external one for cheap.
Choose Open Finder (if you get a pop-up). Finder will open immediately and any time you insert a blank CD into the disk drive. If you don't get a pop-up, skip this step, but manually open Finder by double-clicking the disc's icon on the desktop.
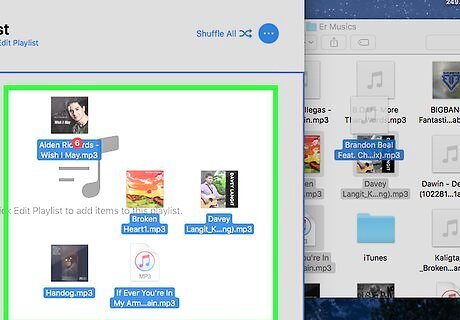
Drag and drop your converted music files to the CD. You have the opportunity to arrange and rename the files here before you burn them on a CD.
Hover over File. You'll see this at the top of your screen.
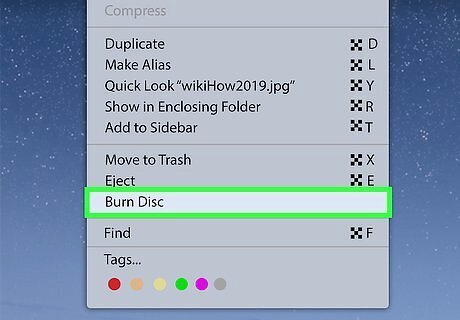
Click Burn (disc). Follow the on-screen instructions to complete burning your converted Apple Music to the CD.
Burning a CD with Windows
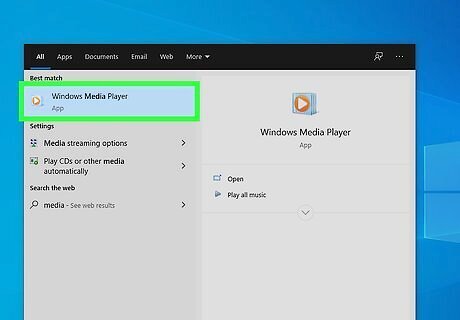
Open Windows Media Player. You can find this in your Start Menu.
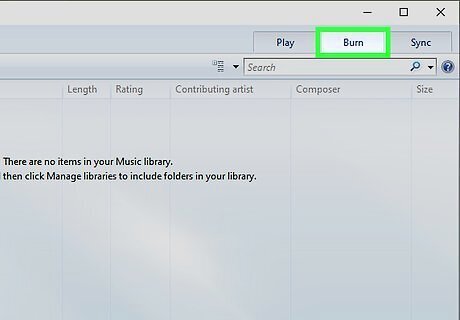
Select Burn. You should see this in the menu above the video preview with "Library."
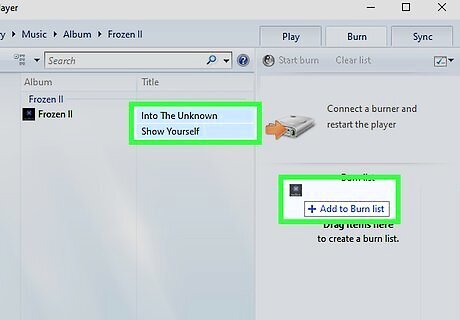
Drag and drop music from the panel in the left into the panel on the right. If the music you want to burn doesn't show up in the panel on the left, you need to add music to the library.
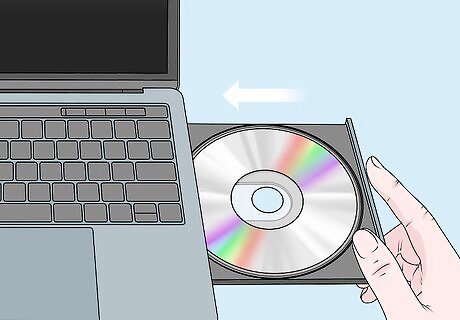
Insert a blank CD into your computer's disk drive. You can find this on the side of your laptop, the side of your monitor (for 3-in-1s), or the front of your CPU tower. If your computer does not have a CD drive, you can purchase an external one for cheap.
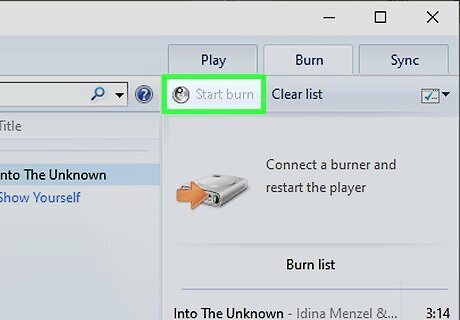
Click Start Burn. You'll see this at the bottom right corner of the program window. The program will take a few minutes, depending on how many songs you have to burn your CD.


Comments
0 comment