
Getting Started
Know where you will be playing. Because the game is usually played outdoors, make sure you create a durable box able to withstand the elements as well as the pounding from the game itself. If you will be playing at a specific location, make sure to measure the dimensions to create a suitable board. Know what type of surface you’ll be playing on. Some surfaces, like sand, may need extra design features to increase the durability of your board.

Create a budget. Whether you’re creating a simple box for your background or a mobile box with wheels and a graphic design, budget how much time and resources will be needed to create your design.
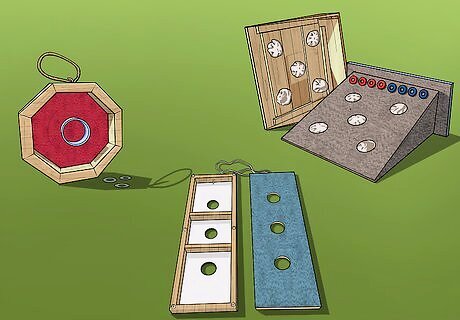
Know your playing style. There are a lot of variations to the washer game. Whether your rules require 3 hole boards, one hole boxes, nesting 3 hole boards, octagon boxes, or washer pits, make sure you design your board accordingly.
Cutting Your Materials

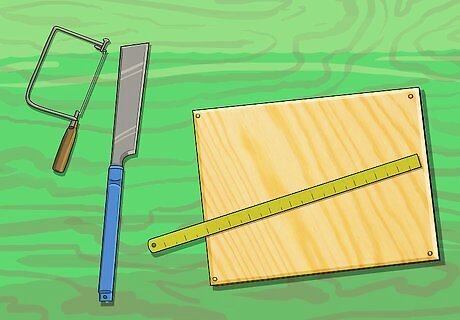
Gather your materials. Head to your local hardware store for two 6-ft two-by-fours, two 17-by-17-inch squares of plywood, two 14-by-14-inch squares of carpet (or fake grass) and two 3.5-inch pieces of PVC pipe, each with a 4-inch diameter.

Cut four pieces of two-by-four to create a square. Cut each two-by-four to 17 inches in length. Create a 17-by-17-inch square by cutting the ends of each of these four two-by-fours at 45-degree angles with a miter saw or box saw. Ensure that they can fit together to form perfect 90-degree angles in order to give the corners of the box a more finished look. Alternatively, cut two pieces of two-by-four to 14 inches (35.6 cm) and another two to 17 inches (43.2 cm). Place the shorter pieces between the longer ones; this will still give you a 17-by-17-inch square without the hassle of making angled cuts. You may use plywood, OSB, or any type of wood that suits your budget and playing needs. Be sure to lay the two-by-fours down on their narrow sides, not on the fat sides.
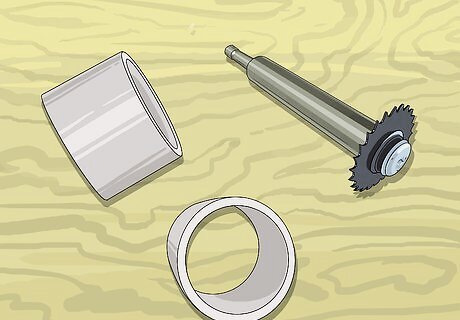
Create the targets using PVC pipe. Cut PVC pipe into two sections of about 3 ½”. You can also use other type of pipe but PVC is best for durability and budget.

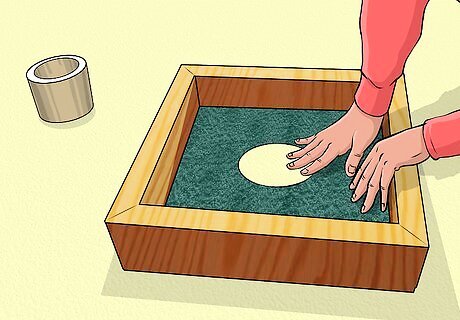
Draw an X on the backside of your square of carpet. Flip the carpet face-down and, using a straight edge, trace two diagonal lines connecting the opposite corners. This will mark the center of the square.

Trace the PVC pipe onto the center of the backside of the carpet. Center it according to the X you drew in the previous step and, using a marker, trace both the inside and the outside of the pipe onto the fabric.

Cut the traced areas out of the carpet. Using the utility knife, first cut the smaller circle out of the carpet. Try to keep the shape intact and set it aside, as you will need it later. Then, cut the remaining larger circle out of the carpet. Since you will not need this piece later, don’t worry about keeping it intact.
Assembling the Boxes

Screw the square frame together. Make sure the wood screws you use are long enough to pierce both pieces of two-by-four at each corner. Use a power drill to ensure that the ends are firmly locked together.
Measure and cut a piece of square plywood. Create the square piece of plywood to fit beneath the square frame. Use the frame to trace the cutting lines directly onto your plywood. Cut the plywood once you have measured the shape.

Screw the square of plywood to the bottom of the square frame. Simply flip the nicer side of the frame downwards (if applicable), place the plywood on top, and screw down through the plywood into the two-by-fours. Make sure your screws aren’t too short for the plywood or too long for the two-by-fours.
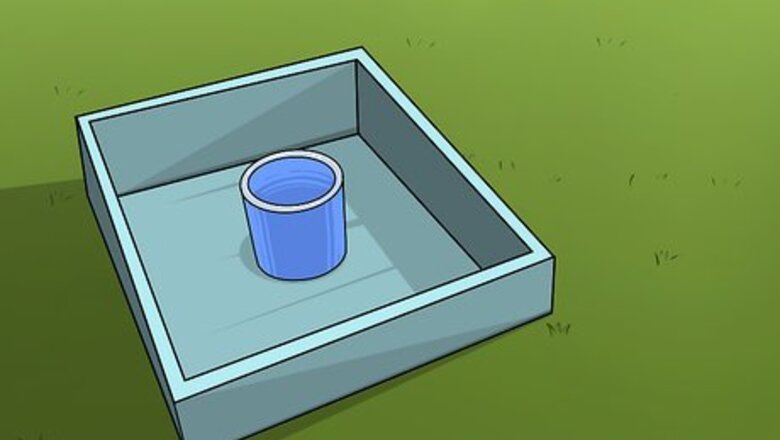
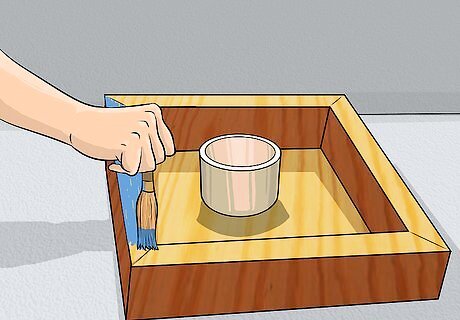
Assemble the carpet and PVC pipe inside the wooden box to test the fit. First, place the carpet right-side-up in the box to make sure it fits snugly within the square frame. Then, place the PVC pipe in the center of the carpet; you may have to twist it back and forth a few times as you press it into the hole (or even lift the carpet and insert it from the back) to get it all the way through. Finally, insert the saved circle of carpet into the center of the PVC pipe. Make adjustments as necessary.

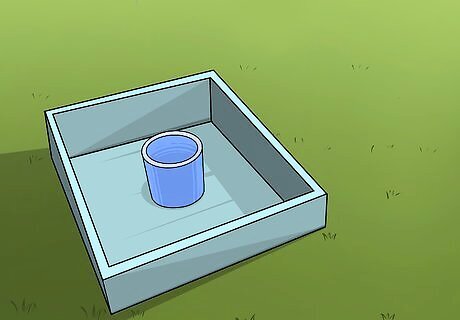
Glue the carpet and PVC pipe to the wooden frame. Do this in the same order in which you test-assembled the pieces. Let the glue set for the amount of time recommended on the bottle. For additional stability, use finishing nails and a punch to nail the carpet to the plywood base. When applying construction adhesive, be sure to press the the PVC pipe and carpet firmly together. You may also use 1’ L brackets or a 4” toilet flange to firmly set the PVC pipe.
Finishing The Boards

Choose your finished look. Whether you add graphic logos or wheels for transportation, your boards are meant to accommodate your game play. Make sure that they are durable.
Paint and prime the box. Depending on the paint you choose, you may also need to use primer to increase durability and protection. This will help cover screw heads and scratches. You might even want to paint the colors according to the way you plan to distribute points. (See Rules for pointers.) Alternatively, you could use Polyurethane to help seal and stain the wood.
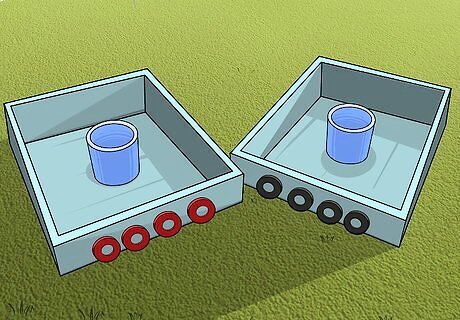
Create the second washer box. Repeat the exact same steps of cutting your materials, assembly, and finish to create a second washer box.


Comments
0 comment