views
Preparing for the Shot
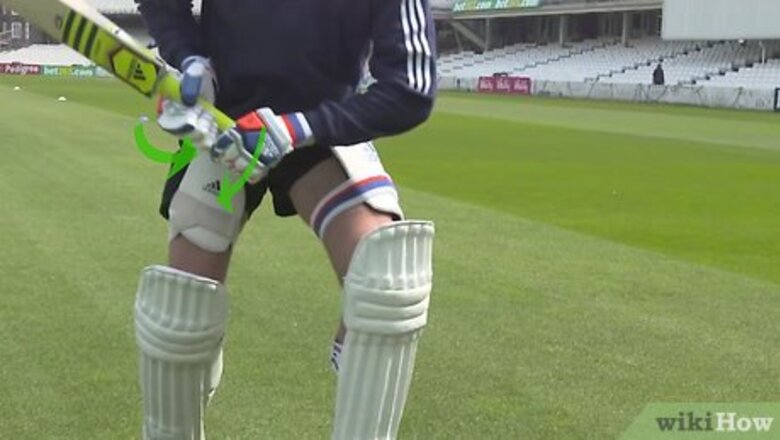
Grip the cricket bat properly. If you're right-handed, place your left hand on top of the handle towards the toe (the rounded tip of the cricket bat) with the right hand under it; left-handers place their hands the opposite way. The thumbs and forefingers should form a "V" between the outside edge and center of the bat that points towards the toe of the bat. Batting gloves should be worn to protect your fingers if they get hit by the ball.
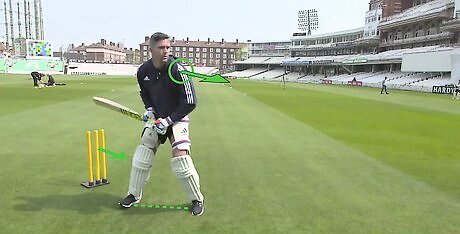
Assume the proper stance. If you're right-handed, stand sideways in the crease (the "safe" area in front of the wicket) with your left shoulder towards the bowler (who "pitches" the ball); left-handed batters do the opposite. Look straight over your shoulder towards the bowler; do not tilt your head. Spread your feet about 12 inches (30.5 cm) apart and bend your knees slightly with your weight distributed evenly on both legs. Rest the toe of the bat on the ground behind your feet near the wicket; your top hand will rest on the inside of the thigh nearest the bowler.
Taking the Shot
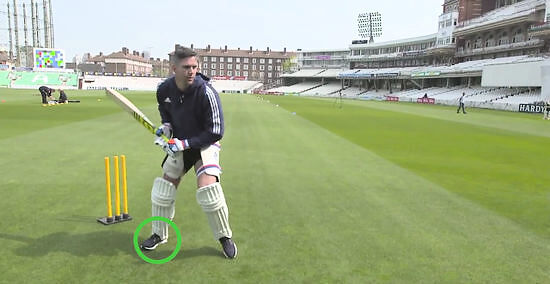
Shift your weight to your back foot for longer pitches. Shifting your weight away from the bowler enables you to adjust to a ball that bounces higher off of the pitch and takes longer to reach you.
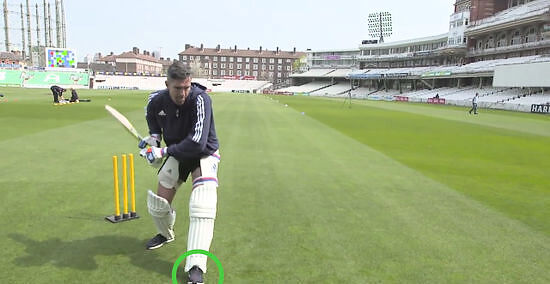
Shift your weight to the foot closest to the bowler for a full pitch (one that bounces close to you). Move to meet the ball.
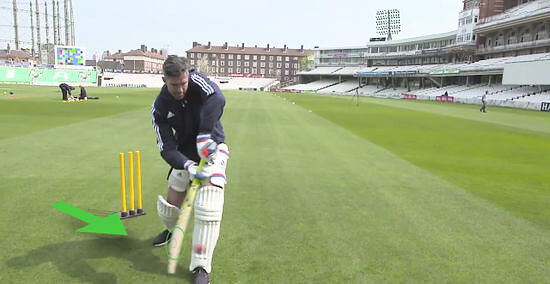
Try to hit the ball before it spins. If the bowler is bowling spin, you can advance forward and hit the ball before it spins. You can play a front foot shot for a spin bowler; this gives you the advantage of a full-toss delivery and the chance to face the ball before it bounces and spins.
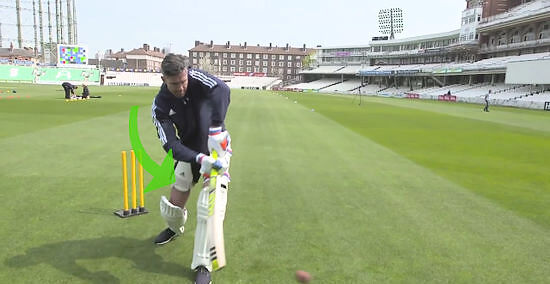
Swing the bat properly. When the ball is pitched, roll the shoulder facing the bowler down slightly and swing the bat backwards in a straight line. Use your top hand for control as you bring the bat forward to meet the ball. The back-swing provides the power for the shot; a good swing clears the top of the wicket.
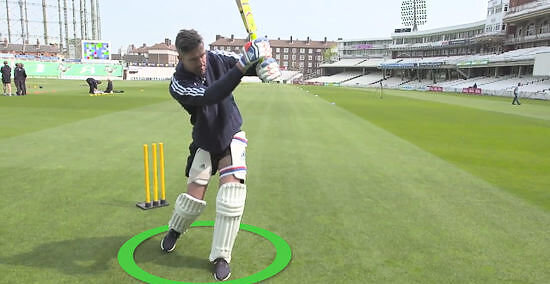
Decide whether to attempt to score a run or continue batting. A successful batsman knows when to try to score and when to remain in position and defend the wicket. If there is no time to switch places with the non-striker and score a run, stay put and prepare for the next shot.
Choosing and Preparing the Cricket Bat
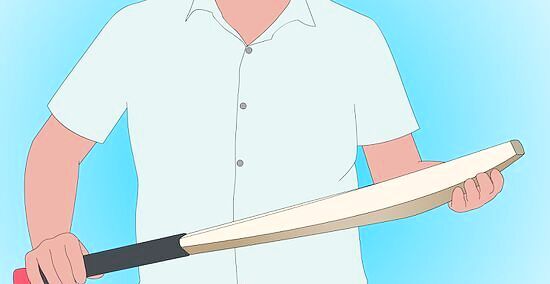
Select the right cricket bat. Bats differ in length, weight, and handle type; the right bat for you depends partly on your height and partly on personal preference. There are different bats depending on the type of ball you are using The proper length depends upon your height. Get into your batting stance and hold the cricket bat next to your front leg. The top of the cricket bat should be situated just at the top of the players pelvis (The top of your hip). The proper weight depends upon personal preference. Heavier bats provide more power, but lighter bats provide a faster swing. Take practice swings with cricket bats of different weights until one feels comfortable and controllable. The proper handle depends upon personal preference. Bats with oval handles are stronger, but round handles are easier to grip, especially with your bottom hand. Round handles also provide additional lift when you hit the ball.
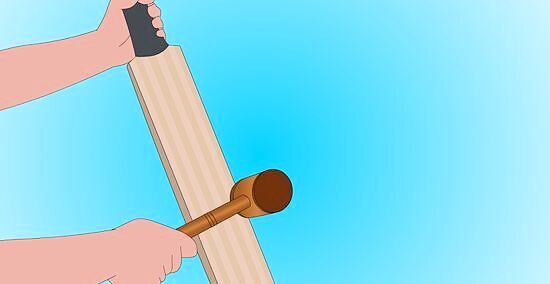
Prepare the cricket bat by having it knocked in. Bats are made from willow, a soft wood that is initially hardened by a mechanical press. Additional hardening improves its performance and protects against cracking. While you can knock a bat in yourself, it is recommended that the process of strengthening the surface by denting and leveling it out be done by a professional. Rub 1 tsp. (5 g) of raw linseed oil on the bat, coating the surface evenly to promote elasticity and protect against cracking. Apply the oil either with your fingers or a cloth, using a clean cloth each time (the oil is combustible, so dispose of the cloths immediately). Let the oil soak in overnight, then oil the bat 2 additional times before beginning the actual knocking in process. Dent the middle of the cricket bat. Use a hardwood bat mallet designed for this purpose (a cricket ball may also be used). Continue hitting the surface until it is level and the dent has disappeared. This will take about 10 minutes using a bat mallet, and about 10 to 15 sessions are needed to complete the process.



Comments
0 comment