views
Choosing the Right Illuminator
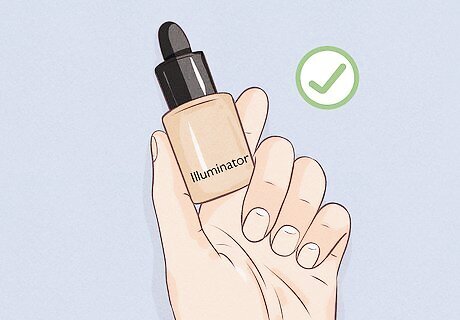
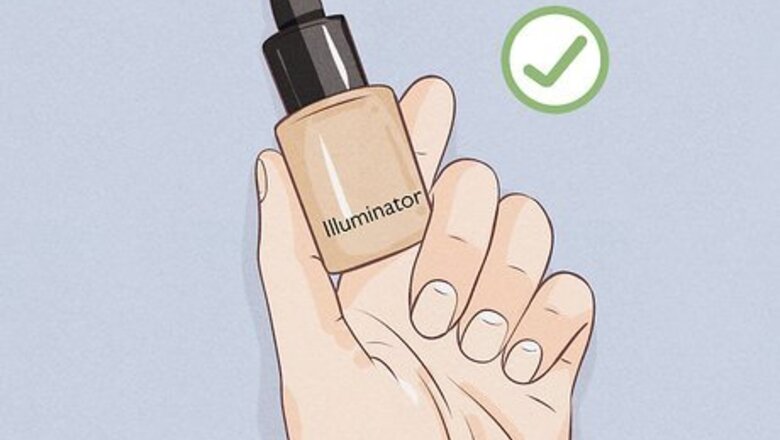
Decide if illuminator is right for your skin type. Illuminator is great for making skin appear brighter, but it can be unflattering on certain skin types. If you have large pores, scarring, or fine lines, the look of them can be exacerbated by illuminator. Hyperpigmentation can also be made more apparent by illuminator unless you know how to cover it with concealer. Although these skin types aren't ideal for illuminator, anyone can make illuminator work for them with the right makeup application. You can go to a makeup artist to teach you the best makeup application for your skin type. You can also search YouTube videos for makeup tutorials.
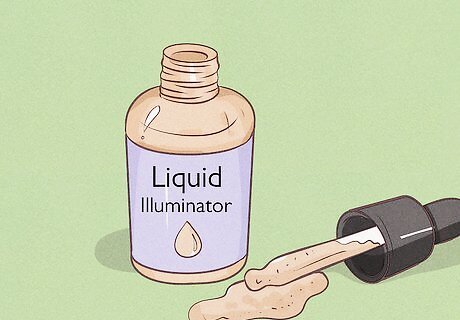
Go with liquid illuminator for a soft, natural-looking glow. Liquid illuminator is ideal for a day-to-day look because it gives a softer glow. It is also a good choice because it can be mixed in with your foundation for a mild, yet summery glow.Plus, it is better for dry skin.
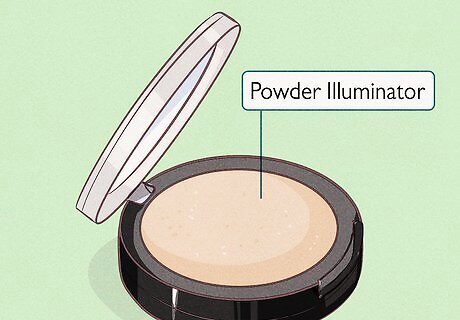
Choose a powder illuminator for a long-lasting finish. Powder illuminator is usually long-lasting and more dramatic. A powder is ideal for evening and wedding looks. You can also combine the powder with a liquid illuminator for a very bright shine.
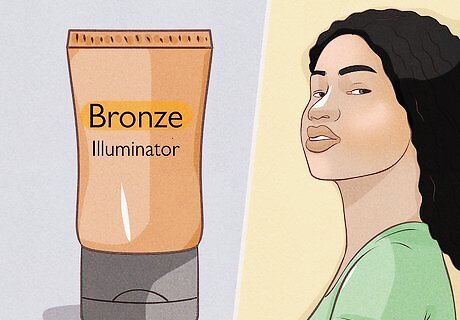
Use a golden or bronze illuminator for olive or darker skin tones. Gold, rose gold, and bronze shades of illuminator bring out the radiant warmth in darker skin tones. Experiment with any of these shades to see what looks most natural on your skin. A frosty or silver illuminator could work, but there is a risk of it bringing out gray tones in the skin.
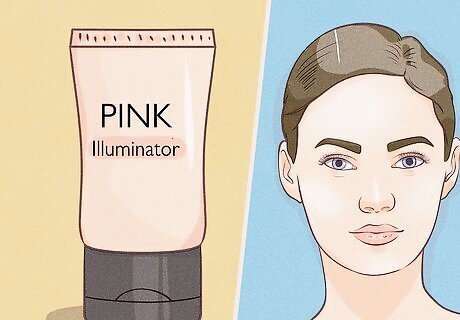
Try a pearly or pink illuminator for fair skin. A pearly or opalescent shade of illuminator is great for fair skin tones because it brings out the skin's natural radiance. If you apply enough of the illuminator, it will look like a sun beam is bouncing off of your cheek. Try a light pink illuminator if you're looking for a warmer glow.
Applying the Illuminator

Apply the illuminator after foundation. Typically, illuminator is applied directly after you apply foundation and before blush. This will give you a noticeable glow. If you want a subtle glow, however, you should apply the illuminator below your foundation.

Dab the illuminator on your cheeks. Illuminator is most commonly applied to the cheeks. First, smile to get an idea of where your upper cheekbone is. Then, use your fingers to apply a very small dab of illuminator along each cheekbone. If you're using powder, with a large, fluffy brush. You can also apply some illuminator to the apples of your cheeks. Start with a light application of illuminator. You can always add more later if desired.

Use the illuminator down the bridge of your nose. Squirt a little more illuminator out of the bottle or apply more to your brush, depending on if you are using liquid or powder. Remember, less is more with illuminator. Then, swipe some illuminator down the bridge of your nose. This will produce a slimming effect, if desired.

Apply a small dab to your chin, upper lip, and forehead. To brighten up your face even more, apply small dabs to these 3 locations. Apply some illuminator to the bottom of your chin, directly below the middle of your bottom lip. Then, apply another small dab into the crease just above your upper lip. Finish up by applying some illuminator to the middle of your forehead, between your eyebrows.
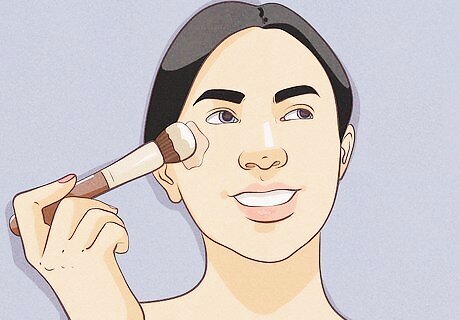
Blend in the illuminator. The final step of the application process is to blend in the illuminator. You can use your fingers to gently blend it in. Or, you can use a blending brush or sponge. Make sure the illuminator is noticeable, but does not stand out dramatically—unless that is the look you are going for. If you apply too much illuminator, you can always add a thin layer of foundation on top to make it less noticeable.
Choosing Alternative Uses
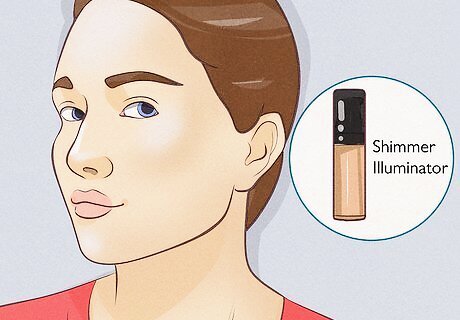
Go for a dramatic look with rainbow or shimmer illuminator. It is typically advised to go for a natural look when it comes to illuminator. You can, however, go for a dramatic look if you want. A more dramatic application would be great for festivals, parties, or even if you're just in a fun mood. Use a rainbow or shimmer illuminator to take your look to the next level. You would apply this illuminator in the same locations you would apply regular illuminator.
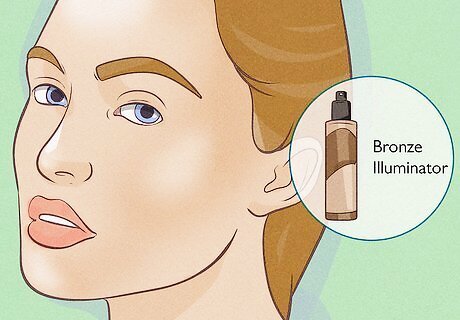
Use an illuminating bronzer for a sun-kissed look. If you're not already using a bronze-colored illuminator, this type of illuminator is great for making it look as if you spent the day at the beach. Use a deep, rich illuminator if you have a darker skin tone. For a fair skin tone, use a less pigmented powder that lacks an orange tone.

Try an illuminating primer for a fresh, glowing base. Illuminator is typically used on portions of the face, but it's also an option to use an illuminating primer. An illuminating primer will give your skin an overall fresh and radiant look. A primer will smooth out imperfections as well. Apply it with your fingers or a sponge all over your face. Then, you can add foundation if you desire.


Comments
0 comment