views
Preparing for Your Animation

Get movie software to edit your film. You can use any camera to film clay animation, but you’ll need the right software to put all of the individual shots together. Your computer might come preloaded with options – Mac users will have iMovie and PC users will have Quicktime. But you can also download software like Picasa. It might take some experimenting to see which you like best.
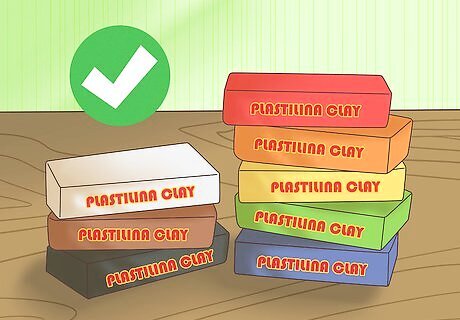
Use Plastilina clay if you want to combine colors. Plastilina clay is made by a company called Van Aken, and it’s the same type that was used in the first clay animation videos. It’s wax based, so it melts down quite easily if you put it over a double boiler. You can find it at most hobby, craft, and toy stores. To set up a double boiler, fill one saucepot about halfway with water. Place that pot on your stovetop. Then place another pot - either the same size or slightly smaller so it fits snugly - on top of the first pot. Place the clay you want to mix in the top pot, and turn the burner on. As the water in the lower pot boils, it will heat up your clay to make it moldable.
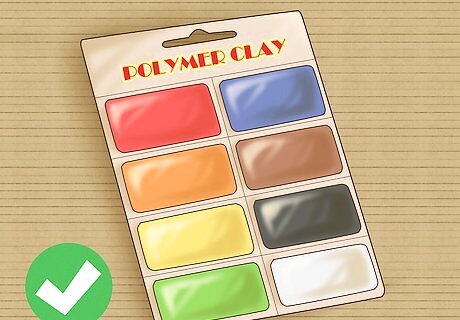
Use polymer clay if you want your figures to maintain their shape for a while. Polymer clay has plastic in it, which makes it more durable than Plastilina clay. If you’re working on a longer project, a polymer clay like Sculpey is your best bet, because your figures will hold their shape longer.
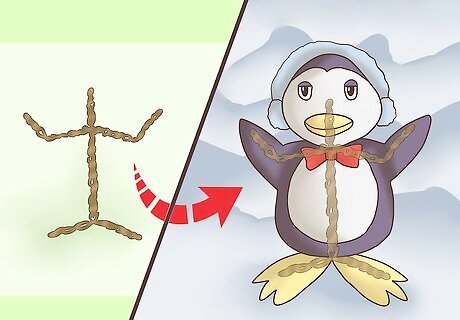
Build your figures. Once you’ve decided which clay to use, it’s time to build your figures. Make sure you build every single figure you need. That includes all of your characters and any accessories or sets you want to be made from clay. It might be helpful to begin by building a simple wireframe for each character. Use wire to shape the core of the body and arms and legs. If you're making a non-human form, use the wire to form the basic shape of the object. Once you have a wireframe, press clay onto the frame. You'll have to form things like feet, hands, fingers, toes, or other details completely from clay. If you’re just beginning in clay animation, stick to simple figures. They’ll be easier to create and manipulate. And keep in mind that some of the most popular clay animations use super simple figures – think of Gumby!
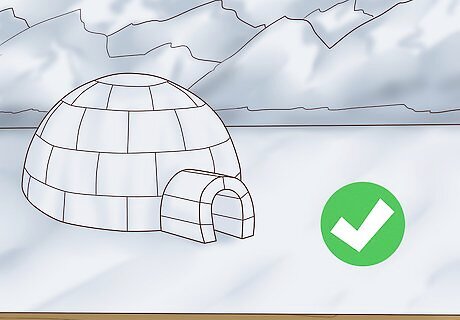
Gather or build additional sets. If you’re not building your sets from clay, you’ll need to either gather or construct those. Legos or other building toys are a great option for those sets. You might also need to create a background, depending on your story. Drawings on construction paper are a great way to create those backgrounds. For example, if your story is about a dog and its owner in a park, you'll need a set of trees, maybe a pond, and possibly some buildings in the background. You can build the trees out of building blocks, and the pond and buildings out of construction paper. If you set up your scene near a wall, you can tape your background to it. Make sure you have all of your sets built before you begin filming. It will cut down on your production time.
Planning Your Story

Make sure your story isn’t too long. Because you have to film each separate movement, clay animation takes a long time. Keep that in mind when you’re planning your story. Even a 30-minute movie would require over 20,000 pictures. You can start with a very short story, and work on longer ones as you get more experience. To figure out approximately how many shots you’ll need, consider that for every second of film, you’ll need about 12 shots or stops. Multiply that by 60 seconds in a minute, and then the number of minutes you want in your film to determine how many shots you need.
Keep your story simple. The more complicated your story is, the more characters and movement you'll need. Instead, stick to a simple story that only includes a few characters and 1 or 2 major movements. For example, your story could be about a boy talking his dog for a walk. For that, you'd only need a background and dog and boy clay figures.
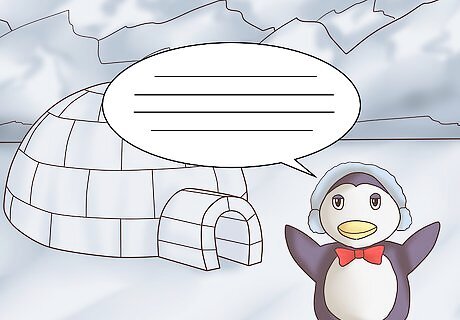
Add dialogue during editing. If you're just beginning with clay animation, moving a character's mouth so it looks like it's talking can take a lot of time and energy. Instead, add dialogue when you're editing your animation. You can layer conversation bubbles over your film as you go. For example, if you're making a film about a boy walking a dog, maybe at some point the dog starts to chase a bird. Draw or insert (depending on your software) a conversation bubble next to the boy. You can write something like "Fido! Stop chasing the birds!" If you're adding dialogue bubbles, you'll need to make sure you add them to several frames. Otherwise, they won't appear in the animation long enough for your viewer to read them.
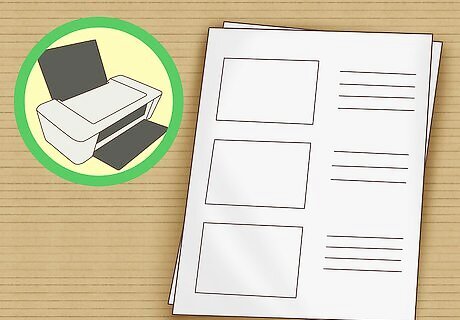
Create or print out a storyboard. In clay animation, you need to take a separate shot of every single movement. Because of that, you have to plan out your story in careful detail. You can find free downloadable storyboards online on websites. You can also order storyboards from craft and hobby stores.
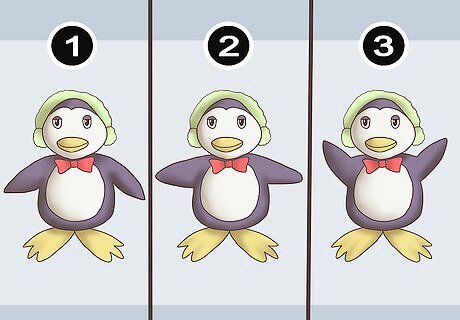
Map each movement. Each movement should be mapped on separate shot cards. Each card should have a drawing of the scene, the frame number, any notes you need, and the shot number. As you plot your story, you might find you need to add or take away cards. That’s fine – just make sure you adjust your numbering! The differences between successive shot cards will be really, really small. For example, you can’t have your main character in one place in one shot, and then moving as if he’s walked a step in the next. Instead, you have to get a shot of his knee starting to bend, then another of his knee bent a bit more, then another of his foot lifting off the ground, etc.
Filming Your Animation
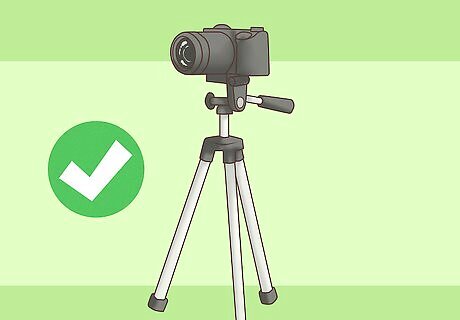
Put your camera on a tripod. Because of the small differences between each shot, it’s important that your camera stays in the same position. Set up your camera on a tripod to ensure that it does. You might want to take a few test shots to make sure the tripod is at the right height and angle to your set. You can really use any digital camera for clay animation. Larger cameras like DSLRs will give you the most editing options, but you can still make great clay animations with entry-level point-and-shoot digital cameras. You can also use your smartphone's camera, just make sure you back up your photos to an external hard drive or cloud drive. Otherwise, you won't have enough storage space. You will occasionally need to move your camera, depending on what you want to emphasize in each scene. Make sure you note on your storyboard when you need to move the camera, and where you should move it to.
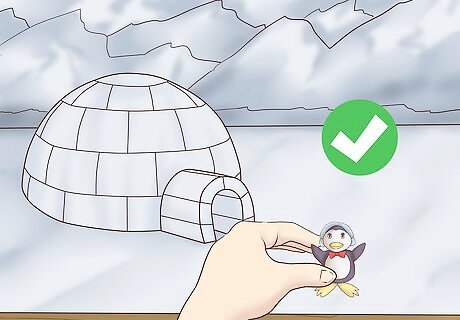
Set up your first scene. Set up the first set you’re going to use, and then place your figures according to your first shot card. Once you get into actually setting up the scene, you might find that you want to tweak some things slightly. That’s fine, but make sure you make changes to other shot cards as necessary. Your first scene should set up the entire story. So for example, if you're filming a story about a boy taking his dog for a walk, you might want to set up the first scene outside of the boy's house. He should have a leash in his hand, and his dog should be there, ready for the walk.
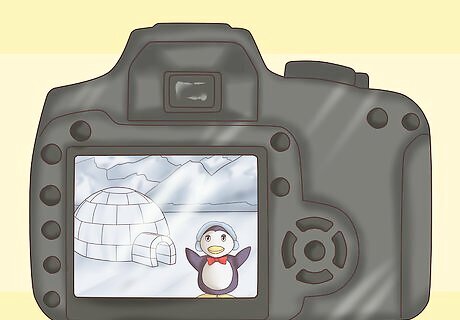
Take your first shot. Once everything is set up, you’re ready to take your first shot! Click the shutter on your camera. Check the image and make sure everything looks the way you want it, including the lighting, the figures, and your set. The entire scene should be well-lit, but it should also mimic the scene you're creating. So if you're shooting a scene that's supposed to take place outside, pick a spot where the sun might be in the sky and set up a light there. It will create realistic shadows.
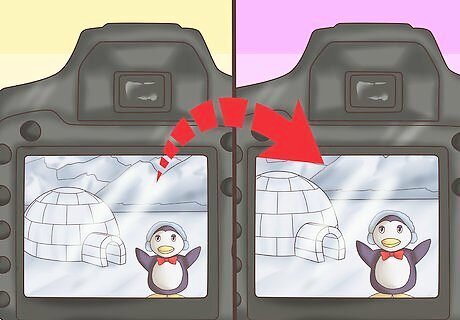
Set the next movement. Use your next shot card to set up your next shot. Again, keep in mind that it will be a very small change from your first shot to your second. Once the next movement is set, take another picture with your camera. Continue to check each photograph. For example, if your story is about a boy walking his dog and the first shot is of the boy and the dog outside their house, the next shot should begin the process of the boy putting the leash on the dog. Keep the background in mind while you're setting shots. If you have other animals in the background, make sure you're also moving them.
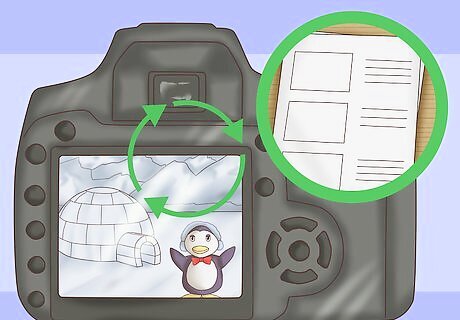
Repeat as necessary. Follow your storyboard of shot cards and take all of the shots you need to complete your film. You might not be able to film the whole story in one day. If you can’t, make sure you’ve set up somewhere that your scene and figures won’t be disturbed.
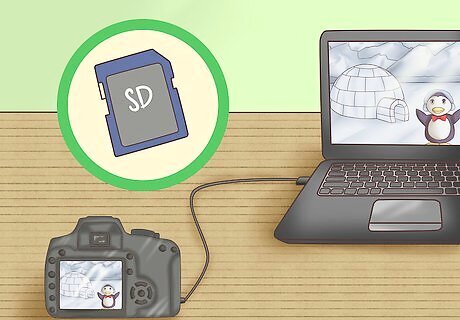
Load your photos into movie editing software. Once you’ve got all of your photographs done, load them into the movie editing software you’re going to use. You can either use a USB cord to plug your camera directly into your computer or plug the SD card into the computer. Once you connect the camera or SD card, the software you’re using should prompt you about importing them. Select “Import” or “yes.”
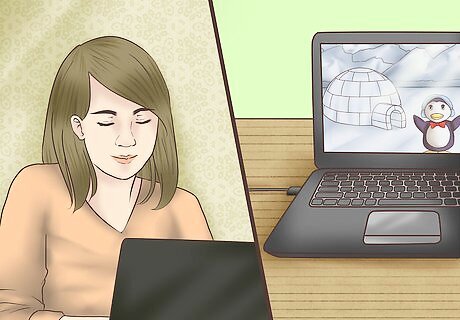
Edit your film. Once all of your photographs have been imported, you can begin to edit your film. The easiest way to edit them together is to import them into a slideshow, and set the slide duration to the lowest possible setting. Other software will have other options for editing your photos together. You’ll need to play with the software you’ve chosen to see which you like best.





Comments
0 comment