views
Steps
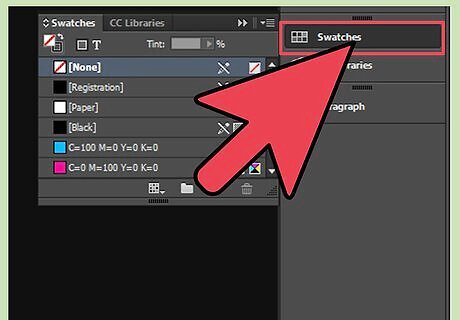
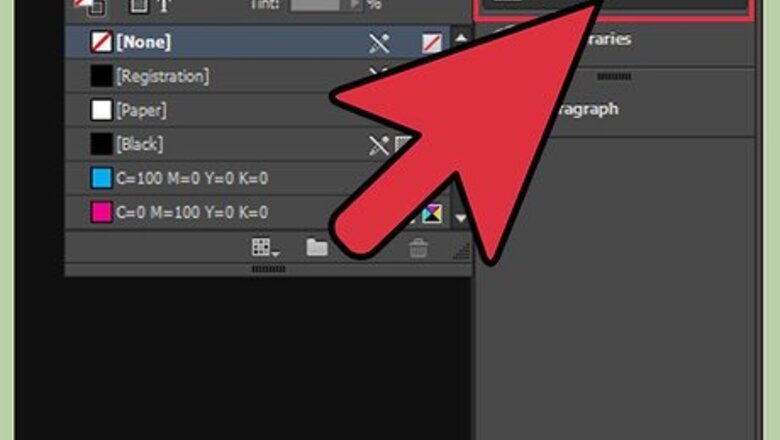
Open the Swatches panel, which is located in the far right side of your workspace. If this panel is not already in your workspace, open it by selecting Windows>Colors>Swatches.
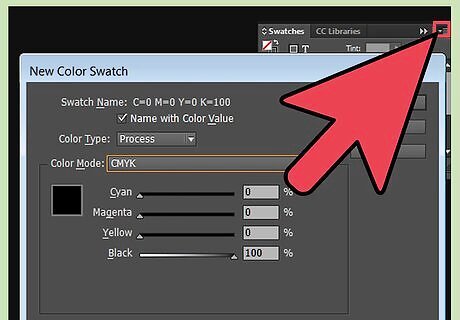
Select Other Library from the Color Mode list. Navigate to the file from which you would like to add swatches. Click Open and then select the swatches you would like to add.
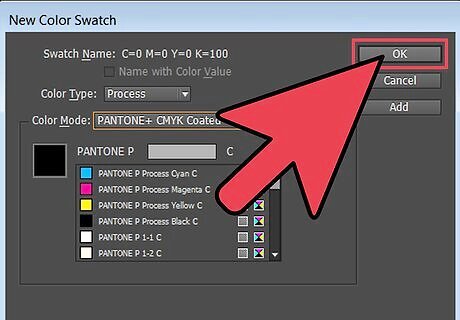
Click OK.
Adding All Swatches from an Existing File
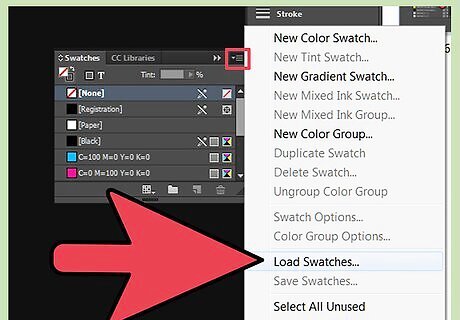
Open the Swatches panel and select Load Swatches.

Navigate to the InDesign document from which you would like to add swatches and double click the file name.
Adding Swatches from a Pre-Loaded Color Library
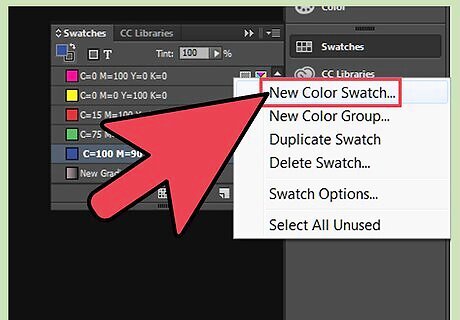
Open your Swatches panel and select New Color Swatch.
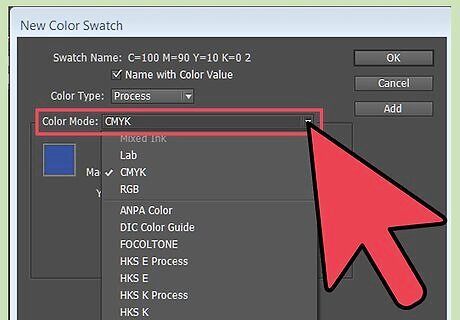
Locate the Color Mode list and select the library file from which you would like to add a swatch or swatches. You may also select Other Library from the Color Mode list and navigate to the library file from which you would like to add a swatch or swatches.
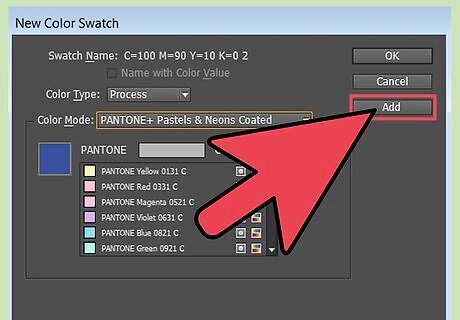
Select the swatches you would like to add and click Add.
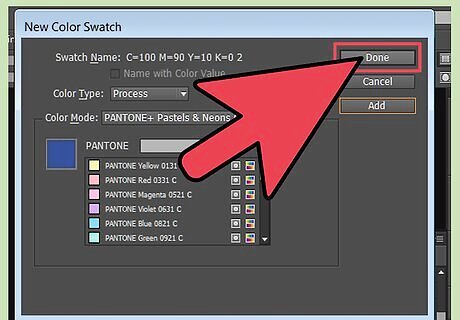
Click Done.
Creating a New Color Swatch
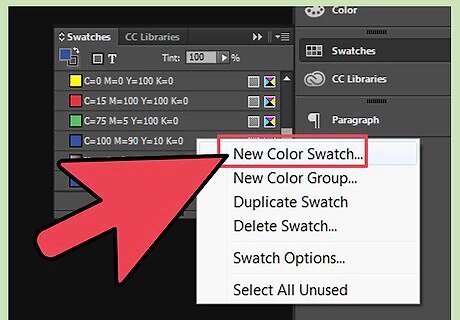
Open your Swatches panel and select New Color Swatch.
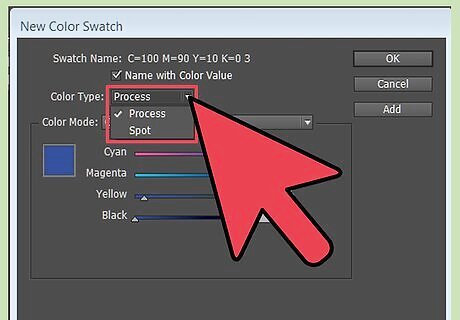
Select either Process or Spot as your color type.
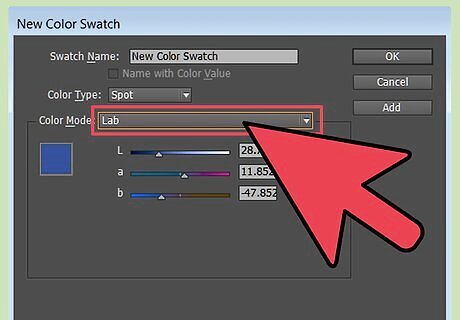
Select a mode for defining the color.
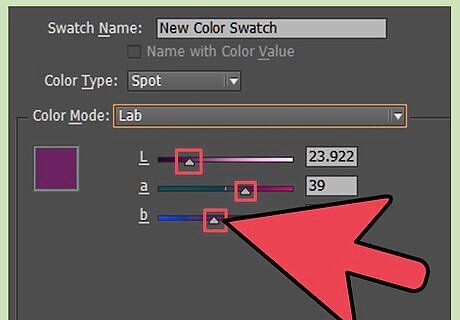
Drag the color sliders to adjust the color values or enter specific numeric values in the boxes located by the color sliders. If you are using a spot color, select your color from the Color Mode menu.
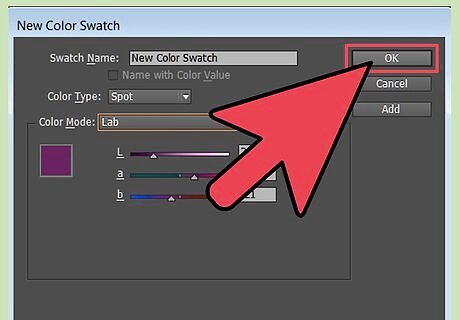
Click Add to add your swatch and create a new one or click OK to add your swatch and exit the window.


Comments
0 comment