views
- First, you have to get rid of the protective outside casing on the cable.
- Expose about 6 more inches of the wires inside the casing.
- Make sure you have the right color combination when you pull the string inside the cable.
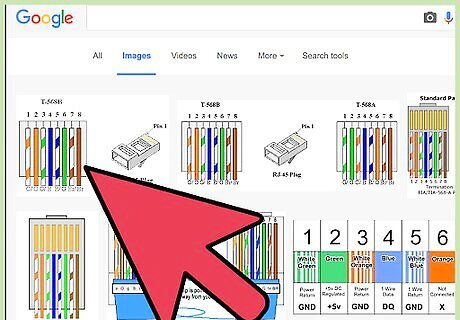
Strip the cable of its protective outside jacket about 3–6 inches (7.6–15.2 cm) from the end. This can be done with the cabling scissors by applying pressure from the scissors to the cable and rotating the scissors around the cable. After you have punctured the cables jacket, you should be able pull the jacket off easily leaving exposed wires.
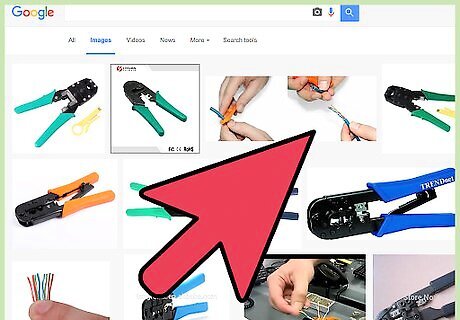
Expose the wire a little further. Stripping the cable can cut and damage the wires at the area that we cut the cable so we want to expose about 6 more inches of fresh wires. Most twisted pair Cat5, Cat5e and Cat6 cables have a small string inside the cable to assist with this.
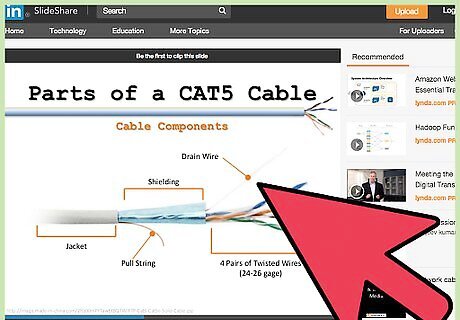
If your cable has the small string, make a small cut in the jacket of the cable, making sure not to touch any wires, and then use the string to pull towards the fresh end of the cable exposing about 6 inches (15.2 cm) of cable. Cut the string after you have enough exposed cable.
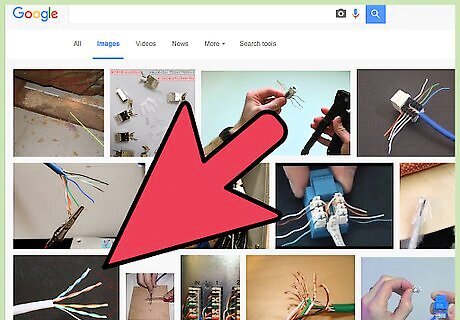
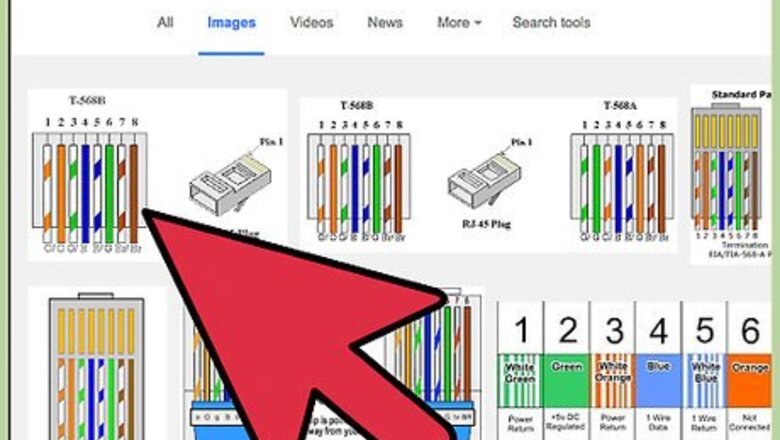
If your cable does not have the small string, make a small cut in the jacket described above and GENTLY pull all of the wires together in one hand and pull the jacket in the opposite direction. All Cat5,Cat5e and Cat6 cables follow a standard color pattern for the individual wires. Blue, Orange, Green and Brown. There are two wires per color. White/Blue and Blue, White/Orange and Orange, White/Green and Green, White/Brown and Brown. If you look at the back side of your jack, you will see the corresponding colors where you will terminate the cable to. **IMPORTANT** There are two color patterns, T568A and T568B. Make sure to terminate both sides of the cable on the same pattern. If you have already terminated one side of the cable, look to see what pattern was used! If you have not already terminated, choose a standard that you will always use. Both patterns will produce the same results. **IMPORTANT**
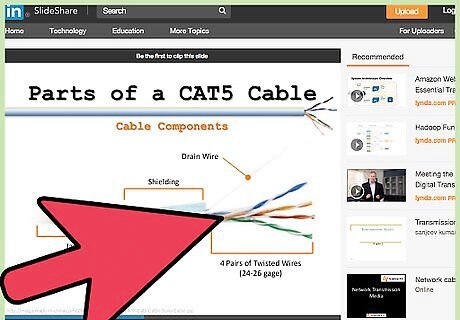
Untwist the wires completely to the jacket. Place the wires into the appropriate color slot on the jack. Make sure to place the wires as tightly as possible in the slots in regards to the jacket. There should be as little exposed and untwisted wire as possible to keep the signal strength as high as possible. Make sure to place the White/Blue in the White/Blue spot and not the solid Blue spot. The White/Color wire is not the same as the solid color.
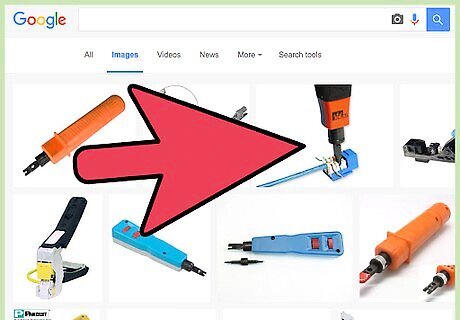
Terminate each wire. After all the wires are in the correct spot and double checked to make sure as little amount of exposed wires will be left as possible, use the punch down tool with the 110 blade and terminate each wire individually. The 110 blade will fully cover the wire connector on the jack. Push down until the tool clicks and cuts the end of the wire off. Repeat this step if the wire was not fully cut.
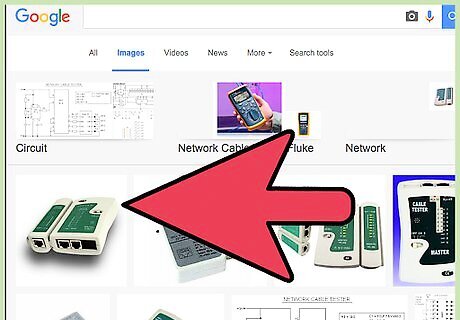
Use a cable tester to assure that you correctly terminated all the wires. You will need to have terminated both sides of the cable to be able to test. Cable testers function differently depending on make and model so be sure to read the instructions of the tester you are going to use.


Comments
0 comment