
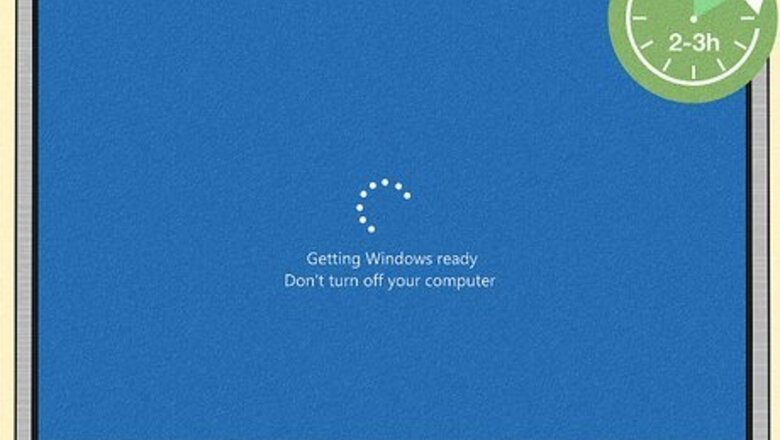
Wait a Few Hours
Wait 2 or 3 hours for the update to complete. If "Getting Windows Ready" is stuck on the screen after you reboot your computer, it's likely running an update that requires downloading a large file. There may still be update files that need to be installed and configured. It's important to give Windows ample time to complete the update process before moving on to other steps, as stopping the process can lead to file corruption. Check for a flashing light on the side of your laptop or desktop computer that indicates hard drive activity. If you see a flashing light, it's a good indicator that the update is still in progress. If the flashing light is stopped, it could mean Windows is stuck.
Check Your Connection
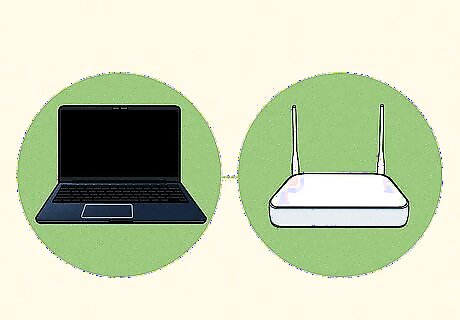
Make sure your internet is connected and stable. Windows may be waiting for a stable internet connection to complete the update. Check your internet connection from your phone or another computer on the same network to make sure it's stable and fast. Unplug your modem and/or router for a few moments and plug it back in. If your Windows PC is connected to the router with an ethernet cable, try unplugging the cable and plugging it back in.
Power Reset the PC

Perform a hard reset. If you've waited a few hours and your computer is still stuck on the "Getting Windows ready" screen, you can perform a power reset to restart your computer and clear the memory without damaging important data. Use the following steps to hard reset your computer: Disconnect all external devices (i.e., USB drives, external hard drives, headphones, etc.). Press and hold the power button until your computer completely shuts down. Disconnect the power cable. Disconnect the battery if you are using a laptop with a removable battery. Press and hold the power button for 30 seconds to drain residual power. Reconnect the power cable and battery. Reinsert the battery. Press the power button to boot your computer up.
Startup Repair
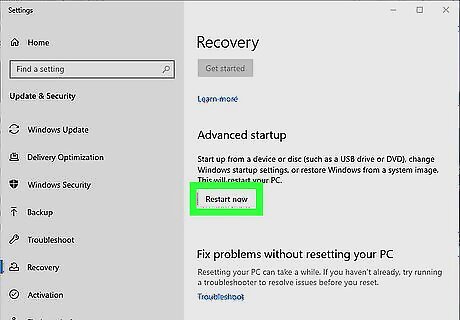
Boot into the Windows Recovery Environment (WinRE). The Windows Recovery Environment has options that allow you to access Startup Recovery Tool, Safe Mode, and more. If you can't boot into Windows at all, you can get to WinRE from a blank screen. If that doesn't work, you can try creating a Windows Recovery disk on another computer and use it to enter WinRE. If your PC does boot up, press the Windows key, type change advanced startup, and click Change advanced startup options in the menu. Then, click Restart now under "Advanced startup" and let your computer boot to the blue screen. If your PC will not boot up, turn it off and follow these instructions: Press the power button to boot up your computer. Immediately press and hold the power button to shut down your computer as it starts to boot up (i.e., when you see the manufacturer's logo). Repeat a total of three times. Press the power button to boot the PC into WinRE.
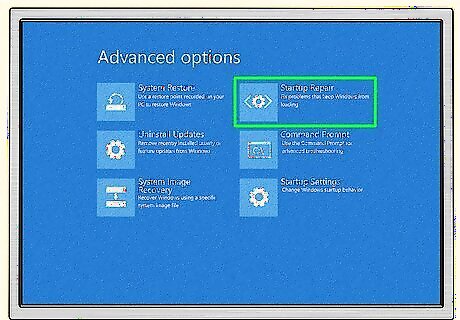
Run the Startup Repair tool. Here's how: Click Troubleshoot. Click Advanced Options. Click Startup Repair. Select an administrative account. Enter the password and click Continue. Give the Startup Repair tool time to run. If you receive a message saying, "Startup repair couldn't repair your PC," try another method.
Run System File Checker

Open the Command Prompt. To do so, press the Windows key, type cmd and click Command Prompt. If you can't boot into Windows, use these steps to boot into WinRE, and select Troubleshoot > Advanced Options > Command Prompt. Alternatively, you can try opening the Command Prompt from within Safe Mode. Use the following steps to boot into WinRE from a shutdown computer.
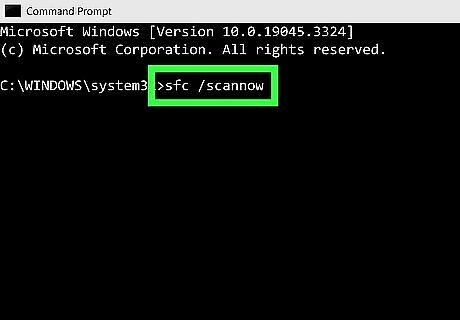
Type sfc /scannow and press ↵ Enter. This will run the System File Checker. The System File Checker will scan your system files and replace any broken or corrupt files with cached working ones. If any files had to be fixed, Windows may have resolved the error causing it to get stuck on "Getting Ready."
Uninstall Updates in Safe Mode
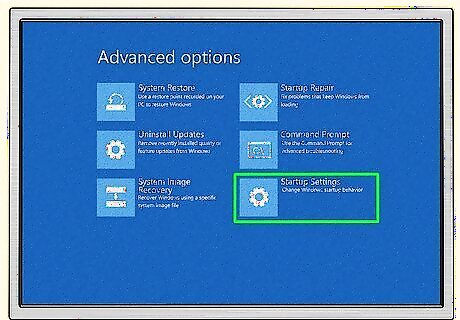
Boot into Safe Mode. You can skip this step if you're able to access Windows. If Windows is unbootable, start it up in Safe Mode using these steps: Turn off your PC. Press the power button to boot up your computer. Immediately press and hold the power button to shut down your computer as it starts to boot up (i.e., when you see the manufacturer's logo). Repeat three times. Press the power button to boot your computer and allow it to boot into WinRE. Click Troubleshoot. Click Advanced Options. Click Startup Settings. Click Restart and wait for your PC to restart. Select option "5" or press F5 to boot into Safe Mode with Networking.

Open your Windows Settings. You can click the Windows menu and select Settings to get there.

Click Update & Security (Windows 10 only) Windows Update = Windows. You can skip this step if you're using Windows 11.
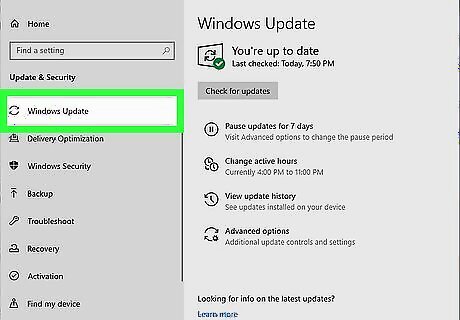
Click Windows Update. It's in the menu bar to the left. On Windows 10, it's at the top of the menu. On Windows 11, it's at the bottom of the menu.
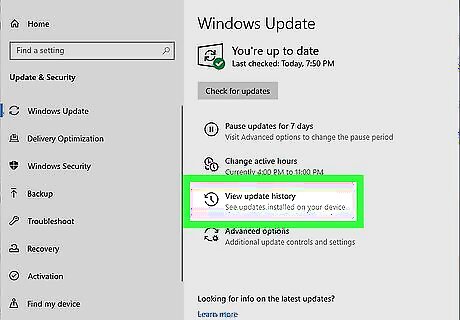
Click View update history. It's in the Windows Update menu. It's next to an icon that resembles a circular arrow with a clock in the middle.
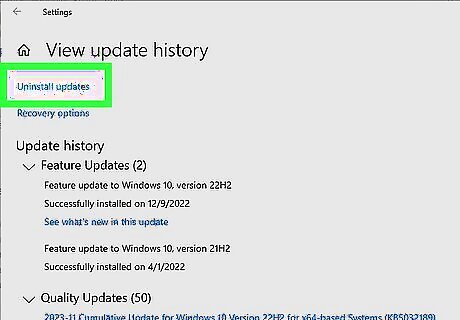
Uninstall updates. Click Uninstall Updates, then follow these steps to remove the most recent update: On Windows 10, click the latest update at the top of the list and select Uninstall. On Windows 11, click Uninstall to the right of the latest update and select Yes to confirm. You can also uninstall any recently installed apps that may be causing Windows to get stuck on the "Getting Ready" screen.
Perform a System Restore

Boot into Safe Mode if needed. You can perform a system restore to restore Windows to an earlier point in which it was functioning correctly, which will usually fix a stuck "Windows is getting ready" screen. If you can't boot into Windows' normal operating mode, try Safe Mode. If you can get to Windows, you can skip this step.

Open the Restore Point screen. To do this, press the Windows key, type restore point, and click Create a restore point in the search results.

Click System Restore. It's below the "System Restore" header in the dialogue box.
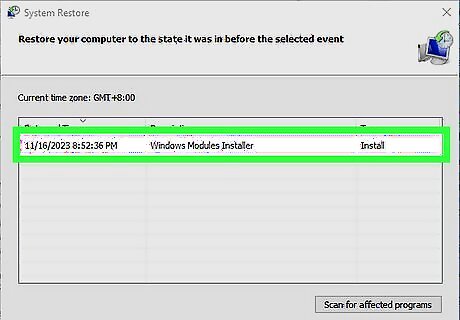
Restore from a previous date. Select a restore point that was created before the "Windows is getting ready" screen got stuck, then click Next. Follow the on-screen instructions to restore your PC to the selected date. If you don't have any restore points created, you cannot perform a system restore.
Reinstalling Windows
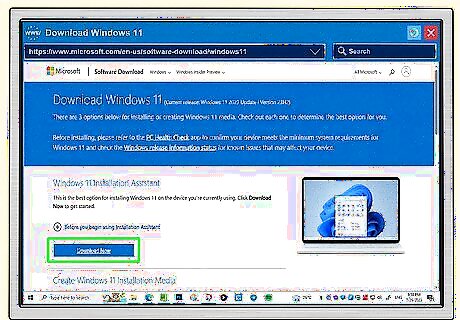
Create a bootable Windows USB. If you can't boot into Windows after seeing "Windows is getting ready," you'll need to reinstall Windows. To do so, you must create a bootable Windows recovery drive. You can do so using the USB media creation tool for Windows 10 or 11 on another computer. You will need a USB drive with about 9 gigabytes that does not have any files on it (they will be erased). Click here for Windows 10 or here for Windows 11. Click Download Now. Open the media creation tool in your Downloads folder and click Accept. Select your language and Windows edition and click Next. Select "USB flash drive" and click Next. Insert a blank USB drive, select it, and click Next. Follow the on-screen instructions to create the recovery drive.
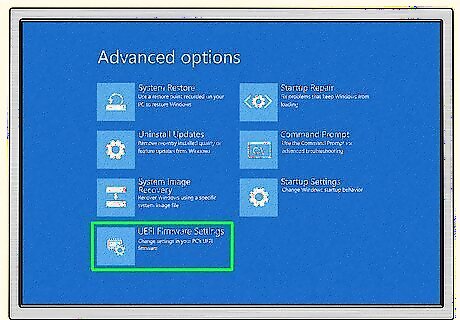
Boot into your BIOS. How you boot into the BIOS is different from one computer manufacturer to the next. Generally, it will tell you what button to push as your PC boots up. Common buttons are F1, F2, F10, F11, F12, or Del. If you can boot into Windows Safe Mode, you can use the following steps to boot into the BIOS from within Windows You can also access the following options in WinRE: Click the Windows Start menu. Click Settings. Click Update & security (Windows 10) or System (Windows 11). Click Recovery. Click Restart Now below "Advanced Options." Click Troubleshoot. Click Advanced Options. Click UEFI Firmware Settings. Click Restart.

Place your USB drive first in the boot order. Locate the boot menu and change the boot order so that your PC boots from a USB drive first. After making this change, save and exit the BIOS menu.
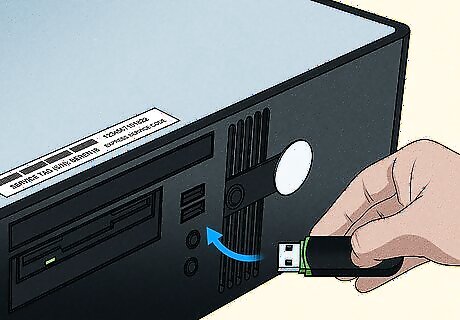
Boot from the USB drive. Once you change the boot order on your PC, turn off your PC. Insert the USB drive, then turn the PC back on. It will boot from the drive. Reinstalling Windows may erase your hard drive. You will lose all your files, applications, and settings. If you can still boot into Windows or Safe Mode, it is recommended that you back up your data before continuing.
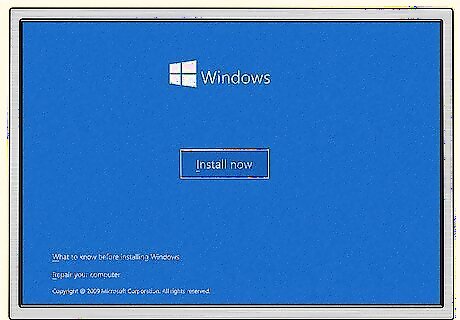
Follow the on-screen instructions to reinstall Windows. If prompted to enter a product key, select I don't have a product key to active Windows automatically once installed.


Comments
0 comment