

Using the Windows Snipping Tool
Type “Snipping Tool” into the search bar. You can usually open the search bar by clicking the circle or magnifying glass to the right of the Start menu.

Click Snipping Tool in the search results.

Click New. It’s at the top-left corner of the window. The screen will appear slightly faded and mouse cursor will change to a selection tool.
Click and drag the mouse to select the area you want to screenshot. When you release the cursor, the image will be captured and open in the Snipping Tool.
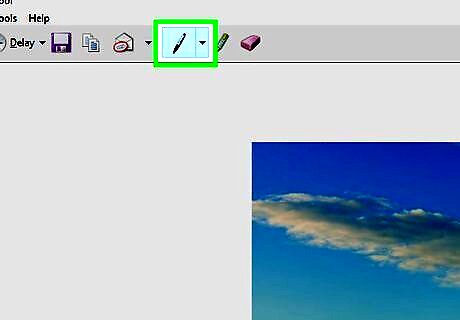
Click the pen to if you want to draw on the screenshot. It’s at the top of the tool. You can use this to write simple notes or circle areas of interest. To select a color, click the small arrow next to the icon, then choose a color.
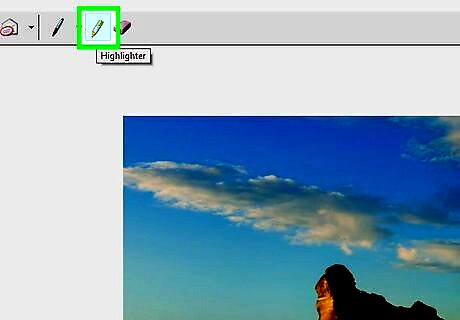
Click the highlighter tool to highlight parts of the screenshot. You can then click and drag the tool to highlight text.

Click the eraser tool to remove changes. With the eraser tool selected, click a pen or highlighter marked to remove it.

Click File menu when you’re ready to save. It’s at the top-left corner of the tool.
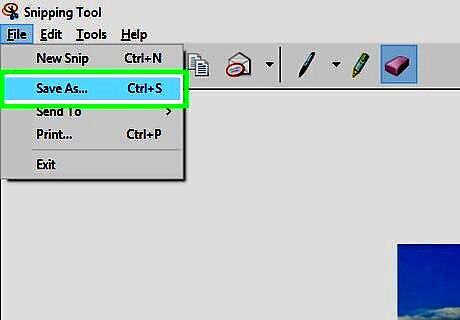
Click Save As.
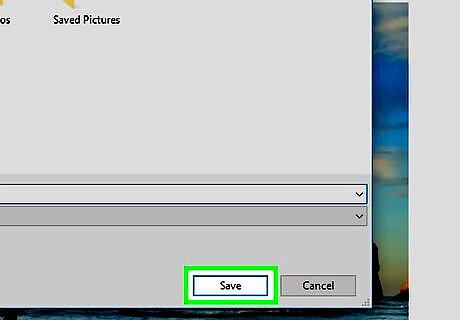
Type a name for your screenshot and click Save. This saves your edited screenshot.
Using Microsoft Paint (Windows)

Press ⎙ PrtScr on your keyboard. This key will copy the contents of your screen to your clipboard. If your keyboard doesn’t have this key, you can use the one on the on-screen keyboard. Here’s how: Click the circle or magnifying glass to the right of the Start menu to open the search bar. Type on screen keyboard, and then click On-Screen Keyboard in the search results. Click the PrtScn key.

Press ⊞ Win+R and type “mspaint” into the text field that appears. The Windows Run tool will launch Microsoft Paint upon pressing “OK”.
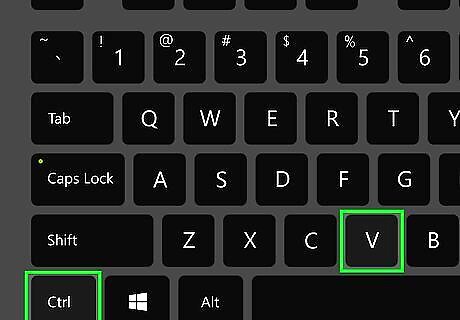
Press Ctrl+V to paste your screenshot into paint. You can also paste by right-clicking the paint area and selecting "Paste".

Click "Rotate" and select a rotation option. This button is located in the “Image” section of the toolbar and will open a menu to with different rotation options, such as vertical, horizontal, or 90 degree rotation.

Click "Resize" to change the image size. This button is located in the "Image" section of the toolbar and will open a window to set a new window size. Enter a new size value (e.g. 200% size) and press “OK”. You can select to adjust the size by pixel or percentage. Use pixel adjustments if you need a more precise change. Changing the size to be larger than the original will result in a loss of picture quality.
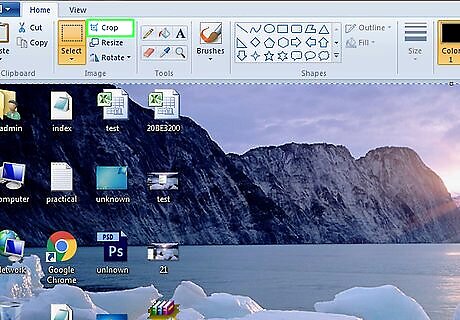
Crop your screenshot. Click the "Select" option from “Image” section of the toolbar. Click and drag to select the area of the screenshot you want to use then click the "Crop" button on the right of the “Select” tool.

Click the “A” button to add text to your screenshot. This button is located in the tools section on the toolbar. Click and drag to select a text area and type to enter your desired text.
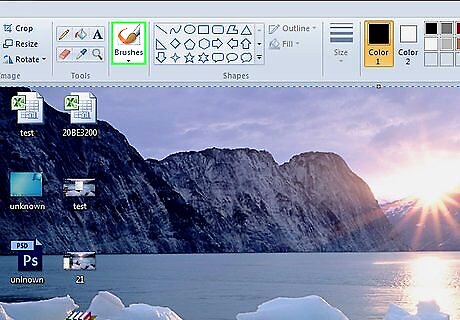
Click the brush icon or select a shape to make markings on the screenshot. Both options can be selected from the “Shapes” section. Brushes can be used for freehand marking and shapes will make markings in the shape selected. You can change the color of the shapes and markers by selecting a color palette from the “Color” section.

Open the “File” menu and select “Save As” to save your changes. You will be prompted to name the screenshot and browse for a save location. Clicking “Save” will confirm your changes.
Using Mac Preview
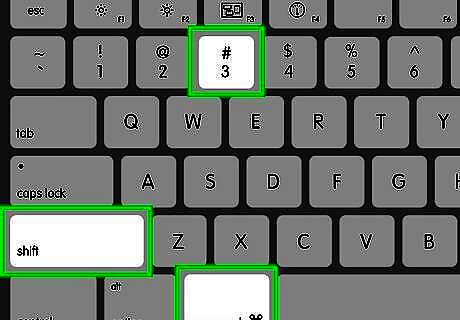
Press ⇧ Shift+⌘ Command+3 to take a screenshot. A screenshot will be taken of your current screen and saved to your desktop. If you’d like to capture a single window, press ⇧ Shift+⌘ Command+4, press the space bar, then click the window you want to capture. To take a screenshot of a certain part of the screen, press ⇧ Shift+⌘ Command+4, and then click and drag the mouse to select the desired part of the screen.
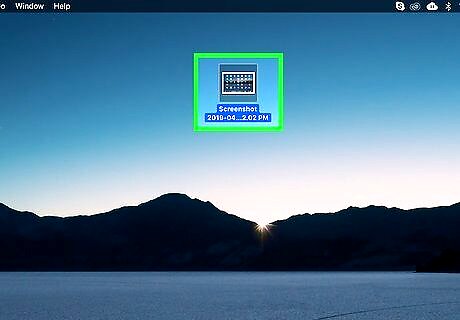
Double-click the new file on your desktop. It’s the new image file that contains date and time you took the screenshot. If your images open with a different app, press ⌘ Command as you click the file, select Open With and choose Preview.

Rotate the image. You can click the rotate button (the rectangle with a curved arrow near the top of Preview) to rotate the image 90 degrees.
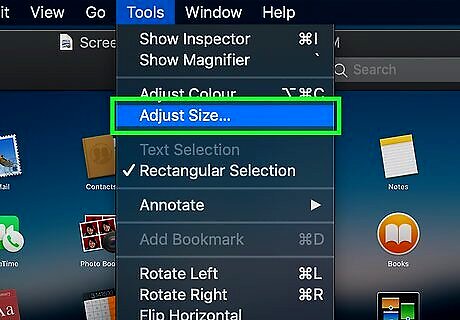
Adjust the size of the image. Click the Tools menu at the top of the screen, and then select Adjust Size. This allows you to change the height, width, and resolution as needed.
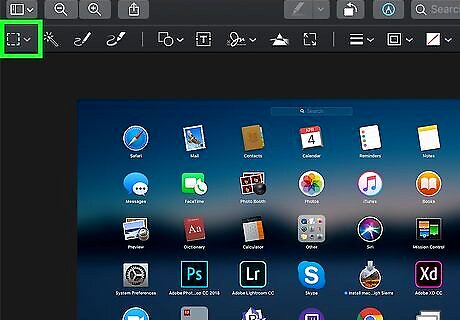
Crop the screenshot. If you want to save just part of the screenshot, click the selection tool (the dotted box near the top-left corner), and then click and drag the area you want to keep. Once selected, click the Tools menu at the top of the screen, and then Crop to cut out everything but the selected area.
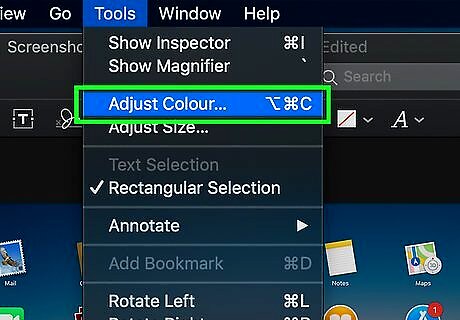
Adjust the colors and brightness. If you want to get crafty, click the Tools menu and select Adjust Color. You can use the sliders to adjust the exposure, contrast, highlights, shadows, saturation, temperature, tint, and sharpness. Your screenshot will reflect your changes as you make them, allowing you to experiment and find the right mix of settings. Exposure, contrast, highlights, and shadows will affect the brightness and black/white balance of the colors. Saturation, temperature, and tint will affect the intensity of the colors.
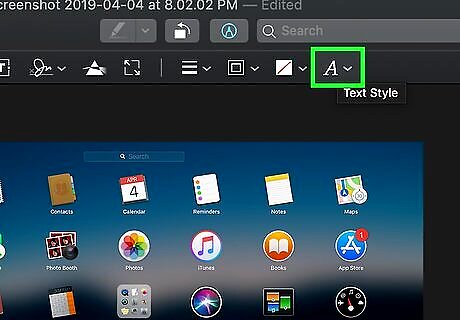
Add text, shapes, and drawings. Click the A button near the top-right corner to open the text tool, and then click anywhere on the screenshot to type. Click the pen tool to draw. Click the icon of a square and rectangle to insert shapes like triangles and circles.
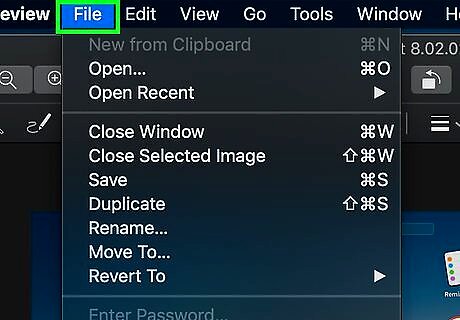
Click the File menu when you’re finished. It’s at the top-left corner of the screen.
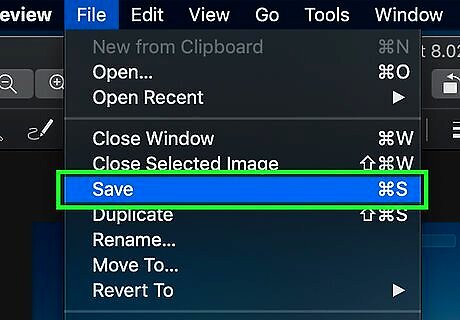
Click Save.
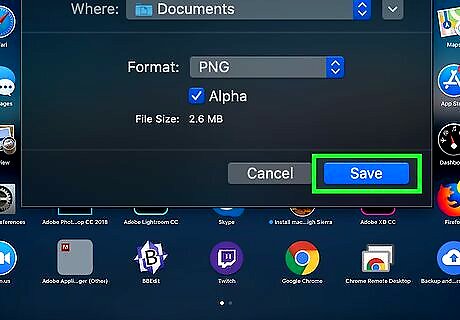
Enter a file name and click Save. Your edited screenshot is now saved.
Using Google Photos for Android

Press and hold the Volume Down and Power buttons simultaneously. After 1-2 seconds the screen will flash indicated a screenshot was taken. The key combination may vary depending on your phone or tablet. On some Android models, you’ll have to hold the Home and Power buttons. If you’re using Android 9.0 or later, you can also take a screenshot by holding down the power button until a menu appears, and then tapping Screenshot. If you only need to crop or draw on your screenshot, you may be able to do this immediately after you take the screenshot on Android. Simply click the pencil icon on the preview of the screenshot to draw on it or the crop symbol to change the size of the screenshot before you save it.
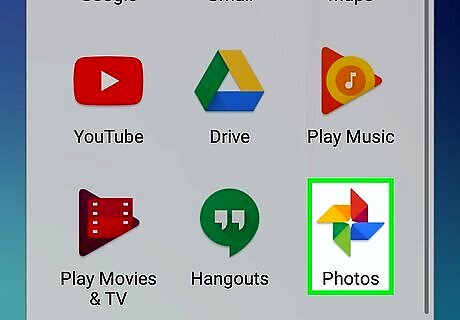
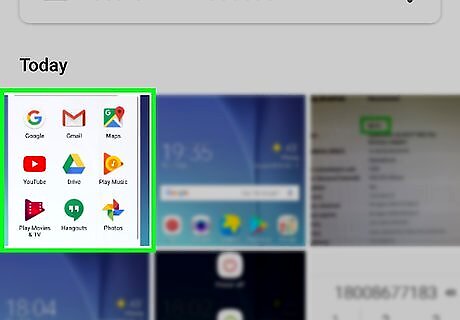
Open Photos. It’s the white icon with a multicolored flower inside (labeled Photos or Google Photos). If you don’t have Google Photos on your Android, you can download it now from the Play Store.
Tap the screenshot to open it.

Tap the edit button. It’s the second icon at the bottom (the three lines with sliders) of Google Photos.
Select a filter. If you’d like to apply one of Google Photos’ preset color/lighting filters, select an option from the row at the bottom of the screen. Swipe left across the examples and tap the one you want to use.

Tap Android 7 Crop Rotate to crop and/or rotate photo. Crop: The screenshot is surrounded by a border with white dots at each corner. Drag the dots until only the part of the image you want to keep is surrounded. The crop will happen automatically (though you can drag the dots back outward to undo your changes. Rotate: Tap the curved arrow icon at the bottom-right corner until the image appears as you like.

Tap Done to save your changes. If you’d like to edit the colors and lighting effects, continue with this method.
Tap the edit button. It’s at the bottom of the screen (the one with sliders and knobs). This opens the lighting and color options.

Adjust the lighting and color. Use the sliders to adjust the lighting and color of the screenshot if desired. Slide the “Light” slider left to make the image darker, or right to increase its brightness. Slide the “Color” slider left to decrease the intensity of the colors, or right to make the colors very saturated.

Tap Save when you’re finished. If you didn’t make any changes (or don’t want to save them), tap the X at the top-left corner, and tap Discard if prompted.
Using a Samsung Galaxy
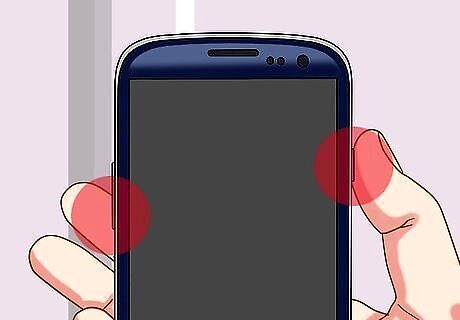
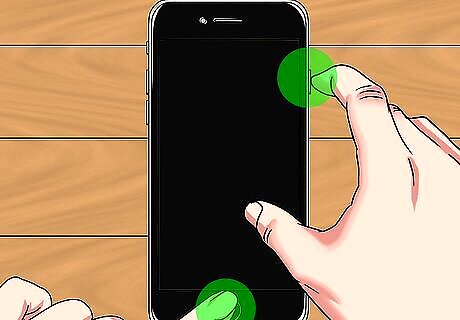
Press and hold the Volume Down and Power buttons simultaneously. After 1-2 seconds the screen will flash indicating a screenshot was taken. The image will be saved to your gallery. The key combination may vary depending on your phone or tablet. On some Android models, you’ll have to hold the Home and Power buttons. If you use Google Photos on your Galaxy, see this method instead. If you only need to crop or draw on your screenshot, you may be able to do this immediately after you take the screenshot on Android. Simply click the pencil icon on the preview of the screenshot to draw on it or the crop symbol to change the size of the screenshot before you save it.
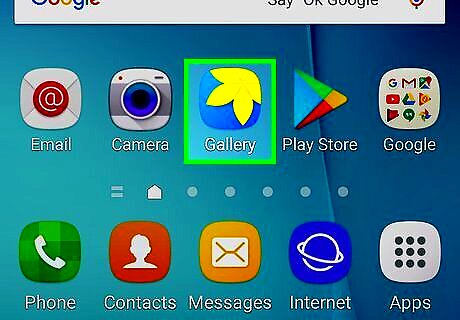
Open the Gallery app. The icon usually has a yellow flower, and you’ll find it in the app drawer. If you see a preview of the screenshot right after you take it, you can tap it to open it in the editor without having to open the Gallery.
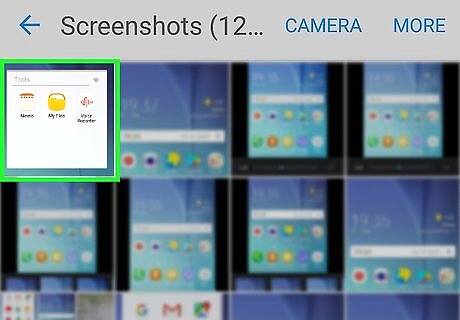
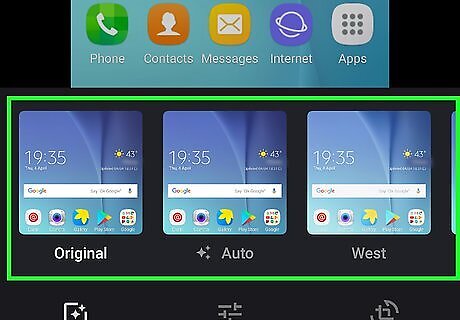
Tap the screenshot to open it. Several options will appear along the bottom of the screen. The remaining settings will vary depending on your version of the Gallery app, as well as which model of Galaxy you own.
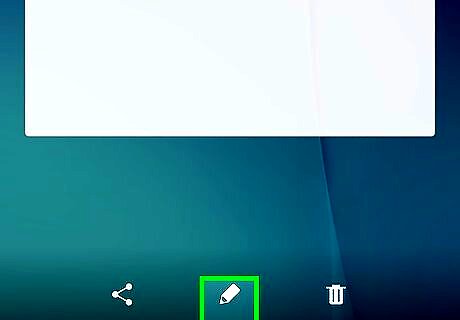
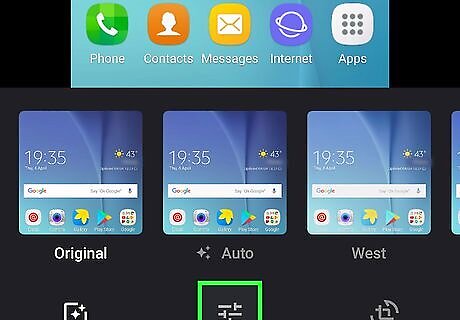
Tap Edit (the pencil icon) or the icon with three-bars. The option you see will look different depending on your version. If you already see some editing tools at the bottom of the screen, you won’t need to complete this step.

Crop the screenshot. Tap the crop icon (a square with two longer lines at two of its corners) at the bottom of the screen, or the Adjustment option. Drag the box to surround only the part of the screenshot you want to keep, and then tap SAVE or the check mark.
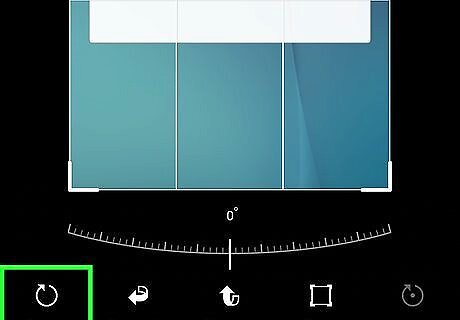
Rotate the screenshot. To do this, tap the ⁝ menu at the top-right corner, then select Rotate Left or Rotate Right as needed.

Make additional edits as needed. The remaining options vary by model, but you’ll usually find options to choose a filter (usually under Effect), adjust colors (often called Tone), and draw on the image using a tool called Drawing.

Tap SAVE when you’re finished editing. This saves the changes to your screenshot.
Using the iPhone or iPad Screenshot Markup Tool
Take a screenshot. If you haven't already done so, press the side and volume up buttons at the same time (if your device has Face ID), or press the Home and power buttons (if your device has Touch ID) to capture a screenshot. The screen will flash briefly and a preview of the screenshot will appear at the bottom-left corner of the screen.

Tap the screenshot preview. It’s the small image at the bottom-left corner. This opens the screenshot in the Markup tool, which displays several editing icons at the bottom. The preview will only stay at the bottom-left corner for a few seconds before disappearing. If it disappears before you tap it, follow these steps to open it in the Markup tool: Open the Photos app. Tap the screenshot. Tap Edit at the top-right corner. Tap the three dots icon. Tap Markup (the icon of a marker at the bottom).

Drag the blue borders to crop the screenshot. Drag the blue lines to surround only the part of the screenshot you want to save, if desired.
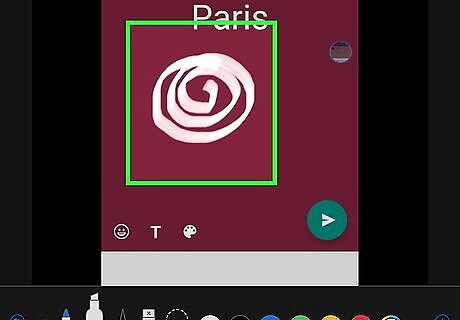
Draw on the screenshot. Here’s how: Tap one of the drawing tools (the marker, highlighter, and pencil icons at the bottom-left corner) to select it. Tap the tool again to choose a line width and weight. Tap the filled-in circle to select a color. Use your finger to draw on or highlight certain areas. Tap the drawing tool you select at the bottom-left corner to return to the tools list. If you made a mistake in your drawing, tap the pencil eraser tool at the bottom and then tap the error to delete it.
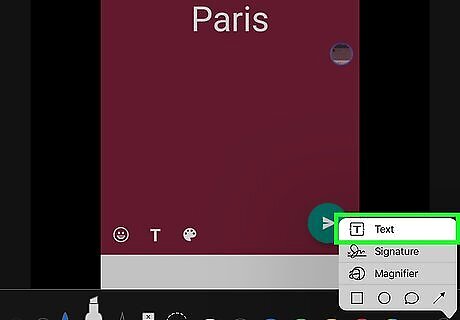
Tap the Text tool to type on the photo. If you don’t see the “T” at the bottom of the screen, tap the + at the bottom-right corner to expand more options, and then tap Text. Tap the filled-in circle to choose a text color. Tap aA icon to choose a font face, size, and alignment.
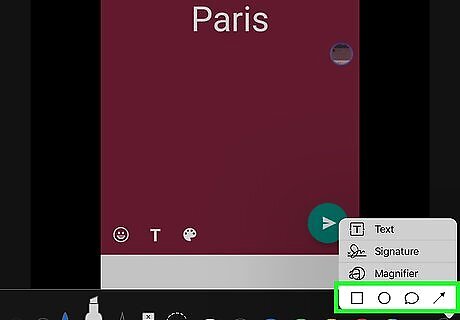
Add shapes to the screenshot. Tap the + at the bottom-right corner, then tap the square, circle, chat bubble, or arrow to add these shapes to the screenshot. Use the filled-in circle at the bottom to select a color.

Add your signature. If you need to sign the screenshot, here’s how you can do that: Tap the + at the bottom-right corner Tap Signature. Use your finger to sign your name at the bottom (or select your signature if you’ve already created one). Tap Done at the top. If your signature doesn’t appear, tap Signature again, then tap your signature to place it. Drag your signature to the desired position.

Use the magnifying glass. If you’d like to increase the size of one area of the screenshot, tap the + and select Magnifier. You can then use your fingers to position or change the size of the enlarged area.

Tap Done when you’re finished editing. It’s at the top of the screen. A menu will expand at the bottom.
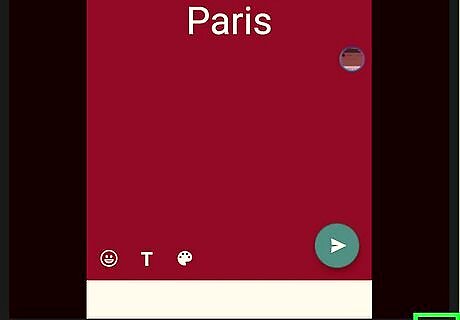
Tap Save to Photos. This saves the screenshot to the Photos app.
Using the iPhone or iPad Photos App

Take a screenshot. If you haven't already done so, press the side and volume up buttons at the same time (if your device has Face ID), or press the Home and power buttons (if your device has Touch ID) to capture a screenshot. The screen will flash briefly and a preview of the screenshot will appear at the bottom-left corner of the screen.
Open the Photos app. Your screenshot is saved to this location by default.
Tap the screenshot to open it.

Tap the “Edit” button. This button is located in the upper right corner of the screenshot and will bring up a variety of editing tools.
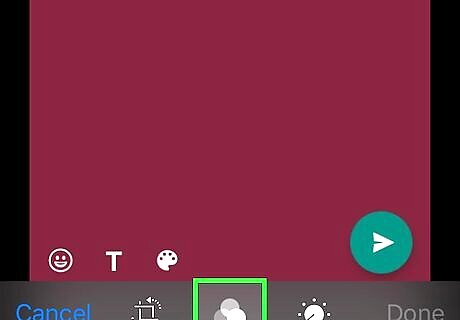
Tap the marker icon to add text, lines, highlighting, and drawing. If you want to annotate, redact, or bring attention to part of your screenshot, tap this icon at the top to access the Markup tools. Use the pen and pencil tools to draw. You can tap the colored circle to select a color. Use the highlighter tool to highlight certain areas in a different color. Tap + to access more tools, including the option to add your signature, type text or a description, add shapes, and even magnify areas of the screenshot. When you're finished, tap Done to return to the standard editing tools.
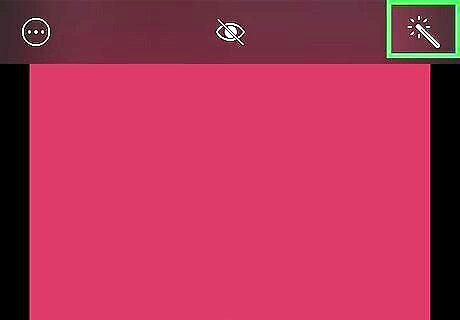
Tap the Magic Wand icon to make auto changes. This button is in the upper right corner of the screen and will automatically make color and lightning adjustments to the screenshot.

Tap the Dial icon to adjust color, light, and balance. This button appears in the bottom toolbar and will bring up 3 menus: “Light”, “Color”, and “B&W”. Each category will have a submenu with a number of options that can be adjusted with a slider.
Tap the “Filter” icon to add artistic filters. This icon is represented by 3 overlapping circles and is located on the bottom toolbar. Filters like Mono, Tonal, and Noir will add a black and white stylized filter. Filters like Fade or Instant will give the screenshot a washed out, retro look.

Tap the “Rotation Icon” to crop, zoom, or rotate the screenshot. This icon is located on the right of the bottom toolbar. Tap and drag the corners of the picture space to crop the picture. Adjust the slider to manually rotate the photo or press the “Rotate” icon (square with a curved arrow) to automatically rotate 90 degrees. Reverse pinch the photo to zoom.

Tap “Done” to keep your changes. This button appears in the lower right corner after changes have been made. You can undo your changes by tapping “Cancel” in the lower left corner and selecting “Discard Changes”. You can undo changes after saving by selecting “Revert” which appears in place of the “Done” button.


Comments
0 comment