
- Join two objects by selecting them in Object Mode and pressing "Ctrl + J."
- You can use the Union Boolean modifier to combine two objects into a single shape.
- To merge the vertices of two joined objects in Edit Mode, select both vertices, right-click them, and select "Merge Vertices."
Joining Objects
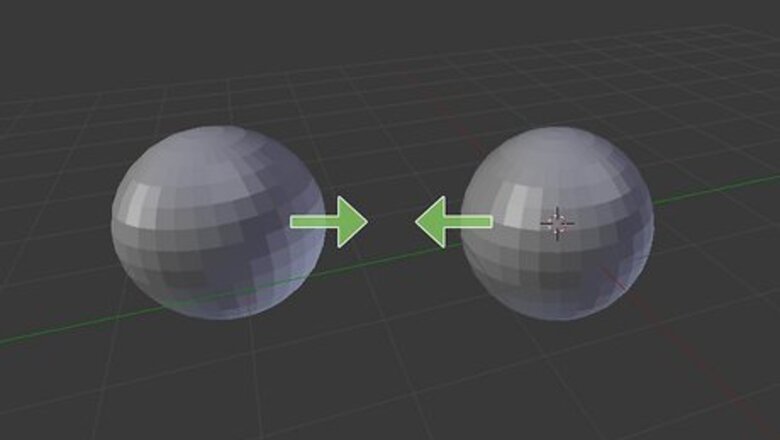
Understand merging in Blender 3D. Joining objects together links multiple objects together as a group, with the last object you select being the new parent object. When one object in a group is selected, all joined objects will also be selected and act as one object. This does not modify the geometry of any of the objects. Objects do not have to be touching to be joined. Joining objects together is useful if you are dealing with complex shapes, character models, or complex scenery. It is not particularly useful for 3D printing, where the geometry of the joined objects needs to be merged into a single object.
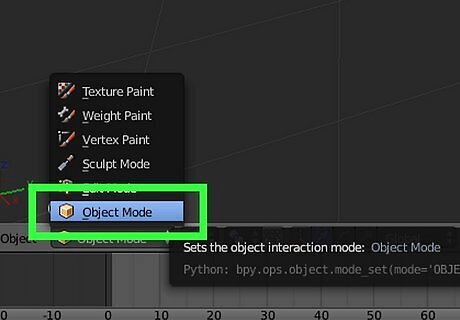
Make sure you are in Object Mode. You need to be in Object Mode to select multiple objects. Check the drop-down menu in the upper-left corner to see if it says "Object Mode." If it does not, click the drop-down menu and select "Object Mode."

Select an object you want to join. To select an object, simply click it with the mouse. It will be highlighted in orange in the viewport.
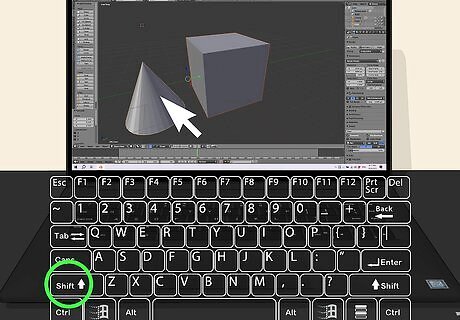
Hold ⇧ Shift and select other objects you want to join. You can select multiple objects by holding the "Shift" key and clicking them. All objects you select should be highlighted in orange. Select the object you want to use as the parent object last.

Click Object. It's in the menu bar at the top of the screen. This displays a drop-down menu.

Click Join. This joins all selected objects as a group. When you select one object, it will select all objects in the group. Alternatively, you can press Ctrl + J (or Command + J on Mac) to join selected objects together as a group.
Using a Boolean Modifier
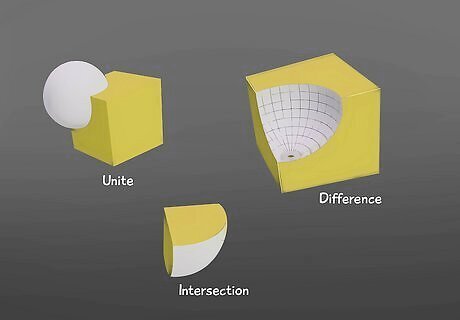
Understand the application. The boolean modifier takes two different objects and can apply one of three modifications. Unlike joining two objects, the boolean modifier will create a new object with modified geometry. The three types of boolean modifications are as follows: Union: The Union boolean combines the primary and secondary object into a single shape. All intersecting internal geometry is removed. This is the one you use to merge objects. Difference: The Difference boolean subtracts the shape of the secondary object from the primary object where the secondary object overlaps with the primary object. The geometry of the secondary object is completely removed. Intersection: The Intersection boolean creates a new shape where the geometry of the primary object overlaps with the secondary object. All the geometry that is not overlapping is removed.
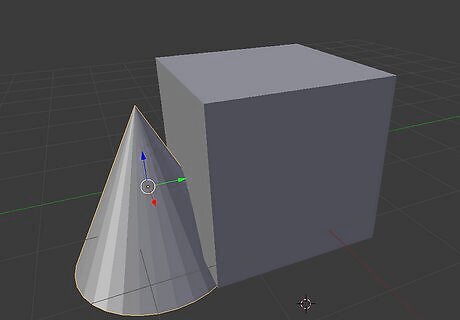
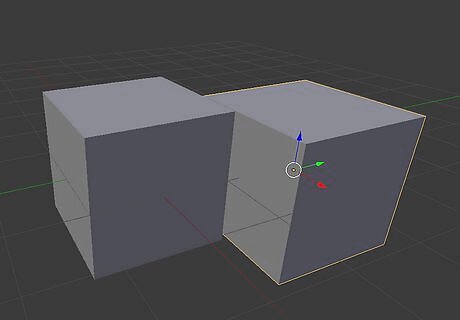
Make sure both objects are overlapping. You can move objects by clicking them to select them and press G to grab them. Move them with the mouse and click to set them down. Move the two objects you want to merge so they are overlapping in a shape you want to create when they are merged. You may need to adjust the viewport camera angle and look at the shapes from different angles to move them into the exact position you want.
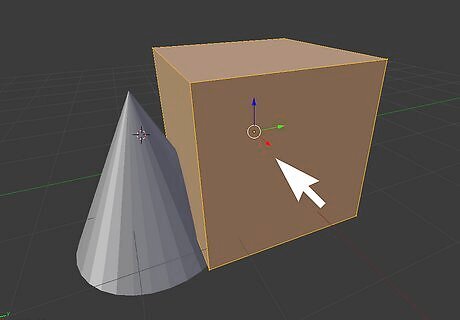
Select the primary object. When using the Union boolean, it really doesn't matter which object you select. Select whichever one you want to be the primary object.
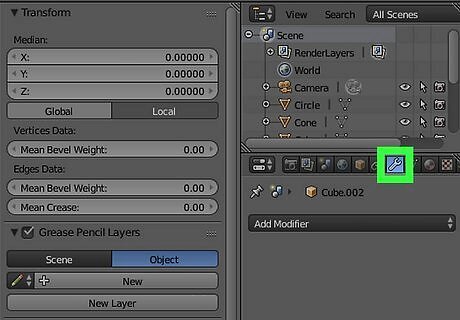
Click the blue wrench icon. This is the Modifiers icon. It's in the button panel alongside the panel to the right. This displays a drop-down menu at the top of the panel to the right.

Click Add Modifier. It's the drop-down menu at the top of the panel on the right. This displays a menu of modifiers you can select.
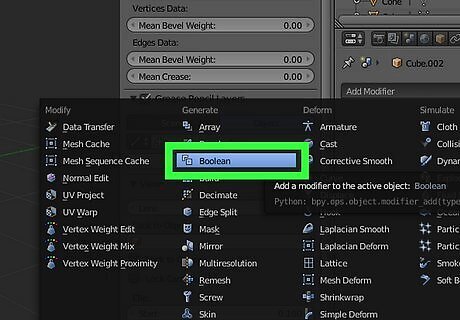
Click Boolean. It's the third option in the menu below "Generate." This displays the Boolean Modifier menu in the panel to the right
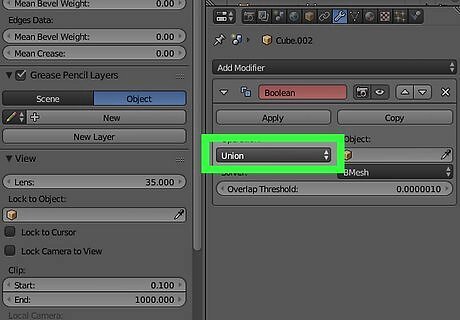
Click the Union tab. It's the tab in the middle of the Boolean modifier menu.

Select the secondary shape in the field next to "Object." It's in the Boolean Modifier menu. You can either click the field next to "Object" and select the secondary object in the drop-down menu, or click the eyedropper icon next to "Object" and then click the secondary object. Both objects should be highlighted, and the secondary object should be listed in the field next to "Object." Both objects may combine, creating a preview of the combined shape. This may look a little weird at first. Do not select both shapes in the viewport. This will result in an error message when you try to apply the modifier.

Click Android 7 Expand More. It's the icon that resembles a bracket pointing down. It's in the upper-right corner of the Boolean Modifier menu. This displays a drop-down menu.

Click Apply. It's at the top of the drop-down menu. This applies the modifier and merges the two shapes. Alternatively, you can press Ctrl +A (or Command + A on Mac) to combine the two shapes.

Move or delete the secondary object. The modifier does not delete the secondary object. It is still intact and overlaps with the combined objects. You can either select the secondary object and move it out of the way, or press the Delete key to delete it. You should now see your two objects combined into a single shape.
Merging Vertices
Understand the application. Merging vertices from two shapes is a more precise way to merge shapes together. It takes a little longer to do it this way, but it gives you more control over the cuts and polygons that will be created.
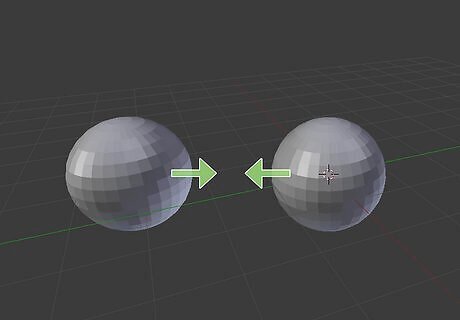
Move the two shapes you want to merge close together. You can move a shape by clicking it with the mouse and pressing G on the keyboard. Move the shape and then click to put it down. Place the two shapes so that the faces you want to merge are facing each other. You can rotate a shape by pressing R. It's not necessary that the two shapes be touching each other, but the two faces you want to merge should be close to each other.

Select both shapes. To do so, hold Shift and click both shapes. They should both be highlighted in orange.
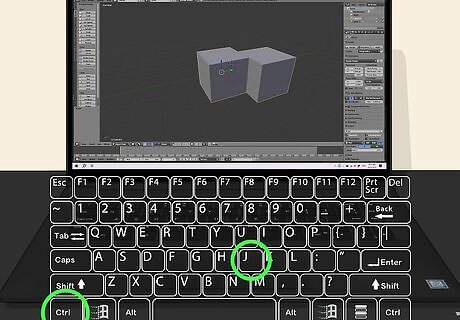
Join both shapes together. Press Ctrl + J (or Command + J on Mac) to join both shapes as a group.

Switch to Edit Mode. To do so, click the drop-down menu in the upper-left corner and select "Edit Mode."
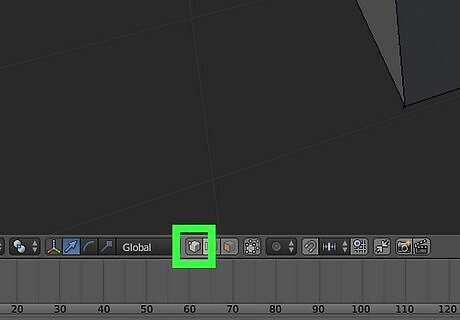
Make sure you are in Vertices Select Mode. To do so, click the box right next to the drop-down menu in the upper-left corner. It's the box that resembles a dot on the outline of a cube.
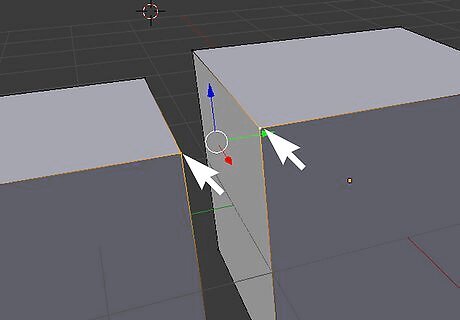
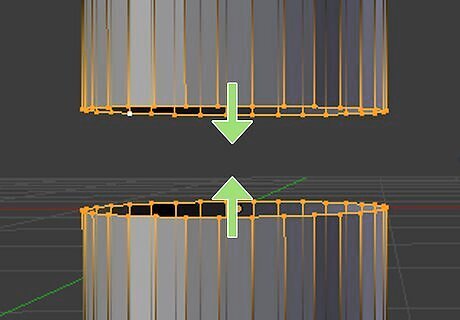
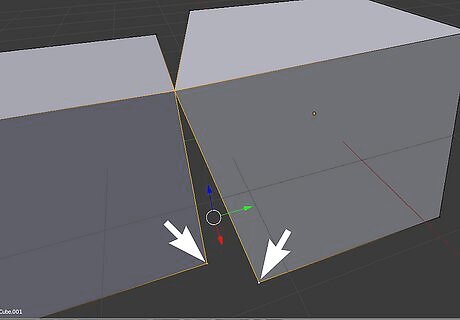
Select two vertices on both shapes across near each other. The vertices are the dots in the corners of the polygons and edges. They resemble black dots in the corners shape's polygons. Hold Shift and click two vertices across from or touching each other on both shapes.
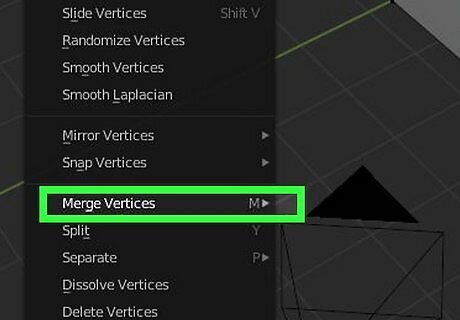
Right-click one of the vertices and click Merge Vertices. This displays a menu with options on how you can merge the vertices.
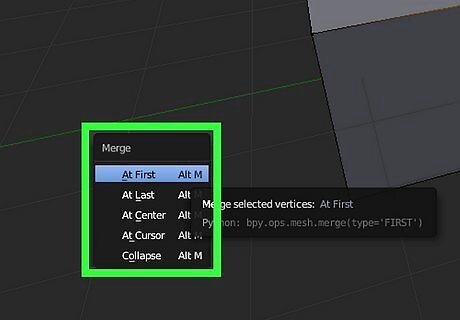
Select an option to merge the vertices. The options are as follows: At Center: This will merge the vertices at the center between the two vertices. At Cursor: This merges the vertices at the cursor. The cursor icon resembles a crosshair with a red and white band around the center. You can move the cursor by clicking the cursor icon in the menu bar to the left and click where you want to put the cursor. Collapse: This merges vertices on a single shape that are connected by a line or edge. This is not applicable when merging two separate shapes together. At First: This merges the vertices at the location of the first vertex you selected. At Last: This merges the vertices at the location of the last vertex you selected.
Continue merging all subsequent vertices. Continue merging vertices two at a time using the same steps as above until the faces you want to merge are completely fused together.

Adjust the position of any vertices you want to move. When merging the vertices, it may change the vertices' position and deform the object's overall shape. If you need to move any merged vertices, click them with the mouse and press G on the keyboard to grab them. Move them with the mouse and then click the set their position.
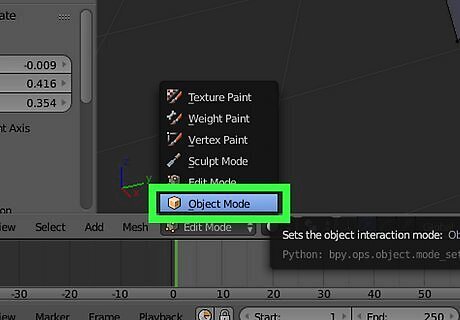
Switch back to Object Mode. Once you are happy with the merged shape, click the drop-down menu in the upper-left corner and switch back to Object Mode.


Comments
0 comment